
Painting the Staircase
From How to Make Stairs Safer for Seniors · Step 4 of 4 · Video by Family Handyman
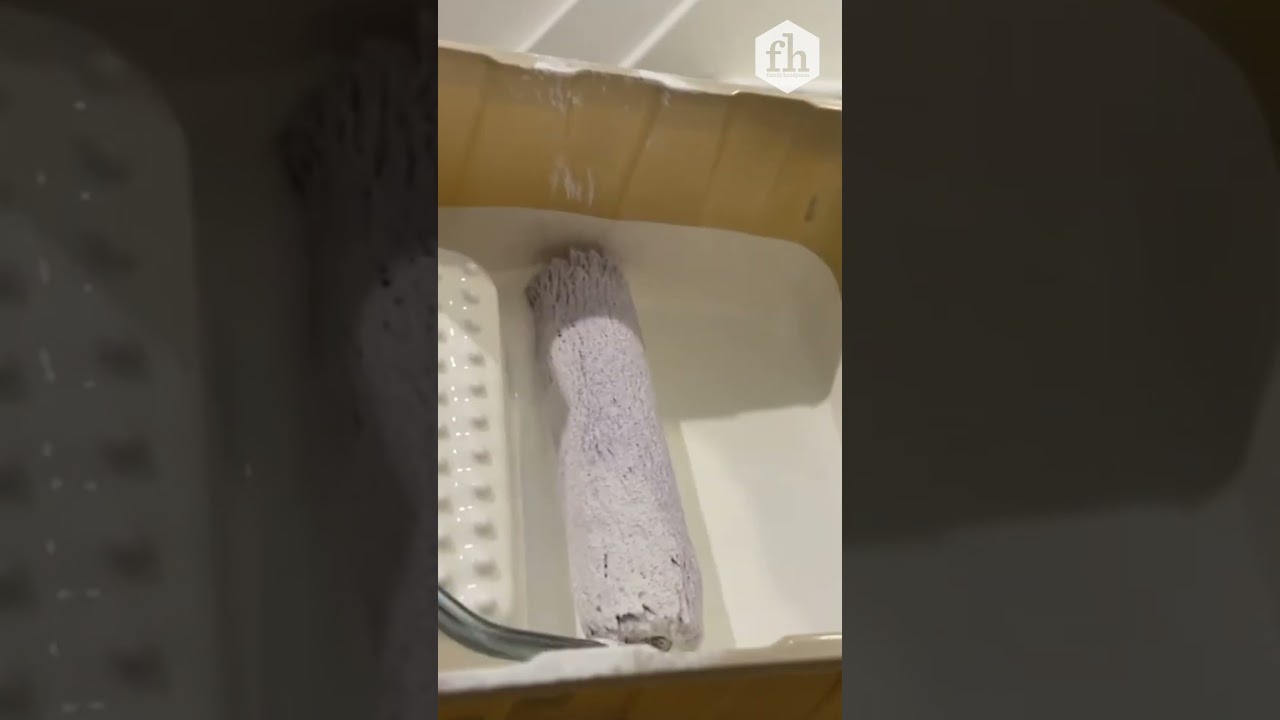
Showing 0:20–0:31 of the source video. Watch the full video with every moment.
What happens in this clip
Once the treads and risers are prepared (cleaned, filled, and ideally sanded), the painting process begins. White paint is applied to the stair elements. A paintbrush is used for precise application along the edges, corners, and where the risers meet the treads and walls. For broader flat surfaces of the risers and treads, a small roller on an extension pole is utilized to efficiently apply an even coat of paint, ensuring complete coverage and a smooth appearance. Multiple coats of paint, with adequate drying time between each, are typically required for durability and optimal finish.
Goal: This step involves applying paint to the prepared stair treads, risers, and trim, using both brushes for edges and rollers for larger flat surfaces to achieve a clean, uniform finish.
What's used
Tools
- Drop cloths
- Extension pole
- Paint roller (small)
- Paintbrush
- Painter's tape
- Roller tray
Materials
- Primer
- White paint
About the full video
This video details a staircase renovation project, starting with the demolition of existing carpet and elements, followed by preparation of the stair treads and risers (which would typically involve sanding and crack filling, though sanding is not explicitly shown). The project then moves to painting the entire staircase, installing a new jute runner, and updating railings to a modern cable design. The overall goal is to renew worn stair surfaces and enhance the aesthetic appeal and safety of the staircase.
Step 4 of 4: Add Visual Contrast to Stair Edges
Clean the front edge (nosing) of each stair tread thoroughly. Remove any loose paint, dirt, or debris. If painting, apply a primer suitable for the surface material. Once the primer is dry, apply two coats of a high-contrast paint color (e.g., black on white stairs, or white on dark stairs) to the nosing of each step. Allow adequate drying time between coats and before proceeding. If using tape, measure and cut strips of high-contrast, durable tape to fit the width of each stair nosing. Carefully apply the tape, ensuring it adheres smoothly without wrinkles or bubbles.
Every video in How to Make Stairs Safer for Seniors
Step 1: Install Stair Lighting
- 0:10–0:12 Install LED Strips on Stair Treads
- 4:23–4:48 Cut and Install LED Strips
- 0:00–0:19 Install Flexible LED Strip Lighting
Step 2: Extend Handrails
- 4:50–5:54 Measure and Cut Handrail
- 8:14–10:25 Attach Handrail and Final Review
- 1:29–1:57 Cut New Handrails for Wall Attachment
Step 3: Apply Non-Slip Treads
- 0:54–1:07 Prepare Anti-Slip Tread
- 0:02–0:06 Apply Anti-Slip Strip
- 1:12–1:19 Prepare Steps and Apply Non-Skid Strips
Step 4: Add Visual Contrast to Stair Edges
- 0:10–0:16 Prime and Paint Stair Treads and Risers
- 0:20–0:31 Painting the Staircase (this video)
- 5:12–6:08 Apply First Paint Coat to Stair Risers and Treads
How to Make Stairs Safer for Seniors
This project outlines common modifications to improve stair safety for seniors, focusing on enhancements like improved lighting, handrail extensions, non-slip treads, and visual contrast.
Read the full guide Browse all guides
Planning this project? Shop Oak Valley Designs.

Subscribe for exclusive updates
Be the first to know about promotions, new products, and sales.