
← Guide
Stair Tread Installation
Step 3 of 3
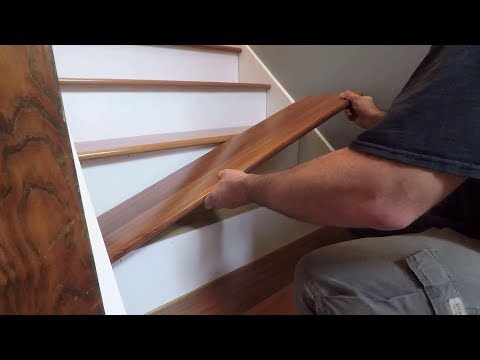
Step 3 · Add the Finishing Touch: Cove Molding
To elevate your staircase with that final, expert detail, measure and cut your cove molding to perfectly match the tread's profile. Securely attach the molding along the front edge. This not only conceals the raw edge of the tread but brings warmth and elegance to your home by creating a beautifully finished transition. Ensure it sits flush and is securely attached for a quality result.
Use a miter saw for precise angled cuts on the cove molding, especially for winder stairs where angles may vary.
Use a miter saw for precise angled cuts on the cove molding, especially for winder stairs where angles may vary.
Consider using a strong adhesive specifically designed for molding in addition to brad nails for a very secure fit.
Consider using a strong adhesive specifically designed for molding in addition to brad nails for a very secure fit.
General Hazard
Ensure the cove molding is the correct size and profile to complement the hardwood treads and provide a seamless finish.
You've reached the last step
Nice work — share this guide or find your next project.
Subscribe for exclusive updates
Be the first to know about promotions, new products, and sales.