
← Guide
Stair Tread Installation
Step 2 of 3
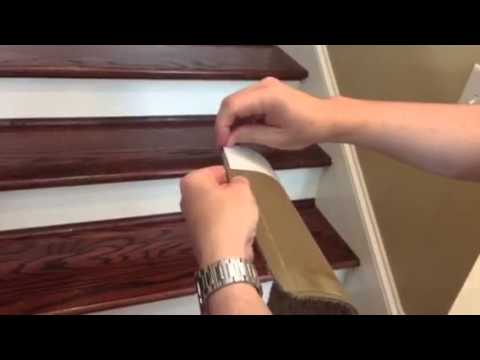
Step 2 · Position and Secure Your New Tread
Place the hardwood tread onto the desired step or landing, taking a moment to ensure it aligns perfectly with your layout plan. This is key for a polished look, especially on unique winder stairs. Once positioned, apply consistent, firm pressure across the entire tread. This ensures the adhesive makes full contact, giving you the peace of mind of a secure, stable surface that's built for everyday life.
Tools and Materials
 Oak Valley Tailored Square - Tread
For winder stairs, ensure the tread is perfectly aligned before applying pressure, as repositioning may be difficult once adhered.
For winder stairs, ensure the tread is perfectly aligned before applying pressure, as repositioning may be difficult once adhered.
Use a clean cloth or roller to apply even pressure across the tread for optimal adhesion.
Use a clean cloth or roller to apply even pressure across the tread for optimal adhesion.
General Hazard
The adhesive is pressure-sensitive. Once applied, it may be difficult to remove without residue or damage to the underlying surface. Test in an inconspicuous area if concerned.

Subscribe for exclusive updates
Be the first to know about promotions, new products, and sales.