
← Guide
Stair Tread Installation
Step 1 of 3
Clip 1/3
Helpful?
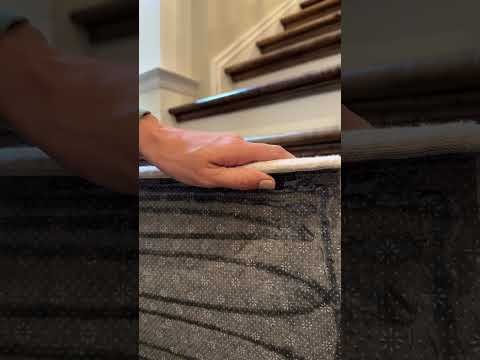
Step 1 · Peel to Reveal the Adhesive
Gently pull away the plastic liner on the back of your 3/4-inch hardwood tread. This simple action prepares the powerful, pressure-sensitive adhesive for a clean installation. No nails, no glue, no stress—just a perfect bond waiting to happen.
Tools and Materials
 Oak Valley Tailored Square - Tread
Tips and Tricks
(1)
1
Ensure you peel the liner completely to expose all adhesive for a secure bond.
Ensure you peel the liner completely to expose all adhesive for a secure bond.
Subscribe for exclusive updates
Be the first to know about promotions, new products, and sales.