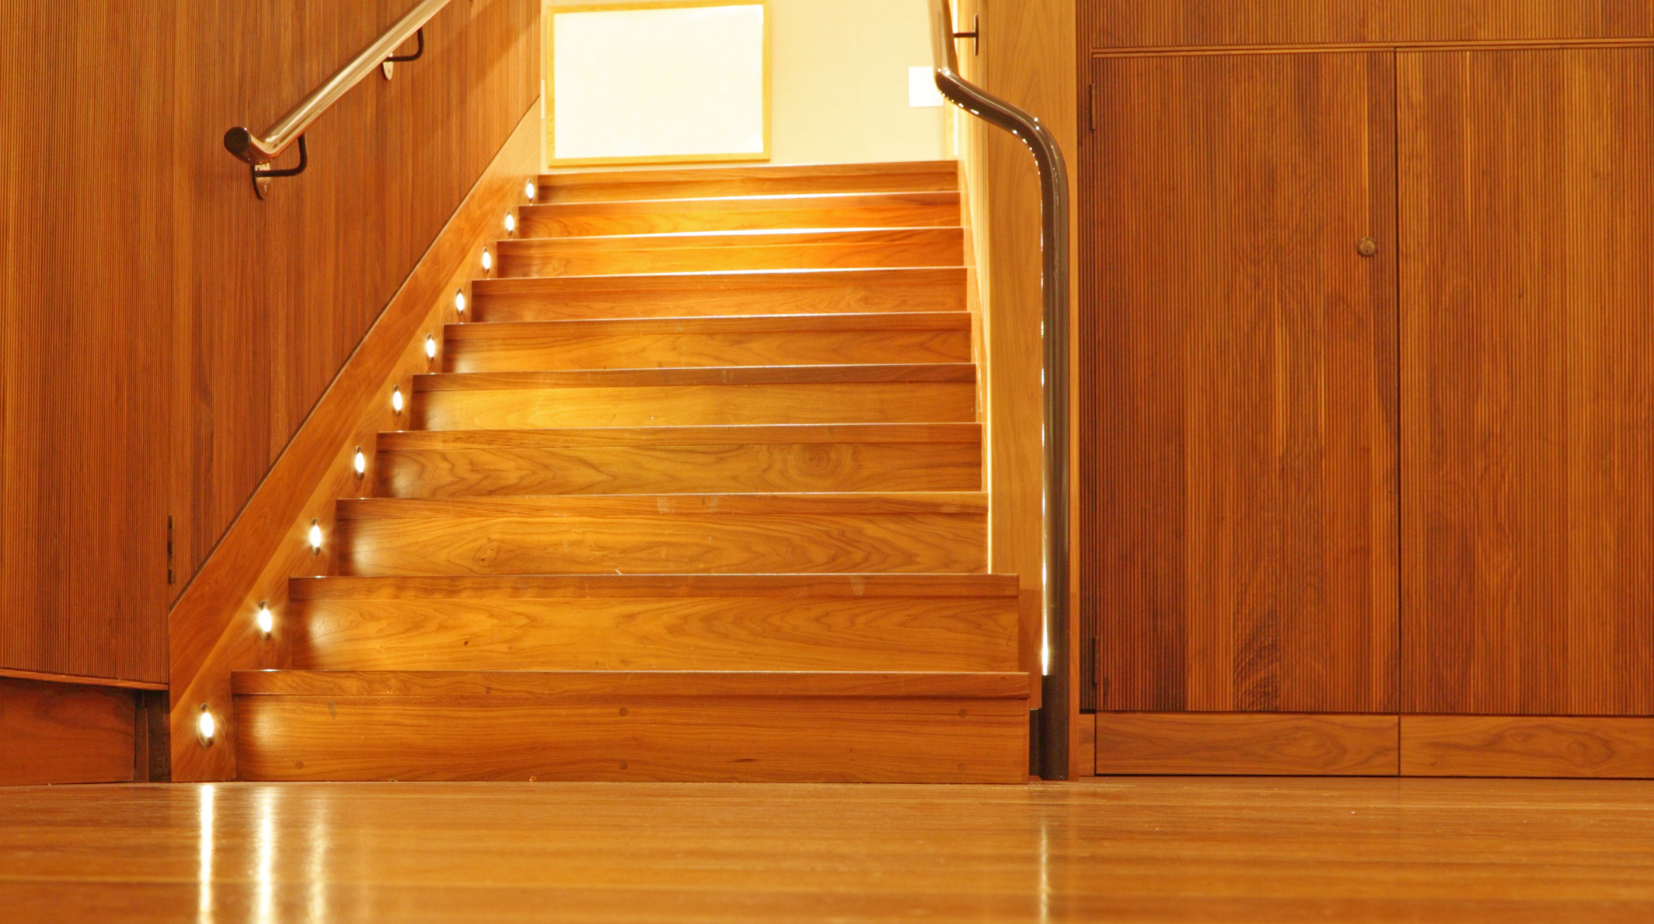
A beautifully stained staircase can completely transform the look of your home, adding warmth, character, and a polished finish.
If you're wondering how to stain oak stair treads, the process involves cleaning, sanding, applying a wood conditioner, staining, and sealing the wood for a durable, attractive finish.
In this guide, you’ll learn step-by-step instructions to achieve professional-quality results on your stairs, whether you're installing plush carpet stair treads or refinishing existing wood.
Even if you’re new to DIY projects, we’ll cover everything from choosing the right materials to proper maintenance, helping you create stunning stair treads that stand the test of time.
Preparing the Oak Stair Treads for Staining
Before you start, decide if you want to stain the stair treads before or after installation.
This choice will slightly change how you stain them.
For example, staining before installation allows easier access to all sides, while staining after installation helps you match the treads with the surrounding decor.
Consider the layout of your space and choose the method that best fits your project.
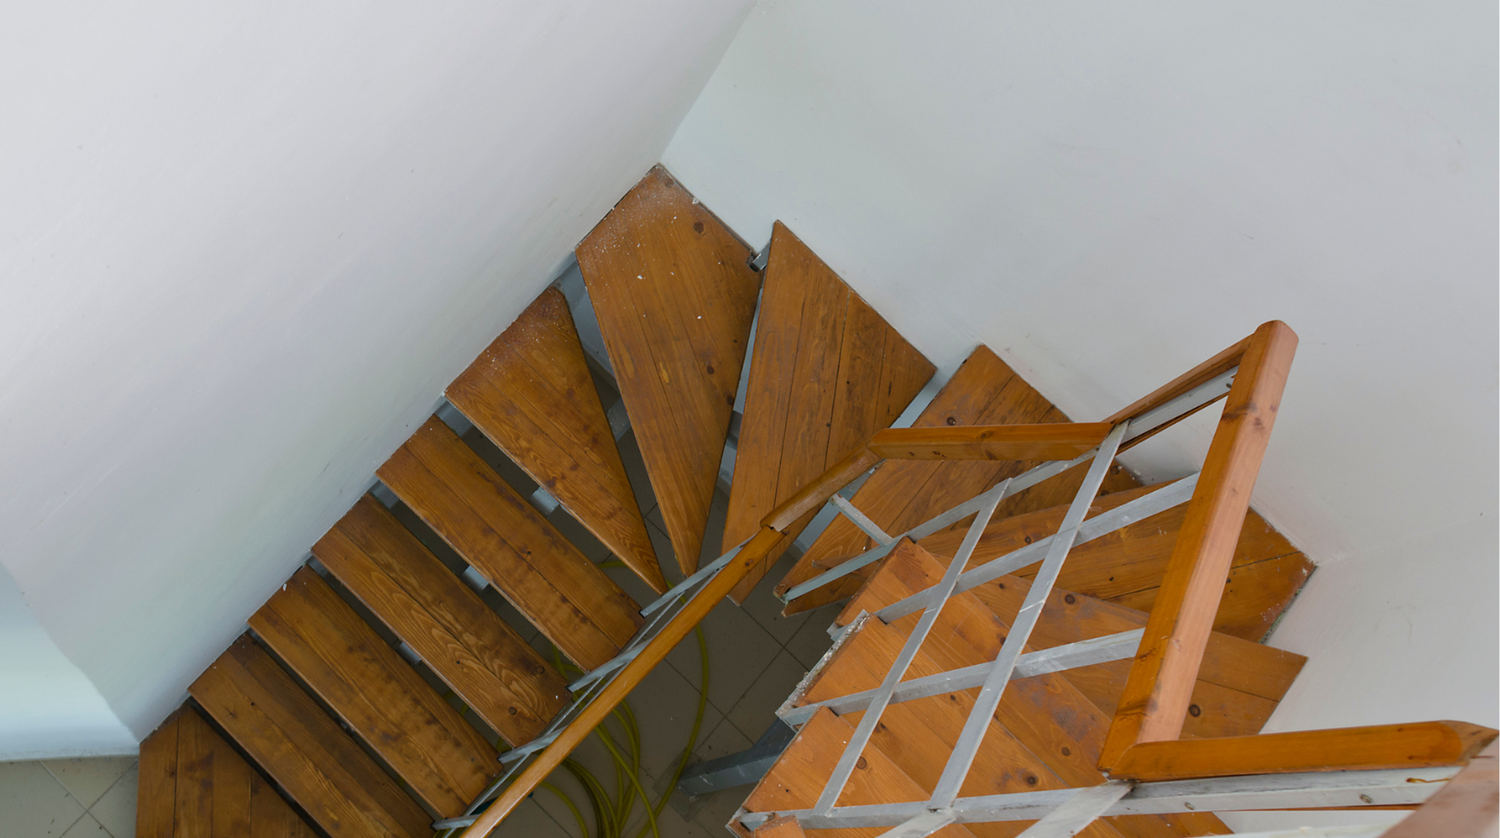
Before staining, it’s important to prepare the oak stair treads properly.
Proper preparation ensures the stain adheres well, prevents blotchy spots, and results in a smoother finish that lasts longer.
Cleaning the Surface
Begin by cleaning the oak stair treads to remove dirt, dust, and debris.
Use a wood cleaner or mix water with mild soap to clean the surface.
This helps eliminate any residues that could affect how the stain penetrates the wood.
For stubborn grime, a gentle scrub with a soft-bristle brush can be effective without damaging the wood.
Make sure the treads are completely dry before moving on.
Moisture left on the surface can cause uneven staining and may interfere with the wood's ability to absorb the stain properly.
Sanding the Treads
After cleaning, sand the surface to remove any old finish and smooth out imperfections.
Start with coarse-grit sandpaper and then switch to finer grit for a smooth finish.
This step opens up the wood grain, allowing the stain to soak in evenly.
Pay special attention to edges and corners, which can be easy to miss but noticeable if not sanded well.
Wipe away any sanding dust with a tack cloth to ensure a clean surface before staining.
Applying Wood Conditioner
Once sanding is done, apply a wood conditioner to the oak treads. This helps the wood absorb the stain evenly and prevents blotchy spots. Conditioners are especially important for oak, as its grain can absorb stain unevenly without this step.
Apply the conditioner with a clean cloth or brush, following the grain for the best results. Follow the instructions on the conditioner for proper application and drying times. Allowing it to sit for the recommended time helps ensure the stain will apply smoothly and evenly.
Choosing the Right Stain for Oak Stair Treads
When picking the right stain, consider a few key factors.
Think about the level of transparency you want, whether you prefer a light tint that shows the wood grain or a darker, richer color for a bolder look.
The type of stain you choose can also affect the durability and maintenance requirements of your stairs over time.
Understanding Different Types of Wood Stains
There are several types of wood stains, like oil-based, water-based, and gel stains.
Each has different features and application methods.
Oil-based stains are durable and offer rich colors but have longer drying times, while water-based stains dry quickly and are easier to clean up.
Gel stains are thicker and great for vertical surfaces or when you want more control over color consistency.
Choose the one that fits your project and preferences.
Consider factors like ease of application, drying time, and the look you want to achieve when making your choice.
Selecting the Appropriate Stain Color
Think about your space's color scheme and the final look you want.
For red oak treads, popular stain colors include golden oak, cherry, and dark walnut.
Lighter stains can make a space feel larger and brighter, while darker stains add warmth and elegance.
You might also want to consider how the stain color will complement other wood elements in your home, like railings or floors.
Don't be afraid to mix stain samples to create a custom shade that perfectly matches your vision.
Testing the Stain on a Small Area
Before staining the whole tread, test it on a small, hidden spot.
This helps you see the color on the wood and make changes if needed before doing the full project.
Different woods absorb stain differently, so the final color may vary from the sample on the can.
Allow the test area to dry completely, as the color can change slightly once it's dry.
This simple step can save time and prevent costly mistakes.
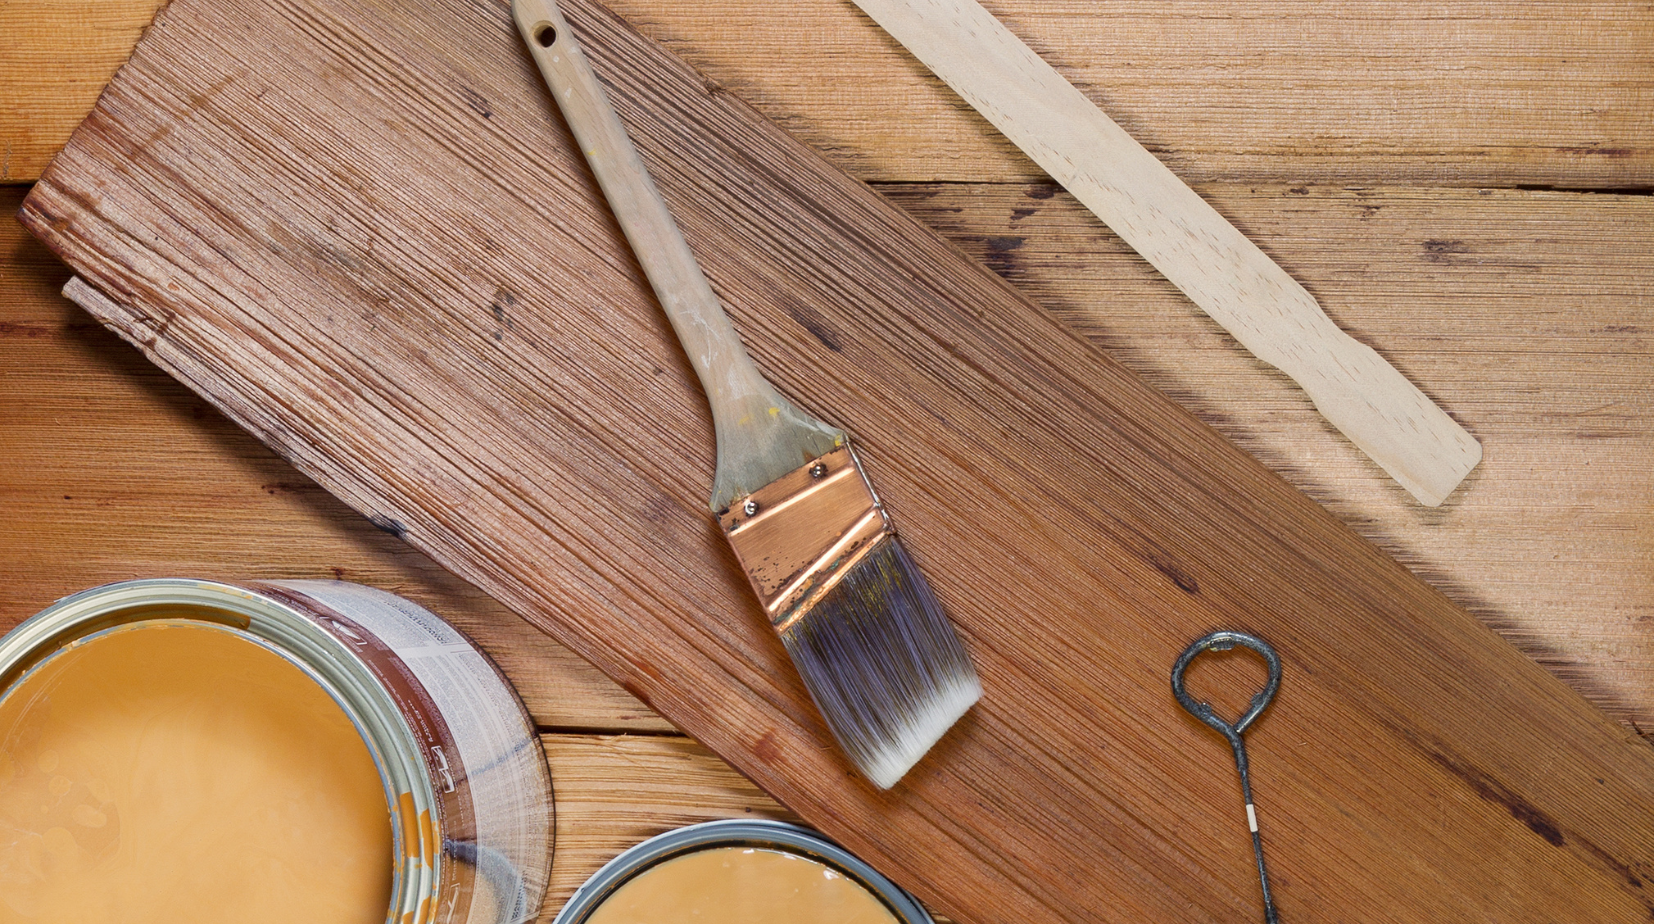
Staining the Oak Stair Treads
After choosing your stain, it's time to apply it to the oak stair treads.
Working in a well-ventilated area will help the stain dry properly and keep fumes from building up.
Gather all your supplies, brushes, cloths, gloves, and the stain, before you start to make the process smooth and efficient.
Applying the First Coat of Stain
Use a brush or clean cloth to apply the first coat in the direction of the wood grain.
Make sure you cover the surface evenly and wipe off extra stain with a clean cloth.
Applying thin coats helps prevent drips and streaks while allowing the stain to dry more evenly.
For hard-to-reach corners or edges, a small foam brush can provide better control.
Staining along the wood grain gives the best results.
This enhances the natural texture of the wood, making the grain stand out beautifully.
Sanding Between Coats (if Necessary)
Depending on the stain type and desired color, lightly sand between coats if needed to get a smooth finish.
Use fine-grit sandpaper (220-grit or higher) to avoid removing too much of the previous layer.
This step helps smooth out any rough spots or raised grain caused by the stain soaking into the wood.
Wipe away the sanding dust with a clean cloth before applying the next coat.
Skipping this step can result in a rough texture, especially if you're applying multiple coats.
Applying Additional Coats for Desired Color Depth
If the first coat isn't dark enough, add more coats until you get the color you want.
Let each coat dry fully before adding the next one.
Patience is key here; applying another coat too soon can cause smudging or uneven color.
Keep checking the treads under natural light to ensure the color appears as intended.
The number of coats needed can vary depending on the type of stain and how deep you want the color.
Sealing the Stained Oak Stair Treads
After the stain dries completely, seal the treads to protect the finish and increase durability.
A good sealant not only protects against wear and tear but also enhances the richness of the stain color.
Skipping this step can lead to premature fading, scratches, and water damage.
Choosing the Right Sealant
Pick a high-quality polyurethane sealant made for high-traffic areas.
Decide on the sheen level you prefer, like satin, semi-gloss, or high-gloss.
Satin provides a soft, natural look, while high-gloss offers a shiny, polished finish.
Water-based sealants dry faster and have less odor, while oil-based versions are more durable for heavy-use areas.
Consider the amount of foot traffic on your stairs when making your choice.
Applying the Sealant
Apply the sealant with a brush or clean cloth, following the wood grain.
Make sure the coverage is even, and let it dry as directed on the product label.
Apply thin, even coats to avoid streaks or bubbles, which can be hard to fix once dry.
For best results, apply at least two coats, lightly sanding between them for a smooth finish.
This creates a strong protective layer that keeps the wood looking fresh for years.
Allowing Proper Drying Time
Let the sealant dry completely before using the stairs or adding carpet treads.
Check the manufacturer's instructions for specific drying times, as they can vary based on temperature and humidity.
Rushing this step can result in a tacky surface that attracts dirt and dust.
If possible, keep the area well-ventilated to speed up the drying process.
Proper curing ensures the sealant hardens effectively, providing long-lasting protection.
Steps to Success
Staining your oak stair treads and adding carpet treads can boost your staircase's style, comfort, and durability.
By following this guide, you can achieve professional-looking results and enjoy beautiful stairs for years to come.
Whether you're an experienced DIYer or a first-time homeowner, this project is a rewarding way to enhance your home.
It's a cost-effective way to refresh your space, adding both value and personality to your interior design.
Plus, the sense of accomplishment from completing the project yourself is a bonus you'll appreciate every time you climb your stairs.
Ready to Elevate Your Staircase?
If you're looking to improve the design of your staircase, Oak Valley Designs has the solutions you need.
Whether you want to add warmth with carpet stair treads, create a seamless flow with landings, or enhance your space with hallway runners, we’re here to help you transform your home with ease and style.
Our products are designed to be both functional and beautiful, giving your stairs the perfect blend of comfort, safety, and sophistication.
Let us help you find the right fit for your space, making your DIY project even easier.
Get in touch with us today to explore your options:
-
Website: https://oakvalleydesigns.com/
-
Phone: 706.331.0315
-
Email: info@oakvalleydesigns.com
-
Address: 30 River Ct SW, Bldg E, Cartersville, GA 30120
Discover how simple it can be to elevate your home’s design with Oak Valley Designs.