When it comes to finishing your staircase, timing is everything.
Do you stain stair treads before or after installation?
The answer is: you can do either, but it depends on your project goals.
Staining before installation allows for full coverage and easier access to all sides, while staining after reduces the risk of damage during installation and helps match the surrounding decor.
In this guide, you'll learn the pros and cons of various stair coverings, from luxurious carpet stair treads to classic stained wood, along with expert tips for achieving a flawless finish.
We'll also cover how to maintain your chosen stair treads for long-lasting beauty.
Whether you're a DIY enthusiast or tackling a professional project, this article will help you make the best choice for your home.
Introduction to Staining Wooden Stair Treads
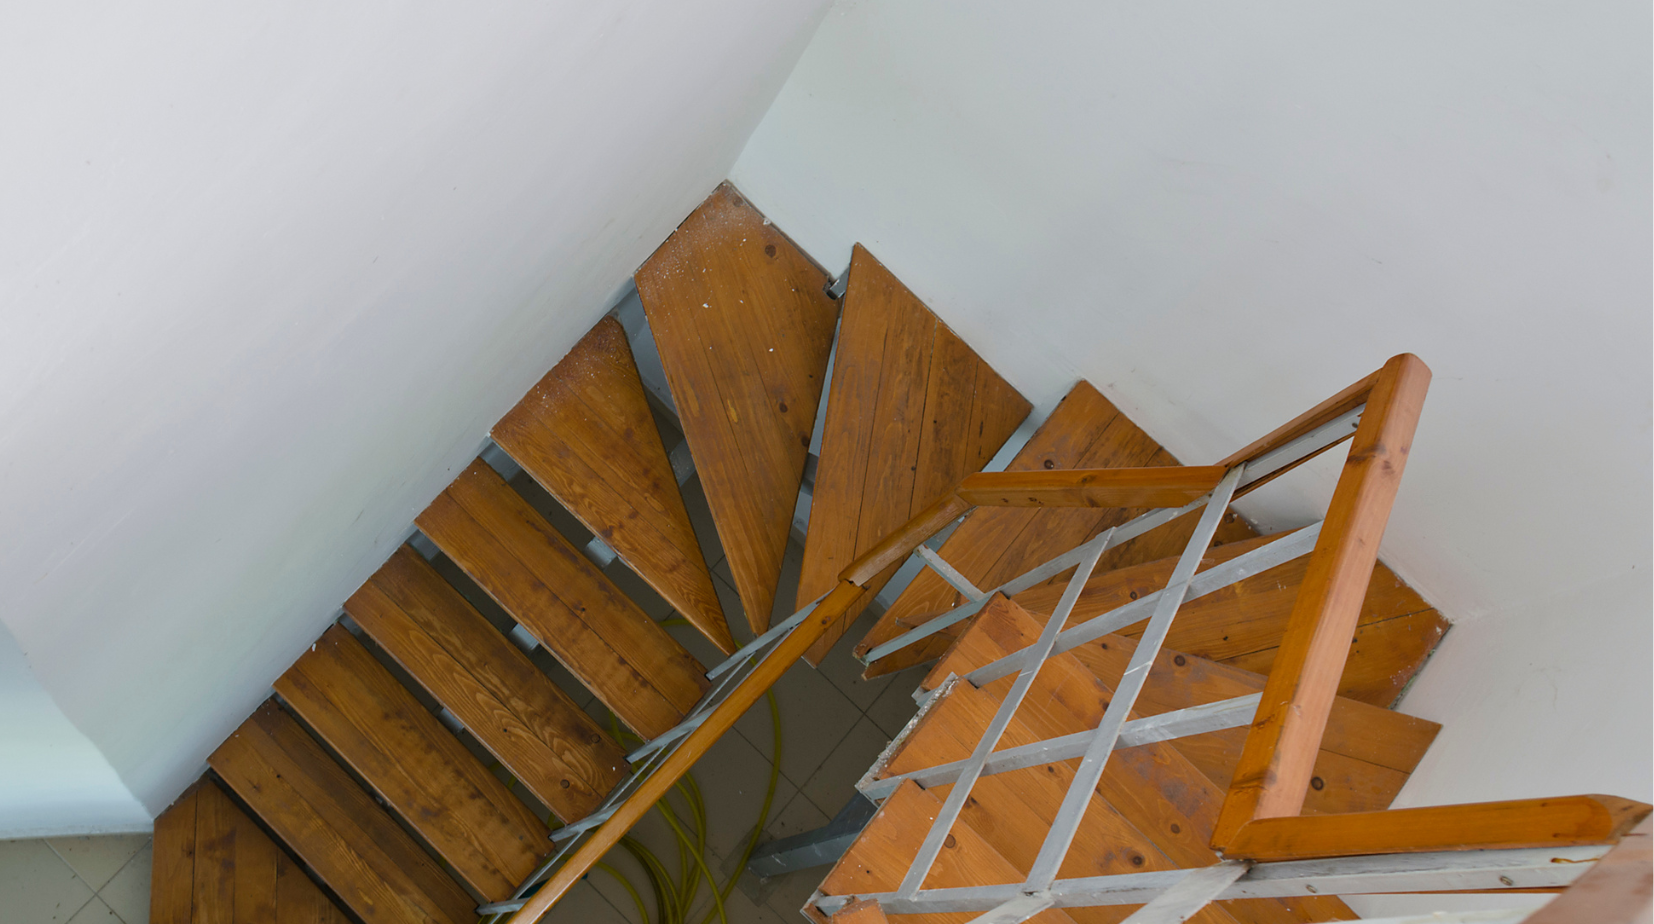
Wooden stair treads are the flat boards you step on when using a staircase.
They provide both safety and style, making them an important part of any home.
Common wood types for stair treads include oak, maple, cherry, and walnut.
Stair treads are not just functional—they also add to the overall aesthetic of your home, making the choice of wood and stain color critical to your interior design.
The type of wood you choose will influence how the stain absorbs and appears, with oak being a popular choice due to its strong grain pattern.
Understanding the characteristics of each wood type can help you achieve the desired look and durability.
Staining Wooden Stair Treads Before Installation
Choosing to stain stair treads before installing them has benefits and drawbacks.
This method allows you to work in a controlled environment, reducing mess and giving you more space to move around.
It also makes it easier to catch any imperfections before the treads are permanently installed, allowing for quick corrections.
Pros of Staining Wooden Stair Treads Before Installation
-
Complete Coverage: Staining before installation lets you cover all surfaces, including edges and the bottom. This ensures that every part of the wood is sealed, protecting it from moisture and preventing potential warping over time. Full coverage also reduces the risk of future discoloration, as even the hidden areas are treated.
-
Easier Access: With treads not yet installed, it’s easier to reach every part, ensuring an even stain. You can lay the treads flat on a work surface, which helps control drips and streaks for a cleaner finish. This also allows for faster drying times since air can circulate freely around the entire piece.
Cons of Staining Wooden Stair Treads Before Installation
-
Risk of Damage: The stained treads might get scratched or scuffed during installation, requiring touch-ups. Even minor dings can be noticeable on dark stains, and matching the original color during touch-ups can be tricky. Protective coverings can help, but they don’t always prevent accidental damage during heavy construction.
-
Extra Touch-ups Needed: Even with care, some areas might still need fixing after installation. Touch-ups can sometimes stand out, especially if the stain wasn’t blended properly, leading to an uneven finish. This adds extra time and effort, which can be frustrating if you're trying to complete the project quickly.
Staining Wooden Stair Treads After Installation
Staining after installation also has its own set of pros and cons.
This method allows you to see how the stain will look in the actual lighting and context of your home, making it easier to adjust the color if needed.
It also eliminates the risk of installation-related damage to pre-finished surfaces.
Pros of Staining Wooden Stair Treads After Installation
-
Less Risk of Damage: Since the treads are already in place, there’s no risk of damaging the finish during installation. You won’t have to worry about scratches from tools or heavy foot traffic during construction, which saves time on post-installation touch-ups. This makes it a popular choice for DIYers looking to avoid extra work.
-
Easier to Match Decor: You can adjust the stain to match your home’s colors and style perfectly. Seeing the stain in your space allows you to account for natural light and surrounding design elements, ensuring a cohesive look. This flexibility is especially helpful if you’re working with custom wood finishes or mixed materials.
Cons of Staining Wooden Stair Treads After Installation
-
Harder to Reach All Areas: Staining around railings or tight spaces can be tricky, leading to uneven coverage. It can also be challenging to protect walls, risers, and other nearby surfaces from accidental drips or splashes. Using painter’s tape and drop cloths can help, but they add to the preparation time.
-
Challenging Even Finish: Applying the stain evenly can be tough when you can't easily reach every spot. This can lead to streaks or blotchy areas, especially on hardwoods with strong grain patterns like oak. Taking your time and using the right tools, such as angled brushes or staining pads, can help improve the results.
Factors to Consider When Deciding When to Stain Wooden Stair Treads
When deciding whether to stain before or after installation, think about these factors:
Your timeline, skill level, and project environment can all influence the best choice for you.
Considering the long-term maintenance of the treads is also essential—some staining methods may make future touch-ups easier.
-
Type of Wood: Different woods react differently to stains. Some may look better stained before installation, while others work fine afterward. For example, softwoods like pine can absorb stain unevenly, making pre-staining with a conditioner a better option. Hardwoods like oak are more forgiving, but their grain patterns can still affect the final look.
-
Time and Effort: Consider how much time and effort each option requires. Staining before installation might be quicker, but could need more touch-ups later. On the other hand, staining after installation may take longer upfront but save you time by reducing the need for repairs. Think about your schedule and whether you prefer to front-load the work or manage it in stages.
-
Personal Preference and Skill: If you’re confident in your staining skills, you might prefer one method over the other based on ease and control. Beginners often find staining before installation easier because it allows for mistakes without affecting surrounding areas. However, experienced DIYers may enjoy the flexibility of staining in place for better color matching.
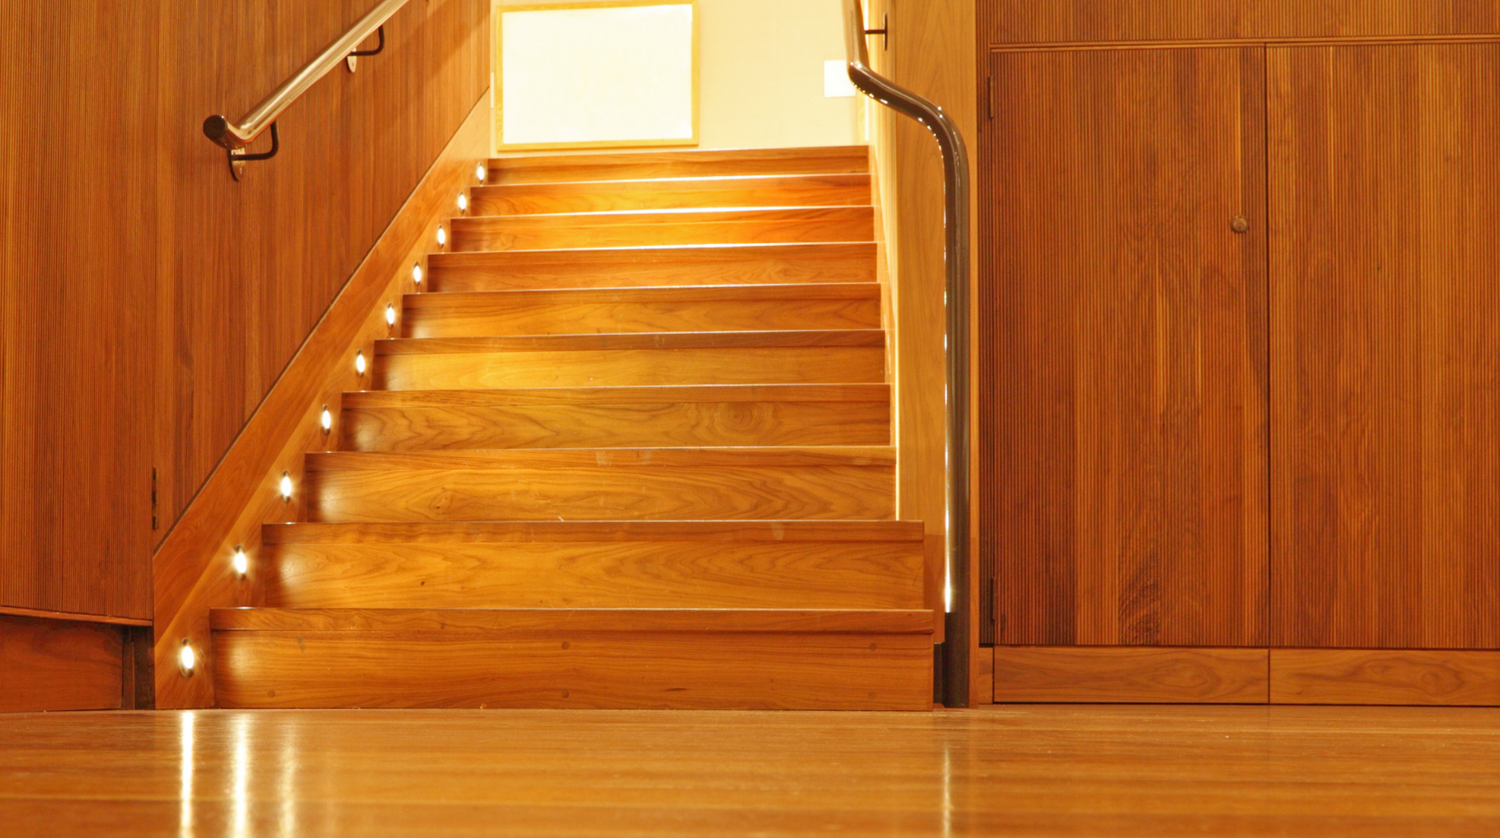
How to Stain Oak Stair Treads
Staining oak stair treads requires careful steps to achieve the best results.
Proper preparation is key to ensuring an even, long-lasting finish that enhances the natural beauty of the wood.
Using the right tools and techniques can make the process smoother, even if you’re new to DIY projects.
Preparing the Oak Stair Treads for Staining
Make sure the treads are clean, smooth, and free from dust or old finishes.
Sanding the wood with fine-grit sandpaper helps create a surface that absorbs stain evenly.
Be sure to wipe the treads with a tack cloth after sanding to remove any leftover dust, as this can affect the finish.
Proper prep also includes checking for dents, scratches, or imperfections in the wood.
Filling these with wood filler and sanding them smooth ensures a flawless look after staining.
Taking the time to prep properly makes a big difference in the final outcome.
Choosing the Right Stain for Oak Wood
Pick a stain designed specifically for oak to get the best color and finish.
Oil-based stains are popular because they penetrate deeply and highlight the wood grain beautifully.
If you prefer a faster drying time, water-based stains are a great option, though they may require additional coats for richer color.
Consider the finish you want—whether it’s a light, natural look or a darker, more dramatic tone.
Testing different stains on scrap wood or a hidden spot can help you choose the perfect shade without surprises.
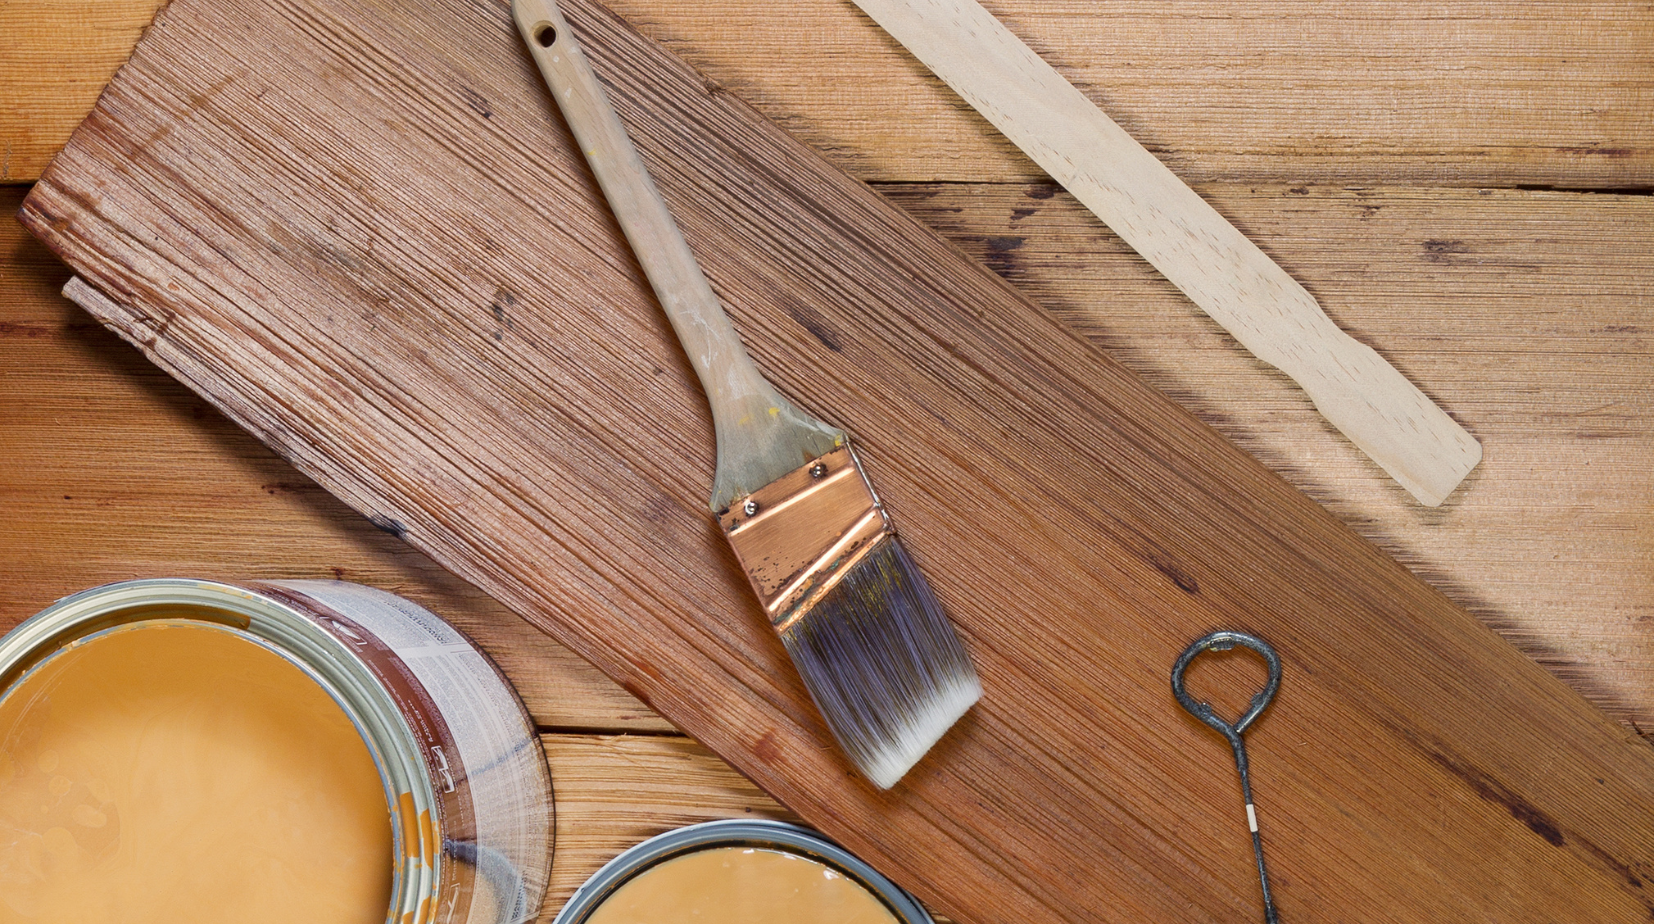
Applying the Stain to Achieve the Desired Finish
Use a brush, cloth, or pad to apply the stain, following the direction of the wood grain.
Working in small sections helps maintain control and prevents the stain from drying unevenly.
Allow the stain to soak into the wood for a few minutes before wiping off any excess with a clean cloth.
Applying multiple thin coats can help you build up the desired color while avoiding blotches.
Make sure to let each coat dry completely before adding another, as this prevents streaking and uneven finishes.
Sealing the Stained Oak Stair Treads for Protection
After the stain dries completely, apply a clear protective finish like polyurethane.
Choose between matte, satin, or glossy finishes depending on your style preferences.
For high-traffic areas, a water-based polyurethane is durable and dries quickly, while oil-based options offer a warmer tone but take longer to cure.
Applying at least two coats of sealer ensures long-lasting protection.
Lightly sanding between coats with fine-grit sandpaper helps the finish adhere better and creates a smoother surface.
Steps to Success
Deciding whether to stain stair treads before or after installation depends on your project needs.
Consider the wood type, time, effort, and your skill level when making your choice.
No matter which method you pick, proper prep and careful staining will give you beautiful results.
Taking the time to plan your approach ensures a finish you'll be proud of, whether you're a DIY beginner or an experienced woodworker.
The satisfaction of walking on beautifully stained stairs makes the effort well worth it.
Ready to Transform Your Staircase?
At Oak Valley Designs, we're here to help you create a staircase that’s not just functional but truly beautiful.
Whether you're looking to add warmth with carpet stair treads, make a bold statement with landings, or add comfort and style with hallway runners, we’ve got solutions that fit your home and your style.
Our products are designed with quality, durability, and ease of installation in mind, so you can enjoy a fresh new look without the hassle.
Let us help you bring your vision to life.
Get in touch with us today:
-
Website: https://oakvalleydesigns.com/
-
Phone: 706.331.0315
-
Email: info@oakvalleydesigns.com
-
Address: 30 River Ct SW, Bldg E, Cartersville, GA 30120
Discover how easy it can be to improve the design of your staircase with Oak Valley Designs.