Learn how to stain wood stairs like a pro with this step-by-step guide. From choosing the right stain to applying it with precision, this article will walk you through the process of transforming your wood stairs with a beautiful and long-lasting finish. Whether you're using a paint brush or paint rag, or dealing with carpet stair treads or a runner, you'll find all the tips you need to achieve professional results.
Choosing the Right Stain
When it comes to staining wood stairs, the first step is to choose the right stain for your project. There are different types of wood stains available, including oil-based, water-based, gel, and varnish stains. Each type has its own characteristics and application methods, so it's important to understand the differences before making a decision.
Considerations for selecting the right stain color are also crucial. You'll want to take into account the existing color of your wood stairs, the color scheme of the surrounding area, and the overall aesthetic you want to achieve. It's a good idea to test the stain on a small, inconspicuous area of the stairs to ensure it will produce the desired color.
Preparing the Stairs for Staining
Before applying the stain, it's essential to prepare the stairs properly. Start by cleaning the stairs to remove any dirt, dust, or debris. This can be done with a vacuum, broom, or a damp cloth, depending on the level of dirt and grime present.
Sanding the wood surface is the next step in the preparation process. This helps to smooth out any rough areas and create a clean, even surface for the stain to adhere to. If the wood stairs are made of a porous or soft wood, applying a wood conditioner before staining can help ensure an even finish.
Applying the Stain
When it comes to applying the stain, you have the option of using a paint brush or a paint rag. A paint brush is great for getting into crevices and corners, while a paint rag can provide a more even finish. Whichever method you choose, it's important to apply the stain in the direction of the wood grain to achieve a professional look.
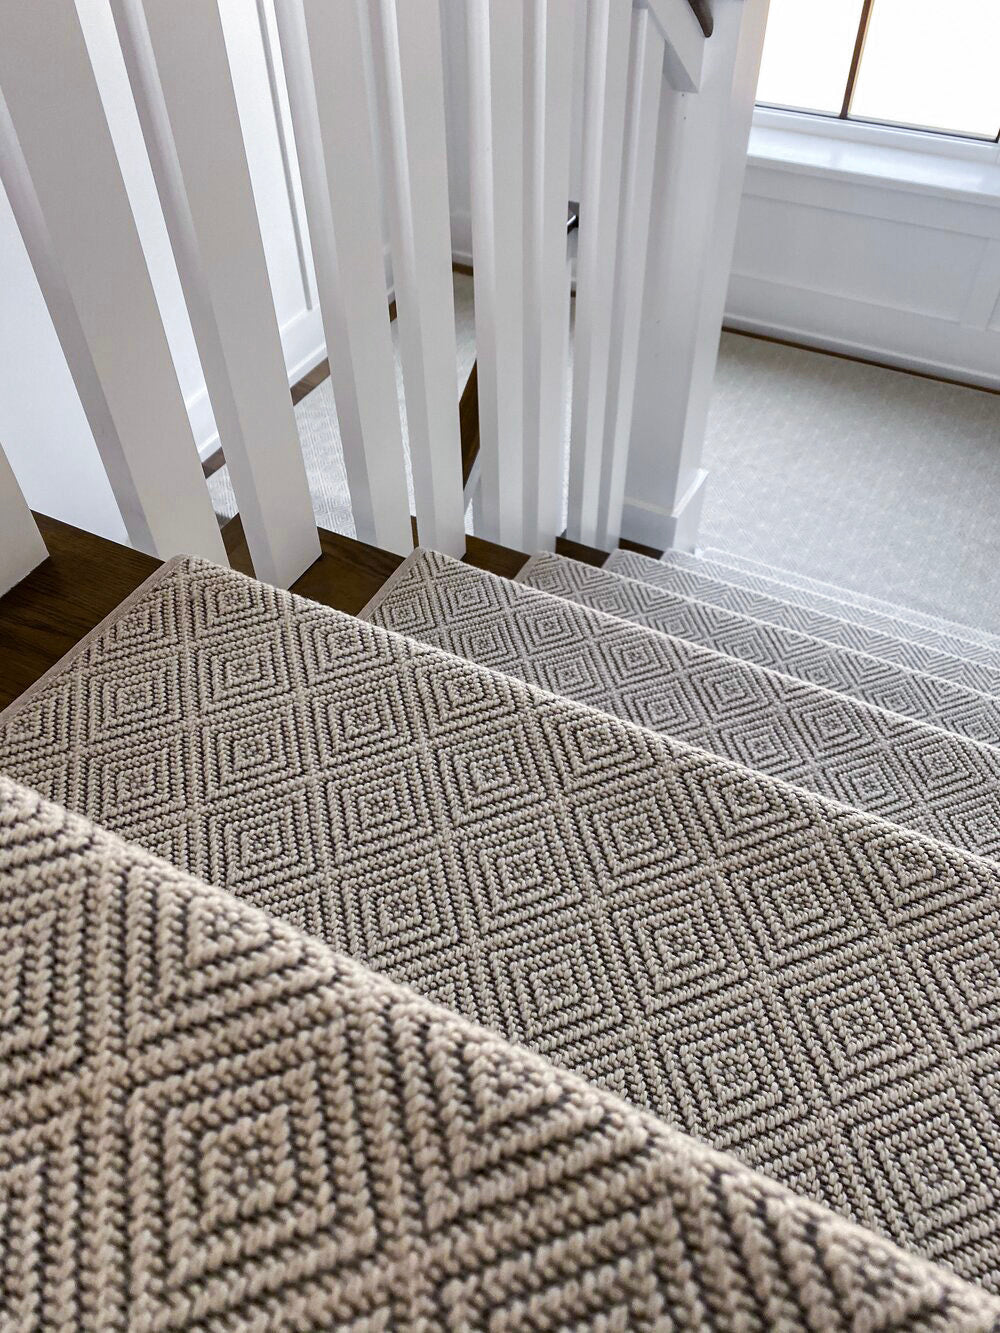
The best way to stain stair treads for achieving an even finish include applying the stain in thin, even coats and wiping off any excess stain to prevent drips and uneven coloring. If your wood stairs have a carpet runner, take extra care to protect the carpet from the stain and ensure a clean, crisp edge along the carpet line.
Finishing Touches
After the stain has dried, applying a clear protective finish is essential for preserving the color and durability of the wood stairs. This can be done with a polyurethane or varnish, and multiple coats may be necessary for optimal protection. Once the protective finish has dried, buffing and polishing the stairs can enhance the sheen and smoothness of the surface.
Finally, removing any tape or protective coverings from the surrounding area will reveal the full beauty of your stained wood stairs.
Maintenance and Care
To keep your newly stained wood stairs looking their best, it's important to follow some maintenance and care tips. Regular dusting and occasional cleaning with a wood-safe cleaner will help maintain the finish and keep the stairs looking great. If touch-ups are needed, using a stainable wood filler can help seamlessly repair any scratches or blemishes.
Conclusion
By following these steps and tips, you can achieve amazing results and absolutely love the look of your stained wood stairs. Whether you're looking to add a touch of elegance to your home or enhance your basement renovations, staining your wood stairs can make a significant impact. So, roll up your sleeves, put on your DIY hat, and get ready to do an amazing good job on your wood stairs!


