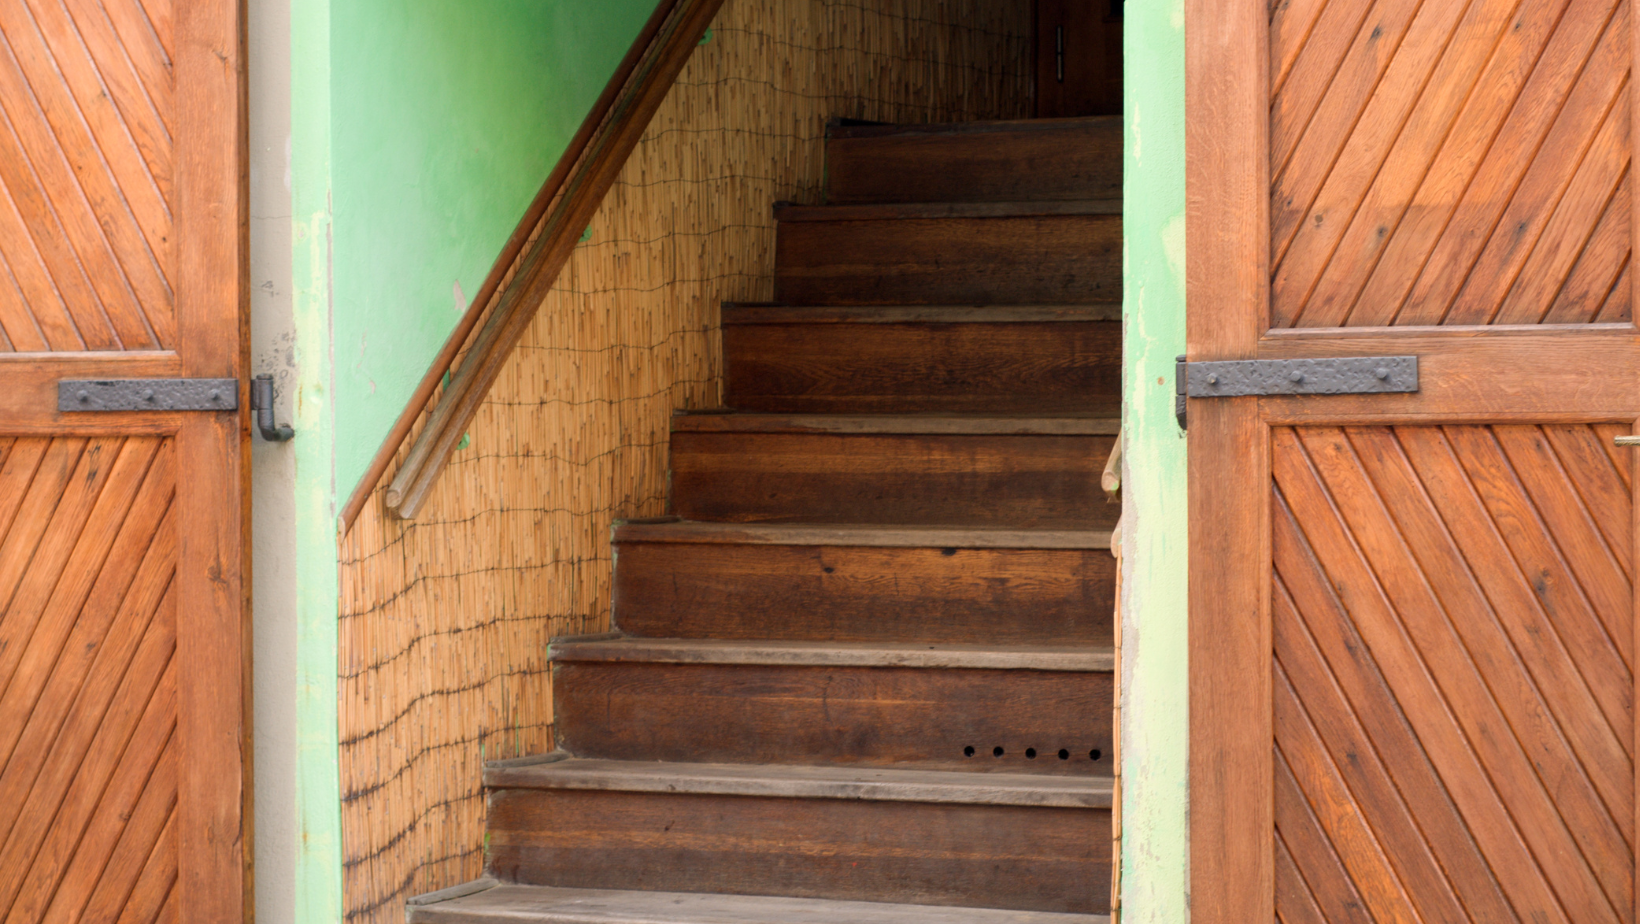
Want to give your staircase a fresh, custom look without breaking the bank?
Here’s how to make your own stair treads:
-
Choosing the right wood
-
Measuring staircase
-
Cutting the wood
-
Creating nosing
-
Sanding and staining
-
Installing wood treads
-
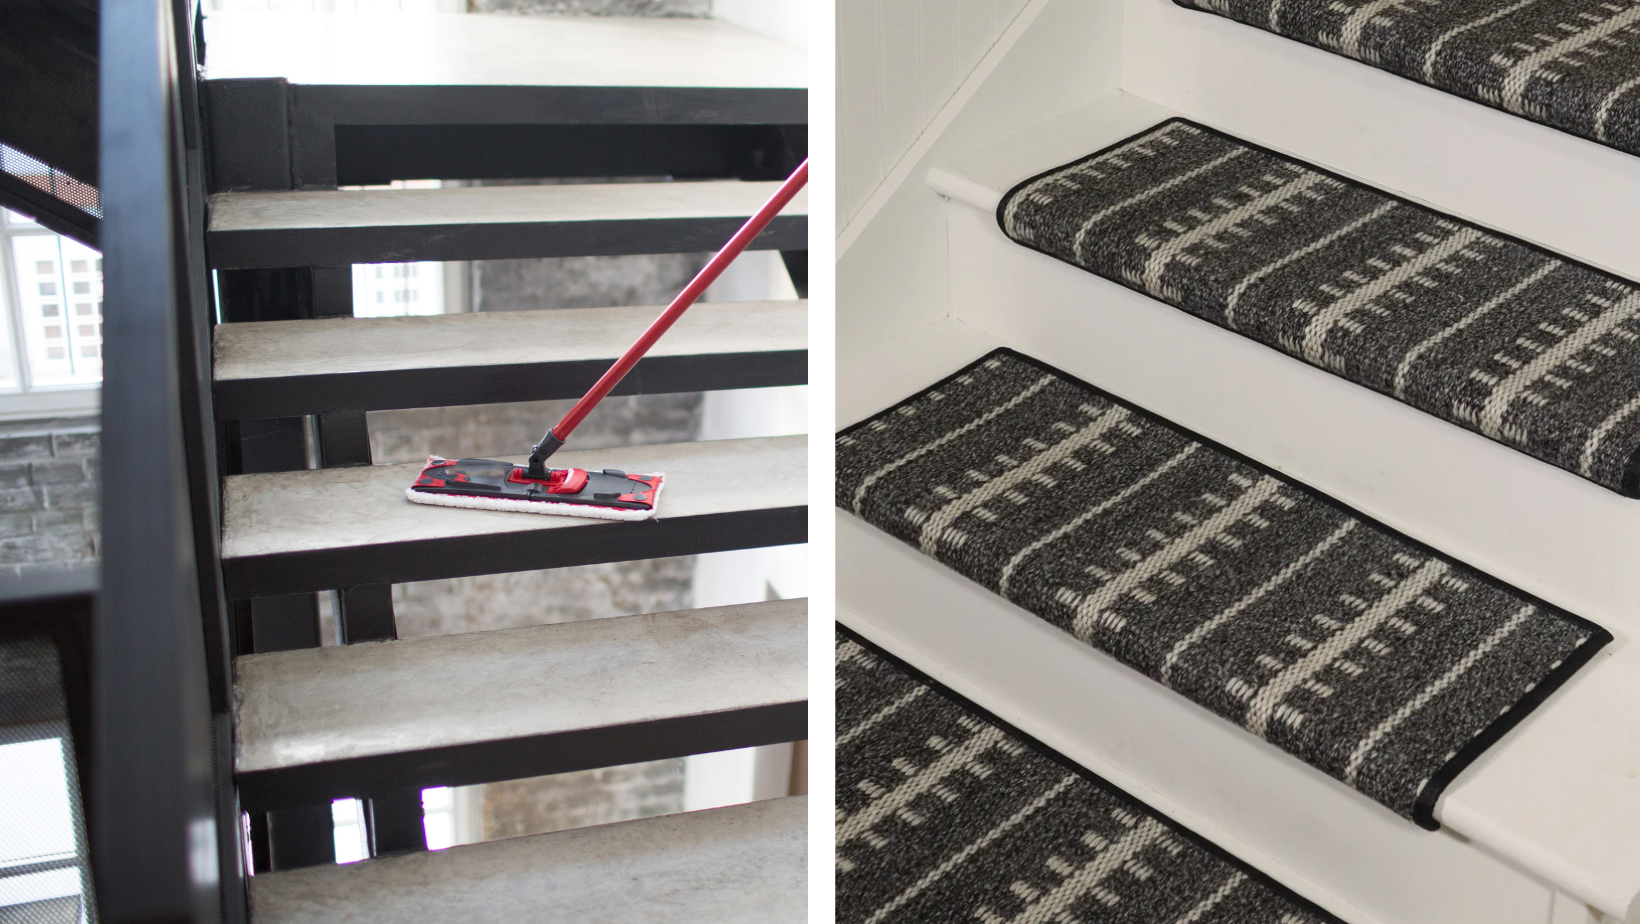
Installing carpet stair treads
By following this guide, you’ll learn how to transform your staircase with professional-quality results, saving money while adding a personal touch to your home.
Whether you choose custom carpet stair treads, sleek vinyl, or a natural fiber look, keep reading for step-by-step instructions, expert tips, and maintenance advice to ensure your chosen stair treads look great for years to come.
Choosing the Right Wood for Your Stair Treads
Selecting the right wood is the first step in creating durable and attractive stair treads.
The type of wood you choose will impact the look, feel, and longevity of your staircase.
Different Wood Options for Stair Treads
When picking wood for stair treads, think about how strong and attractive it is.
Popular choices include oak, maple, cherry, and walnut because they have beautiful grain patterns and different colors.
Oak is known for its toughness and traditional look, while cherry offers a rich, warm tone that darkens beautifully over time.
Maple provides a lighter, clean appearance that works well in modern homes, and walnut adds a deep, luxurious finish.
Considerations for Durability and Aesthetics
Besides looks, strength matters.
Hardwoods like oak and maple are tough, making them great for busy areas like stairs.
If your stairs get a lot of foot traffic, especially with kids or pets, choosing durable wood is key to avoiding dents and scratches.
Also, consider the maintenance needs—some woods may require more frequent sealing or staining to maintain their beauty.
Where to Source High-Quality Wood for the Project
Get good-quality wood from local lumberyards, woodworking stores, or trusted online shops.
Buying locally often allows you to inspect the wood in person, ensuring there are no warps or defects.
If purchasing online, read reviews and check return policies in case the wood isn’t up to your expectations.
Measuring and Cutting the Wooden Stair Treads
Accurate measurements and precise cuts are key to ensuring your stair treads fit perfectly.
This will guide you through the process, from removing old treads to cutting new ones safely.
Removing Old Stair Treads
Start by taking out the old stair treads using a pry bar.
Be careful not to damage the risers (the vertical part of the stairs).
Work slowly to avoid splintering the wood or causing unnecessary damage to the structure beneath.
Using a putty knife alongside the pry bar can help protect delicate surfaces from getting scratched.
Taking Accurate Measurements of the Staircase
Measure your staircase carefully to make sure the new treads fit perfectly.
Accurate measurements help you know the right size and number of treads you need.
Measure both the width and depth of each step, as older staircases might not be perfectly uniform.
Double-check your measurements to prevent costly mistakes when cutting the wood.
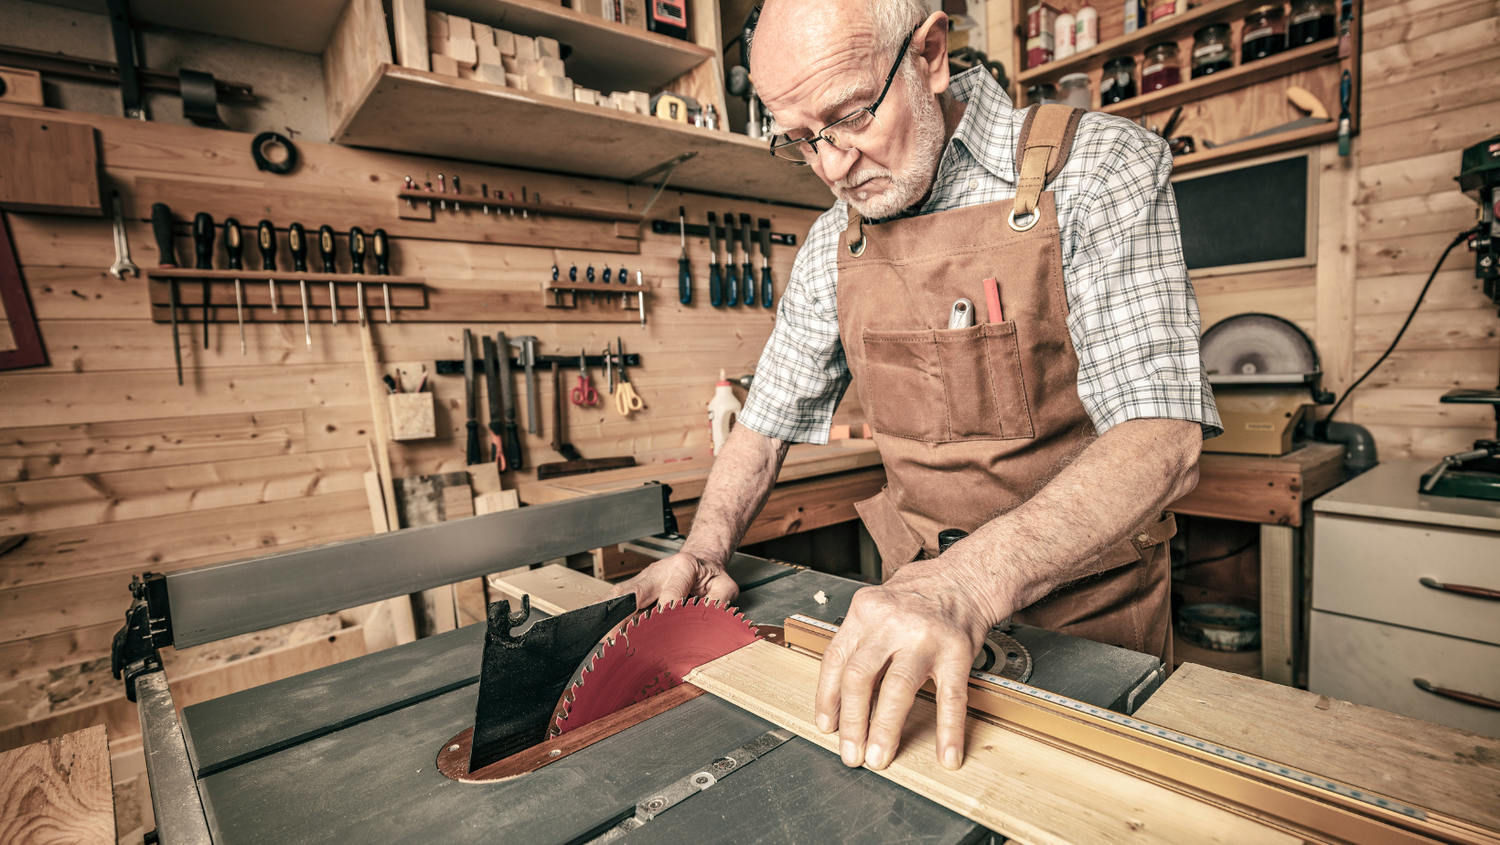
Using the Measurements to Cut the Wood to the Right Size
After measuring, cut the wood to size with a table saw or circular saw.
Always follow safety rules and wear protective gear when using power tools.
Consider using a straight edge or guide to keep your cuts clean and accurate.
Label each tread with its corresponding step if the measurements vary, to avoid confusion during installation.
Safety Tips for Using Power Tools During the Cutting Process
Wear safety goggles and ear protection when cutting wood.
Keep your work area clean and free of clutter to avoid accidents.
Make sure your saw blades are sharp to reduce the risk of kickback and uneven cuts.
Always unplug power tools when adjusting blades or performing maintenance to prevent accidental starts.
Creating the Nosing for the Stair Treads
Nosing adds both safety and style to your stair treads by providing a smooth, rounded edge.
Here, you’ll learn how to create and attach nosing for a professional finish.
Understanding the Purpose of Nosing on Stair Treads
Nosing is the rounded edge of the stair tread.
It helps prevent tripping and adds a nice look to the stairs.
Nosing also increases the surface area of each step, offering better foot support and making the stairs more comfortable to use.
In many building codes, proper nosing is required for safety compliance, so it’s important to get this detail right.
Step-by-Step Instructions for Making and Attaching Nosing
Use a router to round the edge of the stair tread to create the nosing.
Attach the nosing with wood glue and finish nails so it stays secure.
For extra durability, consider using screws in addition to nails, especially if the stairs will handle heavy traffic.
Be sure to fill any nail holes with wood filler and sand smooth for a seamless appearance.
Finishing Techniques for a Professional Look
After adding the nosing, sand the edges smoothly.
Apply stain or varnish to bring out the wood's natural beauty and give it a polished finish.
Using a wood conditioner before staining can help achieve an even color, especially with softer woods like pine.
Apply multiple thin coats of finish, sanding lightly between each layer for a smooth, professional look.
Installing and Finishing the Wooden Stair Treads
Proper installation and finishing techniques will help your stair treads stay secure and look polished.
Follow these steps to achieve a durable and beautiful final result.
Proper Installation Methods for Wooden Stair Treads
Attach the treads securely with construction adhesive and finish nails.
This makes sure the stairs are stable and safe to use.
For added strength, consider screwing the treads into place, then covering the screw holes with wood plugs for a clean finish.
Check each tread with a level to ensure it’s perfectly flat, as uneven treads can be a tripping hazard.
Sanding and Staining the Treads for a Polished Finish
Once the treads are installed, sand them to smooth out any rough spots.
Then, apply stain or varnish to protect the wood and give it a clean, finished look.
Use a tack cloth after sanding to remove dust, which helps the stain adhere evenly.
Consider using a water-based polyurethane for a durable, low-odor finish that dries quickly.
Tips for Maintaining and Caring for Custom Wooden Stair Treads
Keep your wooden stair treads looking great by cleaning them regularly.
Depending on wear and tear, you might need to refinish them occasionally.
Use rugs or stair runners in high-traffic areas to reduce scuffs and prolong the finish.
Avoid harsh chemicals when cleaning; instead, opt for gentle wood cleaners to maintain the wood’s natural luster.
How to Remove Stair Treads
Before installing new stair treads, you'll need to safely remove the old stair treads without damaging the surrounding structure.
This process requires the right tools and careful attention to avoid harming the risers or stair framing.
Step-by-Step Guide to Removing Stair Treads
-
Gather Your Tools: You'll need a pry bar, hammer, screwdriver, and safety gear like gloves and goggles.
-
Loosen the Treads: Start by removing any nails, screws, or adhesives holding the tread in place. Use a screwdriver to loosen fasteners.
-
Pry Gently: Insert the pry bar between the tread and the riser, applying gentle pressure to lift the tread without damaging the riser.
-
Work Slowly: Move along the tread, lifting a little at a time to prevent cracks or splits.
-
Clean the Surface: Once removed, scrape away any leftover glue or debris to prepare for the new treads.
How to Replace Stair Treads
Replacing stair treads is a great way to refresh the look of your staircase while improving safety and durability.
With proper tools and techniques, you can achieve a professional finish.
Steps to Replace Stair Treads
-
Measure and Cut: Measure the space for each new tread carefully, then cut your new wood to fit using a table saw or circular saw.
-
Dry Fit the Treads: Place the new treads in position to check the fit before attaching. Make adjustments as needed for a snug, even look.
-
Apply Adhesive: Use a strong construction adhesive on the stair frame to secure the tread, ensuring stability.
-
Secure with Nails or Screws: Fasten the treads in place with finish nails or screws for extra support.
-
Finish the Surface: Sand the treads, apply stain or paint, and seal them for long-lasting durability and style.
These sections will add value by providing readers with practical, hands-on tips for both removing and replacing stair treads effectively.
Steps to Success
Making your own wooden stair treads is a fun DIY project.
It lets you customize your stairs to match your home’s style.
By following this guide, you can create strong, beautiful stair treads that last for years.
Plus, the satisfaction of seeing your own handiwork every day adds a personal touch to your living space.
With proper care, your custom treads will continue to look great and serve your family for years to come.
Ready to Transform Your Staircase?
If you're looking to improve the look and feel of your staircase, Oak Valley Designs is here to help.
Whether you want to add warmth with carpet stair treads, create a cohesive look with matching landings, or elevate your space with stylish hallway runners, we’ve got solutions that fit your style and budget.
Our products are designed to be both beautiful and functional, making it easy to achieve the look you want without the hassle.
Contact Us Today to Get Started:
-
Website: https://oakvalleydesigns.com/
-
Phone: 706.331.0315
-
Email: info@oakvalleydesigns.com
-
Address: 30 River Ct SW, Bldg E, Cartersville, GA 30120
Let Oak Valley Designs help you create a staircase that’s as comfortable as it is stylish.