Tired of dealing with old, worn carpet stair treads that make your home look outdated and tired?
Learning how to remove stair treads is easier than you might think and can be done quickly without professional help.
By gently lifting the carpet stair treads starting from the corners and using simple tools like a pry bar or scraper, you can remove them efficiently without damaging your stairs.
In this guide, you’ll discover clear, step-by-step instructions on how to remove stair treads the right way.
You’ll also learn the best methods for cleaning sticky residue and preparing your stairs for a fresh, stylish update.
Whether you're planning to replace them with new carpet stair treads or exploring DIY options, this guide will help you refresh your staircase with confidence.
Introduction to Stair Tread Replacement
Maintaining and updating stair treads is an important part of keeping your home beautiful and safe.
Over time, stair treads can wear down, stain, or crack, affecting both the look and safety of your staircase.
Replacing old stair treads gives your stairs a fresh upgrade while improving traction for kids, pets, and guests.
DIY stair tread replacement is not only affordable but also rewarding.
It allows you to match your stairs to your style without the high cost of hiring a professional.
In this guide, you'll learn exactly how to remove carpet stair treads, clean your stairs, and apply new ones with confidence.
Tools and Materials Needed
Before you begin, gather everything you need to work efficiently from start to finish.
Having the right tools will help you remove stair treads without causing damage.
Tools for Removing Old Treads
-
Demo pry bar
-
Hammer
-
Utility knife
-
Tape measure
Materials for Cleaning and Applying New Carpet Treads
-
Vacuum cleaner
-
Broom
-
Cleaning solution
-
Scrub brush
-
New carpet treads
Tips for Gathering Supplies
Before you start, double-check that all tools and materials are on hand.
This will help you avoid mid-project runs to the store and keep the process smooth.
Choosing quality tools will also make the removal process easier and safer.
Pro Tip: Store your tools in a bucket or belt to keep them within easy reach.
Preparing to Remove Old Stair Treads
Preparation is key when starting a stair tread replacement project.
Clearing the work area will help you move freely and work safely.
Remove any items from the staircase and surrounding areas.
Lay down a tarp at the bottom of the stairs to catch any debris.
Gather your tools in a bucket or tool belt for easy access as you work.
Always wear safety glasses and gloves to protect your hands and eyes from debris.
Step-by-Step Process for Removing Stair Treads
Removing stair treads takes a careful and steady approach.
Follow these simple steps to remove your old treads without damaging your stairs.
Step 1: Loosen the Edges
Begin by sliding a utility knife along the edges of each stair tread.
This helps break the seal of any adhesive or tack strips holding the tread down.
Work carefully to avoid cutting into the wooden stair underneath.
This step is especially important if you are learning how to remove glued stair treads.
Cutting along the edges first will make the entire removal process smoother.
Step 2: Pry Up the Tread
Insert a demo pry bar under the loosened edge of the tread.
Tap the bar gently with a hammer to wedge it deeper underneath.
Slowly lift the tread, working your way across the step.
If you meet resistance, move a few inches down and try again rather than forcing it.
Patience will prevent unnecessary damage to the stair below.
If you are wondering how do you remove stair treads without damaging them?, the answer is to work slowly and use gentle, even pressure when prying.
Always avoid yanking or ripping the tread, as this could splinter the wood underneath.
Step 3: Remove Residual Adhesive
After the treads are removed, you may find leftover glue or adhesive strips on the stairs.
Learning how to remove glued stair treads properly includes cleaning up the mess they leave behind.
Use a cleaning solution designed for adhesive removal.
Apply it generously to the sticky areas and let it sit for a few minutes to soften the glue.
Scrape gently with a putty knife, being careful not to gouge the stair surface.
Repeat as needed until the stairs are clean.
Once finished, wipe down the stairs with a damp cloth to remove any residue.
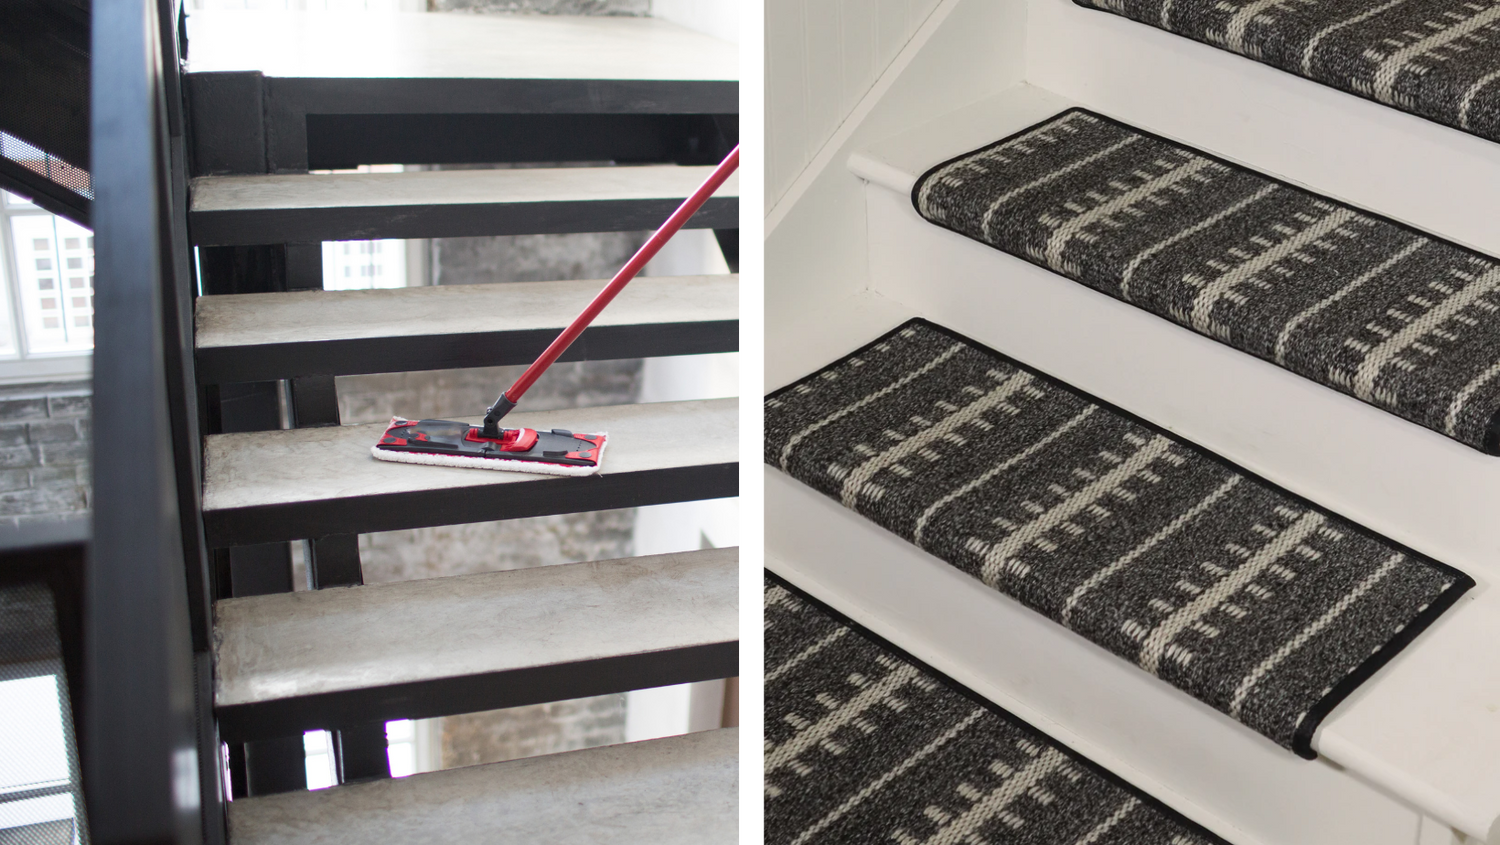
Deep Cleaning and Preparing Stairs for New Treads
Thorough cleaning is critical to achieving a professional finish when installing new treads.
After removing old glue and debris, vacuum the stairs to pick up any dust.
Sweep the stairs carefully to ensure no small particles remain.
Wash the stairs with a gentle wood-safe cleaner using a scrub brush.
Let the stairs dry completely before installing new material, as moisture can affect adhesion. A clean, dry surface ensures a long-lasting result.
How to Choose New Stair Treads
Choosing the right stair treads is as important as installing them correctly.
Consider materials that fit your home's style and your family's needs.
Wool, sisal, and nylon are popular for their durability and aesthetic appeal.
If you have pets or small children, opt for a material that offers better traction and easy cleaning.
Look for eco-friendly materials if sustainability is important to you.
Before purchasing, measure each stair carefully to ensure the right size fit.
Ordering sample swatches can help you see colors and textures in your home lighting before committing.
Ask yourself: Will this be safe, stylish, and simple to maintain in daily life?
Installing Your New Stair Treads
Once your stairs are clean and dry, and you have your new treads ready, it’s time to install them.
Follow the manufacturer's instructions carefully.
Generally, you’ll peel off the adhesive backing and place each tread firmly on the stair.
Press from the center outward to ensure full contact and remove any air bubbles.
Use a roller or your hands to apply firm pressure for a secure bond.
Take your time to align each tread evenly before pressing it down.
Even small misalignments can affect the final look of the staircase.
Once all treads are installed, avoid walking on them for several hours to allow full adhesion.
Tip: Place a temporary sign at the bottom step to remind others to avoid the area.
How to Remove Glued Stair Treads the Right Way
If your original stair treads were heavily glued, the removal process may require extra effort.
Use a specialized adhesive remover to soften stubborn glue patches.
Apply the remover according to the product's instructions and allow it time to work.
Scrape slowly and gently to lift softened adhesive.
Do not use metal scrapers aggressively, as they can damage wood surfaces.
After removing the glue, neutralize the remover with water if directed.
Thoroughly drying the stairs ensures a clean surface for new installation.
Knowing how to remove glued stair treads properly saves time and preserves your stairs’ condition.
DIY Stair Treads: Building and Installing Your Own
If you prefer a truly custom look, you can learn how to make your own stair treads.
Creating DIY stair treads involves choosing a durable wood like oak, maple, or pine.
Cut each piece of wood to fit the exact size of your stair steps.
Sand the wood thoroughly to eliminate splinters and rough edges.
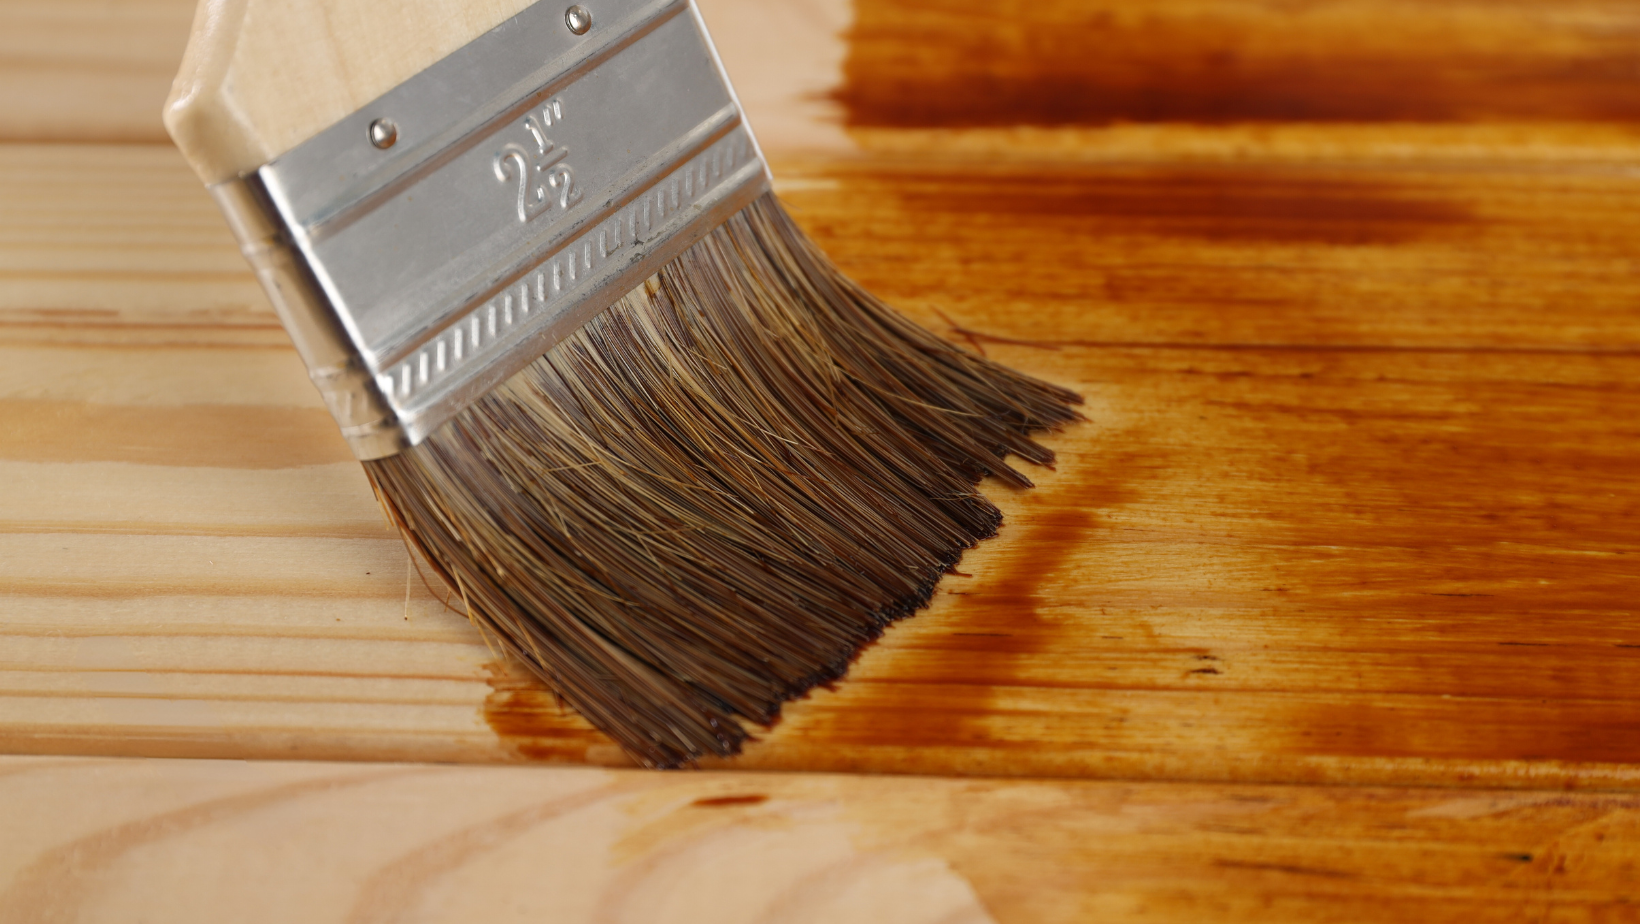
Stain or paint the treads to match your home's style.
Apply a non-slip finish or adhesive strips to increase safety.
Installing DIY stair treads gives you full control over the material, style, and finish.
It’s a rewarding project that can dramatically upgrade the look of your home.
Common Mistakes to Avoid When Removing Stair Treads
Many first-time DIYers make avoidable mistakes when tackling stair tread replacement.
Here are some common pitfalls and how to avoid them:
-
Rushing the removal process and damaging stair surfaces
-
Using the wrong tools and causing splintering or gouging
-
Failing to fully remove adhesive before installing new treads
-
Not measuring carefully, leading to improperly fitted new treads
-
Ignoring stair cleaning and drying steps, resulting in poor adhesion
Taking your time and following a step-by-step approach is the key to a smooth project.
If you are patient and methodical, your staircase transformation will be successful and satisfying.
Stepping It Up
DIY stair tread replacement is one of the most rewarding home improvement projects you can take on.
It enhances the beauty, safety, and comfort of one of the most used areas of your home.
Whether you're removing old treads, learning how to remove glued stair treads, or figuring out how do you remove stair treads without damaging them?, following a careful process will deliver excellent results.
If you’re interested in taking it a step further, learning how to make your own stair treads can add a completely custom touch to your home.
At Oak Valley Designs, we make it easy to update your stairs with our durable, easy-to-install carpet stair treads.
Designed with families, pets, and real life in mind, our products help you create a home you love without stress.
Ready to transform your staircase into something beautiful?
We’re here to help every step of the way.
-
Website: https://oakvalleydesigns.com/
-
Phone: 706.331.0315
-
Email: info@oakvalleydesigns.com
-
Address: 30 River Ct SW Bldg E Cartersville, Ga 30120