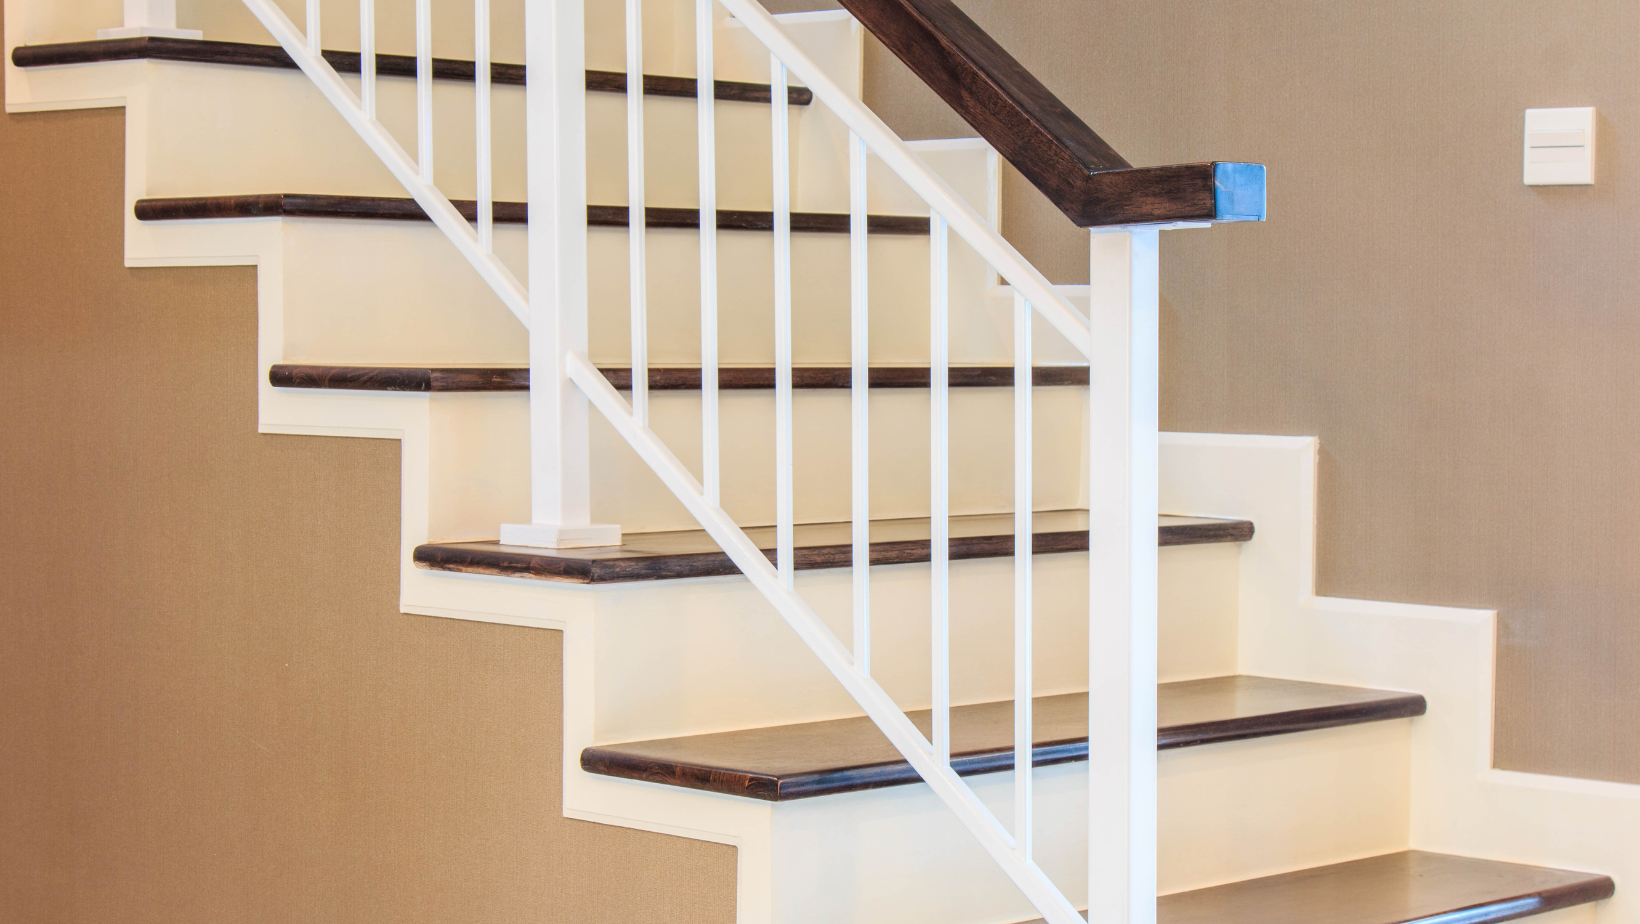
A worn-out staircase isn’t just unsightly—it can also be a safety risk.
How to replace stair treads is a straightforward process that involves removing old treads, measuring and cutting new ones, and securely fastening them in place.
This upgrade enhances your home’s aesthetic, improves stability, and extends the life of your staircase.
For added safety and comfort, consider installing carpet stair treads after replacing the wood.
These non-slip coverings provide extra grip, reduce noise, and protect the new treads from wear and tear.
Keep reading for a step-by-step guide to ensure a seamless and professional stair tread replacement.
Why Replacing Stair Treads is Important
Many homeowners don’t realize the impact stair treads have on a home’s overall safety and aesthetic appeal.
Worn or damaged treads can lead to structural issues, making your staircase unsafe to use. If the wood is cracked, warped, or loose, it could cause someone to trip or fall.
Replacing old stair treads also enhances your home's value.
If you’re planning to sell your home or simply want to refresh your interior, installing new stair treads is a cost-effective way to modernize your staircase without a full renovation.
Additionally, upgrading to high-quality stair treads can provide better noise reduction, ensuring a quieter and more comfortable living space.
Choosing the Right Stair Treads for Your Home
Before learning how to install/attach/fasten stair treads, it’s essential to choose the right type of material.
There are various options available, each with its own benefits:
1. Solid Hardwood Stair Treads
Hardwood treads, such as oak, maple, or walnut, are durable and provide a classic, elegant look.
They are often used in traditional or high-end homes due to their longevity and beauty.
2. Engineered Wood Stair Treads
Engineered wood offers the same visual appeal as solid hardwood but is more resistant to moisture and warping.
It’s an excellent choice for homes in humid climates.
3. Carpet Stair Treads
For added comfort, safety, and style, consider using carpet stair treads.
They help prevent slips, reduce noise, and add warmth to your staircase.
Many homeowners opt for carpet stair treads to complement their wooden stairs while ensuring safety for pets and children.
4. DIY Stair Treads
If you prefer a personalized approach, you can learn how to make your own stair treads using reclaimed wood or other materials.
This is a great option for those who enjoy DIY projects and want to customize their staircase to match their home's interior design.
Step-By-Step Guide to Replacing Stair Treads
Step 1: Gather Tools and Materials
Before starting your stair tread replacement, ensure you have the necessary supplies:
-
Pry bar
-
Hammer
-
Circular saw
-
Measuring tape
-
Wood glue
-
New wooden stair treads
-
Nail gun or screws
-
Sandpaper
-
Protective finish
Additionally, wear safety gear such as gloves and goggles, and work in a well-ventilated space.
Step 2: Remove Old Stair Treads
Using a pry bar and hammer, carefully lift and remove the existing stair treads.
Take your time to prevent damage to the staircase structure.
If the old treads are nailed down, use the back of the hammer to remove the nails carefully.
Dispose of old treads responsibly according to your local waste guidelines. If they are still in decent condition, consider repurposing them for other DIY projects.
Step 3: Measure and Cut New Treads
Precise measurements are crucial for a professional-looking installation.
Use a measuring tape to determine the exact dimensions of the old treads and transfer these measurements onto your new treads.
When cutting the new treads, use a circular saw for straight and accurate cuts.
If you are working with hardwood, ensure your saw blade is sharp to avoid splintering.
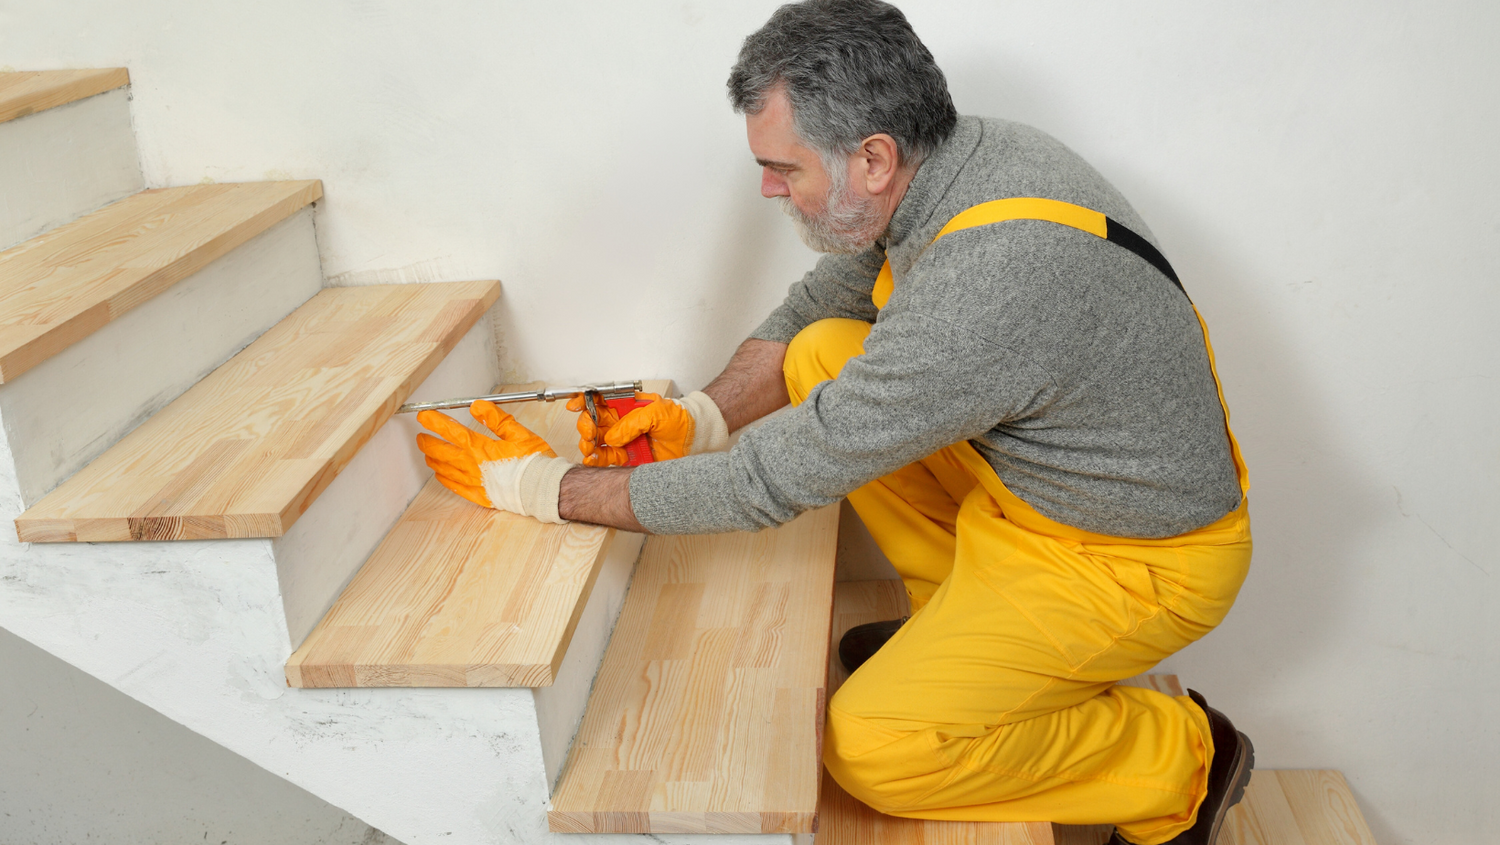
Step 4: Install New Treads Securely
To ensure a strong and lasting installation, follow these steps:
-
Apply Wood Glue – Add wood glue to the staircase stringers for extra adhesion.
-
Position the Treads – Place the new treads in position, ensuring they fit snugly.
-
Secure with Fasteners – Use a nail gun or screws to attach the treads firmly to the staircase. This step is essential for structural integrity and safety.
If you’re unsure how to install/attach/fasten stair treads securely, always double-check alignment before securing them in place.
An improperly fastened tread can lead to creaking or instability over time.
Step 5: Sand and Apply Finish
After securing the new treads, sand down any rough edges to create a smooth and even surface.
Applying a protective finish will enhance the wood’s durability and appearance.
Choose a stain or finish that matches your home’s decor for a cohesive look.
Allow the finish to dry completely before using the stairs.
Step 6: Clean Up and Inspect Your Work
Remove any sawdust and debris, and inspect the installation to ensure the treads are level and secure.
Walk across the stairs to test stability and make any necessary adjustments.
Adding Carpet Stair Treads for Safety and Style
Once your new stair treads are installed, you may want to enhance them with carpet stair treads.
These provide additional benefits, including:
-
Slip Resistance – Carpet stair treads reduce the risk of slipping, making them ideal for homes with children or elderly residents.
-
Noise Reduction – They help absorb sound, making foot traffic quieter.
-
Protection for Wood – Carpet helps prevent scratches and wear on wooden stair treads.
Carpet stair treads are easy to install. Simply clean the stair surface, peel off the adhesive backing, and press the carpet tread firmly onto each step.
No nails or tape are required, making this a simple and effective upgrade.
How to Make Your Own Stair Treads for a Custom Look
For homeowners who prefer a DIY approach, you can make your own stair treads using reclaimed wood, plywood, or other materials.
Custom stair treads allow you to create a unique, personalized look that fits your home's style.
To create your own stair treads:
-
Choose the Right Wood – Reclaimed wood adds character, while plywood is a budget-friendly option.
-
Measure and Cut the Treads – Use a circular saw for precision.
-
Sand and Stain – Smooth out rough edges and apply a protective stain.
-
Attach Securely – Follow the same method as standard stair treads for installation.
By learning how to make your own stair treads, you can customize the look of your staircase while saving money on materials.
Stepping It Up
Replacing stair treads is a practical and rewarding home improvement project that enhances both safety and style.
Whether you choose hardwood, engineered wood, or carpet stair treads, following the correct installation process ensures a durable and professional result.
For those looking to add extra comfort and security, carpet stair treads are a great finishing touch.
If you’re interested in how to install/attach/fasten stair treads correctly, always follow precise measurements and secure the treads firmly in place.
Explore Luxury Stair Tread Solutions from Oak Valley Designs
For a high-end, handcrafted finish, Oak Valley Designs offers premium carpet stair treads designed for style and safety.
Our non-slip solutions enhance any staircase while adding an elegant touch to your home.
Shop now or contact us for expert advice:
-
Website: https://oakvalleydesigns.com
-
Phone: (706) 331-0315
-
Email: info@oakvalleydesigns.com
-
Address: 30 River Ct SW Bldg E, Cartersville, GA 30120