Sand and Prime the Staircase
From Stair Riser Painting · Step 2 of 6 · Video by Refresh Home Improvements
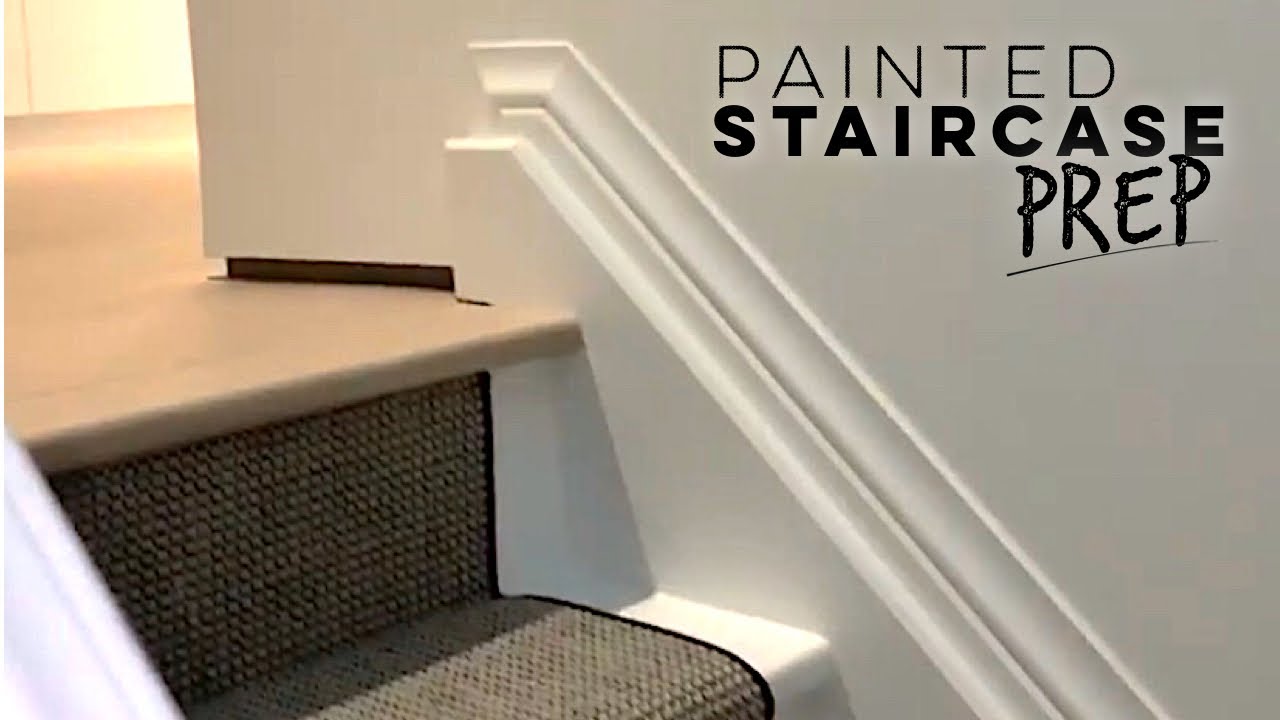
Showing 0:07–1:27 of the source video.
What happens in this clip
Once all fillers and caulk have dried completely, lightly sand all treated surfaces and other parts of the staircase to ensure a perfectly smooth and even finish. Pay close attention to areas where filler or caulk was applied, ensuring they blend seamlessly with the existing surface. Use a sanding sponge for curved or intricate areas and a sanding block for flat surfaces. After sanding, thoroughly clean the staircase to remove all dust and debris, creating an optimal surface for primer application. Finally, apply a coat of INSL-X STIX bonding primer to all surfaces of the staircase. This primer is designed to adhere well to various surfaces, providing an excellent base for the final paint coats.
What's used
Tools
- INSL-X STIX Primer
- Paint Brush
- Paint Roller
- Sanding Block
- Sanding Sponge
- Tack Cloth/Damp Rag
- Vacuum Cleaner
About the full video
This video details the process of preparing a staircase for painting, focusing on filling cracks, bumps, and imperfections, as well as sealing gaps. It showcases the application of various fillers and caulking products, followed by sanding and priming, ultimately leading to a smooth, paint-ready surface. The video then concludes by showing the final painted and carpeted staircase.
Step 2 of 6: Sand the Stair Risers
Using fine-grit sandpaper (120-150 grit), lightly sand each stair riser. Focus on smoothing out any rough spots or imperfections. After sanding, wipe away all dust with a tack cloth or a slightly damp cloth. This prepares the surface for the primer.
Other videos for this step
Stair Riser Painting
A high-level outline for painting stair risers white, covering preparation, priming, painting, and finishing.
Read the full guide Browse all guides
Planning this project? Shop Oak Valley Designs.