
Sand and Clean (Post-Primer)
From Stair Riser Painting · Step 4 of 6 · Video by The Home Depot
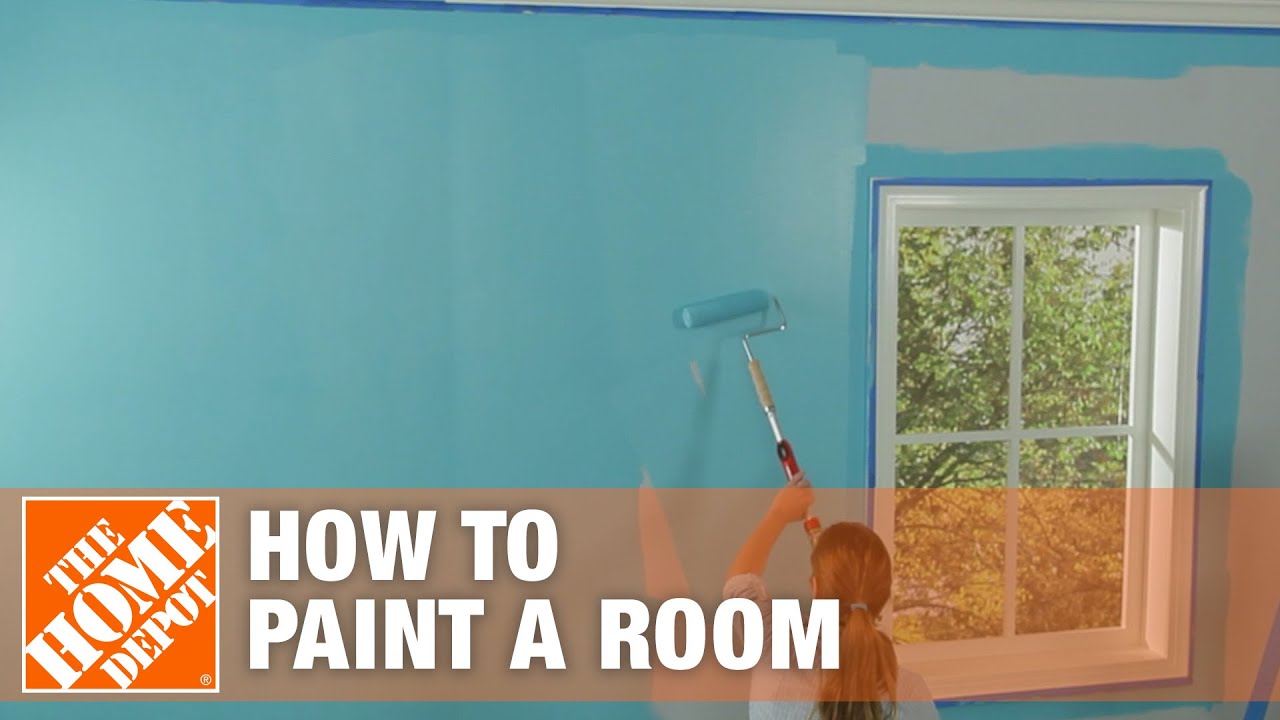
Showing 6:08–6:28 of the source video.
What happens in this clip
Once the primer has completely dried, lightly sand away any remaining bumps, ridges, or surface imperfections that may have appeared after priming. Use very fine 220-grit sandpaper, folded into quarters, or a sanding sponge for this task. As the sandpaper section gets covered with paint dust, switch to an unused section or a fresh piece. After sanding, wipe the walls clean with a damp towel or sponge to remove all dust, and allow them to dry completely before applying the final coat of paint.
Goal: Ensure a perfectly smooth surface after priming for optimal paint adhesion and finish.
What's used
Tools
- Damp Towel or Sponge
- Sanding Sponge
- Very Fine-grit Sandpaper
About the full video
This project provides a detailed guide on how to prepare a room for painting, including surface preparation, masking with painter's tape, protecting floors and furniture, and then applying primer and paint using proper techniques to achieve professional-looking results. Emphasizes the importance of thorough preparation to avoid common mistakes and ensure a high-quality finish.
Step 4 of 6: Sand Between Coats (Optional)
Once the primer is completely dry, lightly sand the risers with very fine-grit sandpaper (220 grit or higher). This will knock down any subtle imperfections or raised grain. Wipe away all dust with a tack cloth.
Other videos for this step
Stair Riser Painting
A high-level outline for painting stair risers white, covering preparation, priming, painting, and finishing.
Read the full guide Browse all guides
Planning this project? Shop Oak Valley Designs.

Subscribe for exclusive updates
Be the first to know about promotions, new products, and sales.