
Replicate Stringers (Pattern Use)
From How to Lay Out and Cut Deck Stair Stringers · Step 5 of 6 · Video by Project DIY
Showing 7:14–7:47 of the source video. Watch the full video with every moment.
What happens in this clip
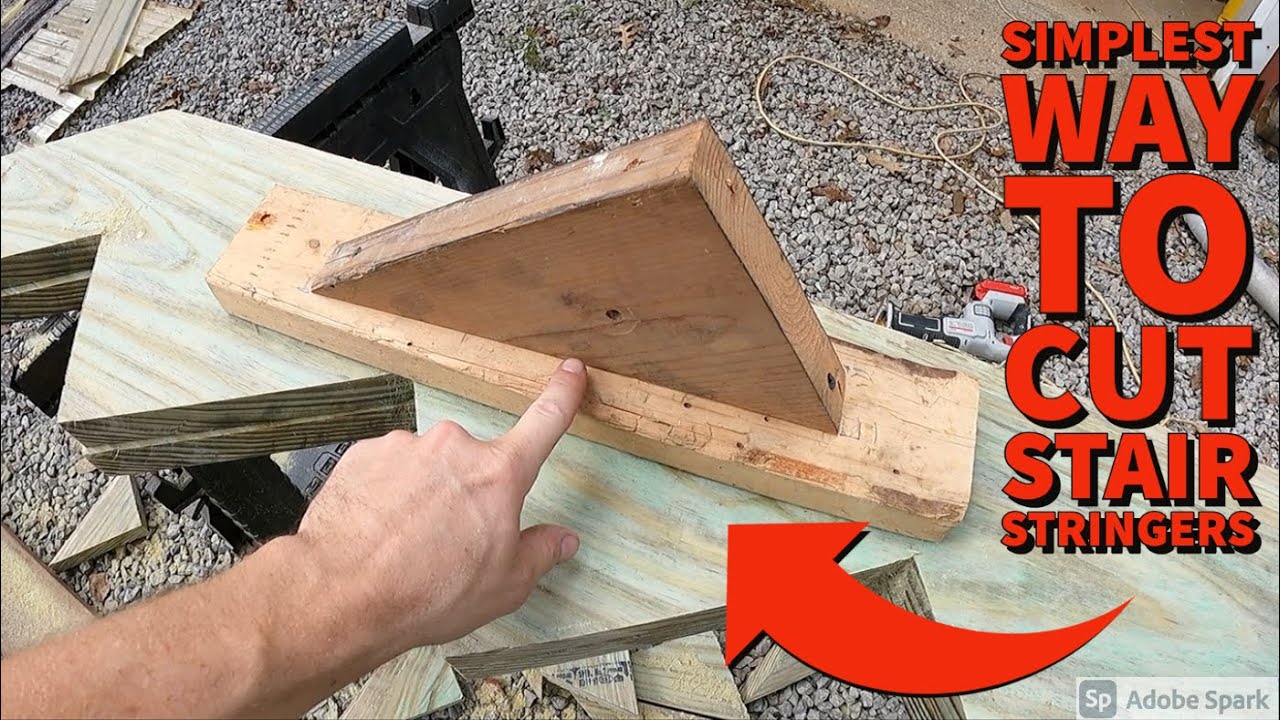
Once the first stringer is perfectly cut, mark it with a 'P' (for pattern) to easily identify it. Use this first stringer as a master template to mark all subsequent stringer boards. Lay the 'P' stringer directly onto a new stringer board, align it carefully, and trace its outline with a pencil. This method ensures that all stringers are identical in dimensions, eliminating the need to re-measure and recalculate for each one, which saves time and prevents compounding errors.
Goal: Efficiently create multiple identical stair stringers
What's used
Tools
- Cut Stringer (Pattern) DIY
- Pencil Stanley
- Marker
Materials
- New Treated Lumber Board
About the full video
This project demonstrates an easy method for cutting stair stringers for a deck or other outdoor structure. It involves calculating the required rise and run, creating a simple wooden jig to mark the cuts accurately, and then using circular and reciprocating saws to cut the stringers. The method emphasizes using the initial stringer as a pattern to ensure consistency across multiple stringers, simplifying the process and avoiding complex mathematical calculations for each cut.
Step 5 of 6: Transfer Layout and Cut Additional Stringers
With the first stringer accurately cut, use it as a template to mark the layout on your other stringer boards. Lay the first stringer on top of a new 2x12 board, aligning the edges precisely. Trace the lines of the first stringer onto the second board. Repeat this for all required stringers (typically two to three, depending on the width of your stairs). Once marked, cut the additional stringers following the same procedure as the first, ensuring all cuts are clean and accurate. Having identical stringers is crucial for stable and level stairs.
Every video in How to Lay Out and Cut Deck Stair Stringers
Step 1: Determine Stair Riser Height and Tread Depth
- 0:06–1:32 Calculate Stair Dimensions
- 0:19–0:57 Calculate Stair Dimensions and Stringer Type
- 0:51–1:37 Calculate Individual Step Rise and Total Run
Step 2: Select Stringer Material
- 0:00–0:03 Cut Stringers
- 6:08–6:51 Stair Stringer Fabrication
- 2:20–3:14 Mark and Cut Stringers
Step 3: Mark the First Stringer Layout
- 3:10–3:59 Mark the Stringer Board
- 6:59–9:34 Mark the Stair Stringer for Cutting
- 6:12–7:01 Marking the Stringers
Step 4: Cut the First Stringer
- 6:15–7:14 Cut Out the Stringer
- 4:16–5:49 Cut Stringers
- 15:12–19:27 Cutting the Stair Stringer
Step 5: Transfer Layout and Cut Additional Stringers
- 8:43–8:58 Cutting Remaining Stringers using Template
- 7:14–7:47 Replicate Stringers (Pattern Use) (this video)
- 2:49–3:44 Layout and Cut Stringers
Step 6: Trim the Bottom of the Stringers
- 7:25–10:59 Mark Top and Bottom Stringer Cuts
- 7:30–8:22 Check and Adjust First Stringer
- 8:10–9:35 Mark Top and Bottom Stringer Cuts
How to Lay Out and Cut Deck Stair Stringers
Outline for laying out and cutting deck stair stringers, including material selection, measurement, layout, and cutting techniques.
Read the full guide Browse all guides
Planning this project? Shop Oak Valley Designs.

Subscribe for exclusive updates
Be the first to know about promotions, new products, and sales.