
Stair Tread Installation
About This Guide
Worried about slippery granite stairs? This guide walks you through our simple 'Clean, peel, and stick' process for installing 13 custom-fit carpet treads and a matching landing tread. Achieve peace of mind and elevate your staircase in just a few easy steps.
Tools & Materials

Steps
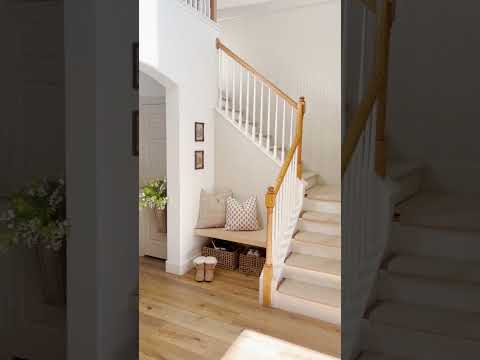
Prepare Your Surface for a Perfect Bond
For a bond that lasts, a clean, dry surface is non-negotiable. Dust, dirt, or even a little grease can prevent the adhesive from gripping properly, leading to treads that shift or lift. Vacuum or wipe each step clean, then let it dry completely—even a hint of moisture can weaken the bond. If your steps are rough, a light sanding can help. Important Safety Note: Never apply treads over freshly painted or varnished stairs; allow the finish to cure fully first, as the adhesive won't bond securely to an uncured surface.
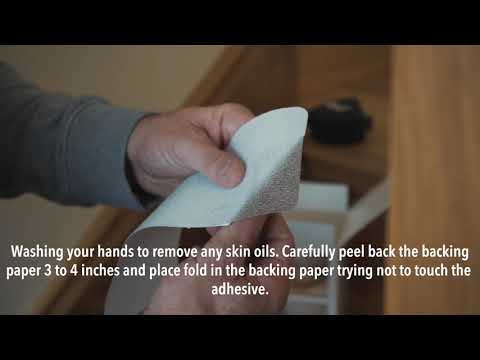
Center for a Professional Look
A perfectly centered tread is the secret to a polished, high-end look. Use a pencil or chalk to lightly mark the center point of each step. This simple guide ensures every tread lines up beautifully. Because our treads are custom-made to fit, you typically won't need to do any trimming—another part of the Oak Valley Difference.

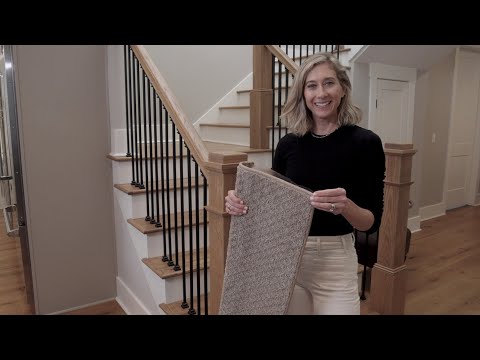
The 'Clean, Peel, and Stick' Moment
Always work from the top step down—this smart technique keeps you from stepping on your freshly installed treads. Ready? It's time for the magic. Peel the backing off the first tread, align it with your center mark, and gently place it down. No nails, no glue, no stress!
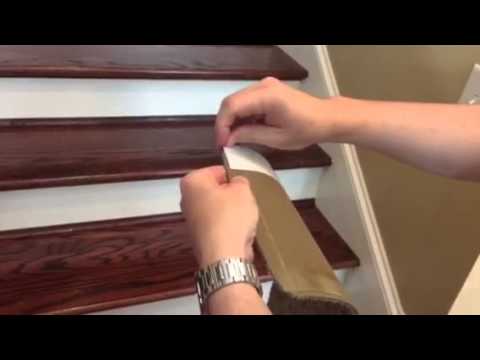
Secure the Bond
Now, let's lock it in. Press down firmly in the center of the tread and work your way out to the edges. This pushes out any trapped air bubbles and ensures full contact. Give extra attention to the corners and edges to prevent any curling or lifting. You can use a small hand roller or even a flat, solid object to help seat the tread firmly for maximum grip.
Repeat, Admire, and Test
Continue this simple process one step at a time as you work your way down the staircase. When you're done, walk up and down your newly transformed stairs to feel the difference! The added traction provides immediate peace of mind. If you notice any edge lifting slightly, just press it down firmly again or allow a bit more time for the adhesive to fully set.
Questions about your project or which product fits? Oak Valley Designs's team is happy to help. Mon–Fri 9–5 ET

Subscribe for exclusive updates
Be the first to know about promotions, new products, and sales.