
Stair Tread Installation
About This Guide
Are your home's stairs too narrow for comfort, especially for children or pets? Replacing shallow treads with deeper ones is a fantastic solution that can dramatically improve safety and bring a new level of style to your home. This guide is for the confident DIYer ready to tackle a rewarding project. We'll walk you through removing old treads, preparing a solid foundation, and installing beautiful new, deeper treads. This project requires precision and care, but the result is a safer, more comfortable staircase that gives your family peace of mind with every step.
Tools & Materials

Steps
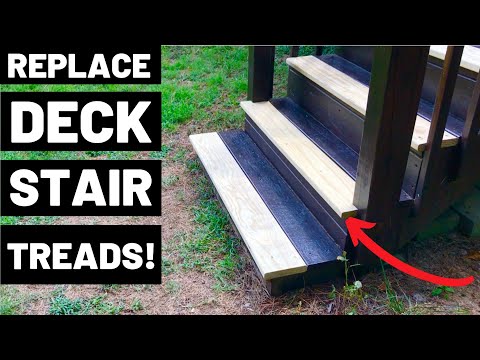
Carefully Remove the Old Treads
The first step to elevate your staircase is removing what's already there. Locate the seam where your existing tread meets the vertical riser and the side support (the stringer). Gently insert a pry bar into this gap and apply steady leverage to loosen the tread. Work your way along the edge. If the treads are fastened with visible screws or nails, remove them first to make this job easier. For a stubborn tread, a firm tap on the pry bar with a rubber mallet can provide the necessary force, but always work with care to avoid damaging the core structure of your staircase. Remove each tread one by one.
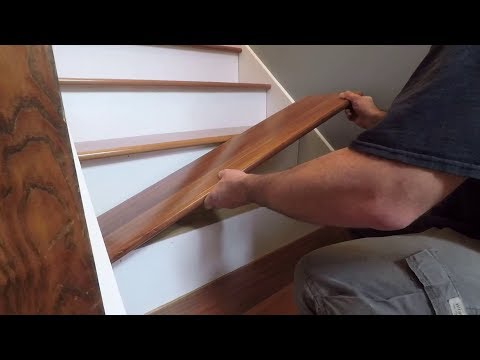
Inspect and Prepare the Foundation
A quality installation starts with a solid foundation—that's The Oak Valley Difference. With the old treads gone, take a moment to thoroughly inspect the subfloor. Look for any signs of water damage, rot, or other issues. Press down firmly on all areas to check for loose boards or squeaks. It is critical to repair or replace any damaged sections before proceeding. Secure any loose subfloor boards with screws to create a silent, unmoving base. A strong foundation is non-negotiable for a safe staircase that's built for everyday life.
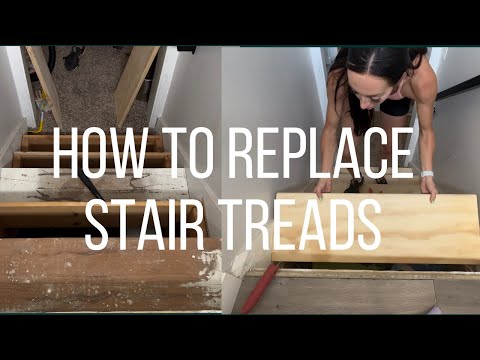
Measure and Cut Your New Treads
Precision is what makes a DIY project look professionally done. Measure the exact width of each stair opening from one side stringer to the other. Next, determine the depth you need, measuring from the face of the riser to where you want the new 'nosing' (the front edge of the tread) to overhang. Carefully transfer these measurements to your new tread material with a pencil and a straight edge. For the cleanest, most accurate cuts, we recommend a jigsaw or circular saw. Pro tip for a no-stress installation: always test-fit each cut tread in its intended place before moving on to permanent fastening.
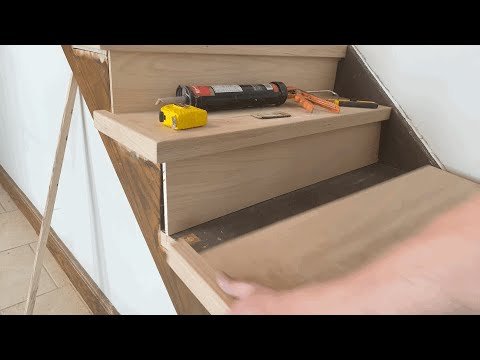
Adjust Riser Height if Needed
Because your new treads are deeper, they will change the perceived height of each step. To maintain a safe and comfortable climbing rhythm, the height of every riser needs to be consistent. You may need to modify the risers to account for this change. This could mean adding a thin strip of wood to the top of each riser or, in some cases, carefully shaving a small amount off. Place a new tread loosely and measure the new riser height to determine what adjustment is needed. This critical step ensures your finished staircase is as safe as it is beautiful.
Install Your New Stair Treads
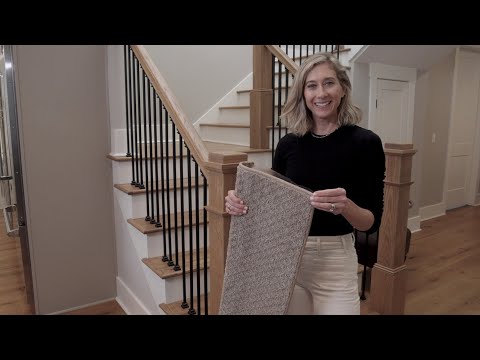
It's time to bring your vision to life. For a rock-solid installation that will stand the test of time, apply a generous bead of quality construction adhesive along the top of the riser and subfloor. Carefully set your new tread into position, ensuring it's flush with the riser and has your desired overhang. Secure the tread by driving screws from the top down into the subfloor and stringers. We always recommend pre-drilling pilot holes to prevent the wood from splitting. For a clean, finished look, use trim-head screws and sink them just below the surface; you'll fill these small holes in the next step.
Final Finishing and Inspection
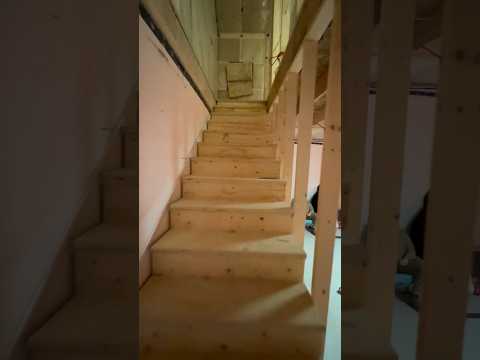
The final touches are all about ensuring quality and safety. Once all treads are installed, inspect them for any rough spots or sharp edges and lightly sand them smooth. Fill any visible screw holes with a matching wood putty, let it dry completely, and then sand the area smooth for a seamless finish. After cleaning up all dust and debris, it's time for the most important test. Walk up and down the stairs, testing each tread for stability, squeaks, or any movement. Confirm that railings are secure. Now you can enjoy the peace of mind that comes with a beautiful, safer staircase.
Questions about your project or which product fits? Oak Valley Designs's team is happy to help. Mon–Fri 9–5 ET

Subscribe for exclusive updates
Be the first to know about promotions, new products, and sales.