
← Guide
Stair Tread Installation
Step 5 of 7
Clip 1/3
Helpful?
Step 5 · Ensuring a Secure, Bubble-Free Bond
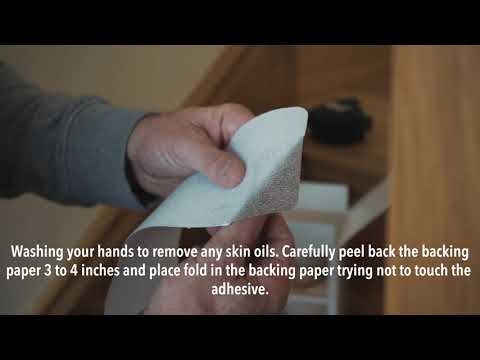
Slowly continue to peel away the rest of the adhesive backing. As you go, use your hands to smooth the tread firmly onto the wood, working from the front edge toward the back. Pay special attention to the edges and corners to ensure a complete seal. For an even better bond, you can use a clean, dry cloth or a small roller to apply consistent pressure across the entire surface. This ensures the full adhesion that provides safety and durability.
Tips and Tricks
(1)
1
Roll from the center outwards to push air towards the edges.
Roll from the center outwards to push air towards the edges.
Safety Warnings
(1)
General Hazard
Ensure all edges are well-adhered to prevent tripping hazards and premature wear.

Subscribe for exclusive updates
Be the first to know about promotions, new products, and sales.