
← Guide
Stair Tread Installation
Step 6 of 6
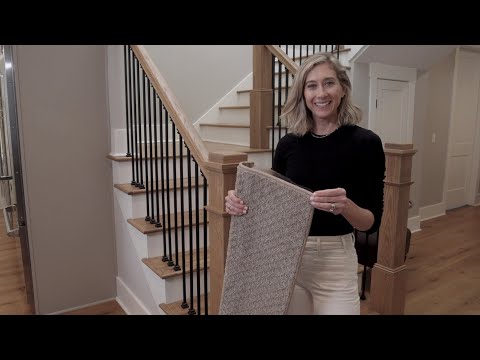
Step 6 · Step 6: Install with Confidence
Once you're happy with the placement, it's time for the easiest part! Our treads are a DIY-friendly solution. Simply clean the stair surface, peel the backing off the tread, and stick it in place. No nails, no glue, no stress. Carefully align the tread, ensuring your borders are even, and press down firmly across the entire surface to secure it. That's it! You've just made your stairs safer, more stylish, and built for everyday life.
Tools and Materials
 Oak Valley Tailored Square - Tread
Work from the top of the stairs downwards for easier alignment.
Work from the top of the stairs downwards for easier alignment.
Use a roller or a heavy object to apply even pressure across the entire tread surface for optimal adhesion.
Use a roller or a heavy object to apply even pressure across the entire tread surface for optimal adhesion.
General Hazard
Follow the adhesive manufacturer's instructions precisely for application and curing times.
You've reached the last step
Nice work — share this guide or find your next project.
Subscribe for exclusive updates
Be the first to know about promotions, new products, and sales.