
Stair Tread Installation
About This Guide
Wondering how much space to leave on each side of your carpet stair treads? It's a common question we hear from homeowners looking to achieve that perfect, professional look. The right border is key to ensuring your new treads not only look beautiful but are also centered for maximum safety. At Oak Valley Designs, we believe in empowering you to get it right. This guide will walk you through sizing and fitting your treads for a result that brings both safety and style to your home.
Tools & Materials

Steps
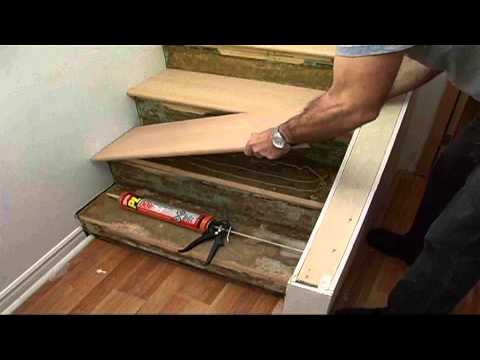
Step 1: Measure Your Current Stair Treads
Before you begin your easy DIY stair remodel, it’s important to see what you're working with. Measure the full width of your wooden stair step. Most stairs have about 1 to 1.5 inches of exposed wood on either side of a tread. This space is the 'border.' Getting this measurement gives you a great starting point for placing your new, high-quality treads for a balanced, intentional look that will bring warmth and elegance to your home.
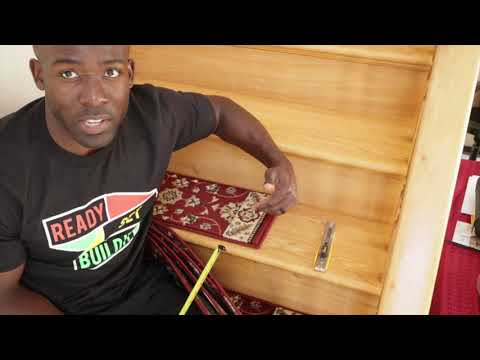
Step 2: Decide on Your Ideal Border
Now, decide on the final look. A border of 1 to 1.5 inches on each side is a classic choice that showcases your beautiful wood stairs while providing ample coverage for foot traffic. This is a matter of personal preference and what looks best in your home. The goal is to create a visually pleasing, symmetrical look that ensures your treads are centered for optimal footing and safety. This is where safety meets style.
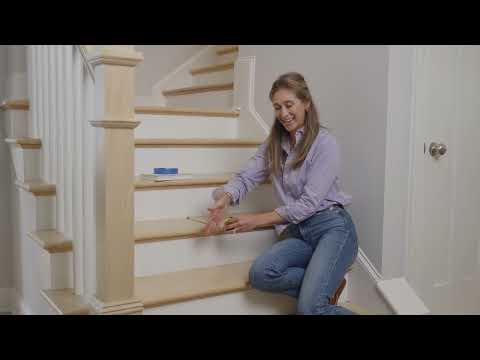
Step 3: Mark Your Treads for a Custom Fit
Many of our treads are custom-made to fit, so this step may not be necessary. However, if you do need to trim them, accuracy is key. Based on the stair width and your desired border, mark the dimensions on the back of the tread. A pencil or chalk line works perfectly. Remember the classic DIY rule: measure twice, cut once! Double-checking your marks now prevents mistakes and ensures a perfect fit.
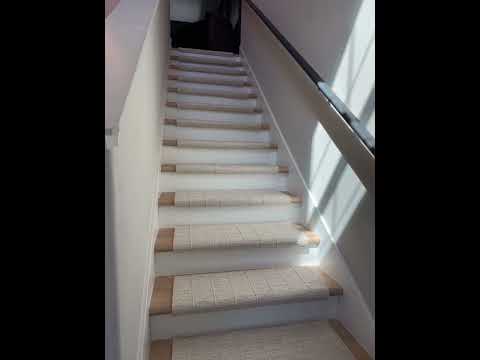
Step 4: Carefully Cut the Treads
If trimming is needed, use a sharp, appropriate cutting tool and follow your marked lines with care. A steady hand and a clean, straight cut are essential for that professional-looking finish we're aiming for. The precision you use here will directly impact the final look and help elevate your staircase.

Step 5: Do a 'Dry Run' Test Fit
Before you peel and stick, place the tread on the stair. This is a crucial 'dry fit' step. Check that your side borders are even and the tread sits perfectly. This is your chance to make any small adjustments before the final, simple installation. This ensures you get it right the first time, giving you peace of mind.
Step 6: Install with Confidence
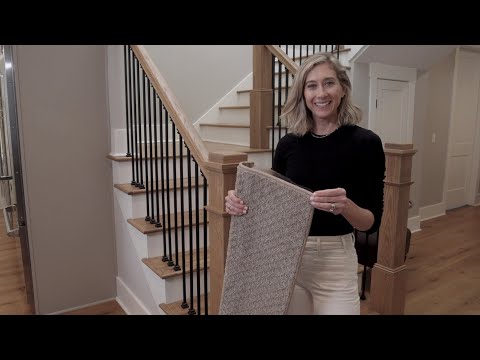
Once you're happy with the placement, it's time for the easiest part! Our treads are a DIY-friendly solution. Simply clean the stair surface, peel the backing off the tread, and stick it in place. No nails, no glue, no stress. Carefully align the tread, ensuring your borders are even, and press down firmly across the entire surface to secure it. That's it! You've just made your stairs safer, more stylish, and built for everyday life.
Questions about your project or which product fits? Oak Valley Designs's team is happy to help. Mon–Fri 9–5 ET
Subscribe for exclusive updates
Be the first to know about promotions, new products, and sales.