

How to Install a Hardware-Mounted Baby Gate at the Top of Stairs
About This Guide
This project outlines the steps to securely install a hardware-mounted baby gate at the top of a staircase, ensuring child safety.
Tools & Materials
TODDLEROO BY NORTH STATES Easy Swing and Lock Series 2,31 in. Stairway Child Safety Gate 5050
TODDLEROO BY NORTH STATES Easy Swing and Lock Series 2,31 in. Stairway Child Safety Gate 5050
Steps

Identify Mounting Surfaces
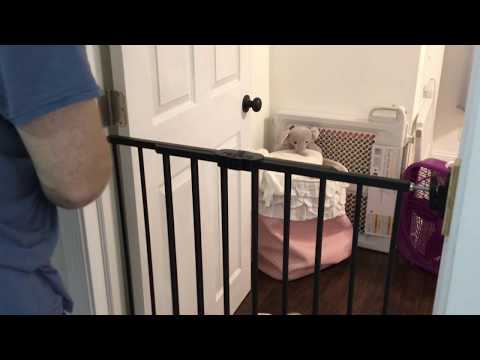
For a hardware-mounted baby gate at the top of a staircase, it is crucial to mount it to solid wood. Inspect the wall studs on either side of the staircase opening. You may need to use a stud finder to locate them precisely. If mounting to a newel post, ensure it is a solid wood post and not hollow. Avoid mounting to drywall alone or to baseboards, as these will not provide sufficient support.
Mark Bracket Positions
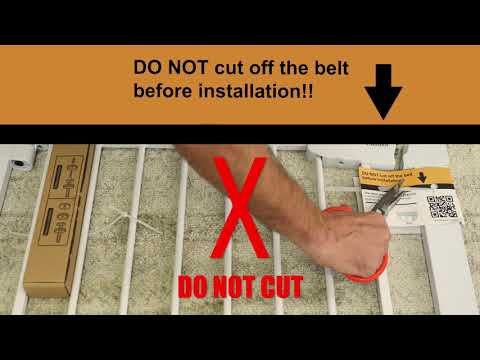
Place the baby gate in the desired position at the top of the stairs. Ensure it is level and that there is adequate clearance for the gate to swing open. Hold the mounting brackets against the wall or post at the pre-determined locations. Use a pencil to mark the exact center of each screw hole for both the top and bottom brackets on each side of the opening.
Drill Pilot Holes
Select a drill bit that is slightly smaller than the diameter of the screws provided with the baby gate. For each marked screw position, drill a pilot hole into the solid wood. The depth of the pilot hole should be sufficient to accommodate the length of the screw, but not so deep that it compromises the integrity of the wall.

Attach Mounting Brackets
Align each mounting bracket with the pilot holes drilled in the previous step. Insert the screws provided with the baby gate through the bracket holes and into the pilot holes. Use a screwdriver or drill with a screwdriver bit to tighten the screws until the brackets are firmly secured to the surface. Ensure there is no play or movement in the brackets.
Attach Gate to Brackets
Carefully lift the baby gate and align its corresponding mounting points with the installed brackets. Follow the manufacturer's instructions for your specific gate model to attach it to the brackets. This may involve sliding the gate onto posts, clicking it into place, or using additional fasteners. Ensure the gate is securely attached and does not wobble.

Adjust and Test Gate Functionality
Most hardware-mounted gates have adjustment screws or mechanisms to ensure a tight fit against the frame or wall. Adjust these as needed so the gate is snug and does not have excessive play. Open and close the gate multiple times to ensure it operates smoothly. Test the latching mechanism to confirm it engages securely and cannot be easily opened by a child. Check that the gate does not rub against the wall or banister in a way that would impede its function or cause damage.
Questions about your project or which product fits? Oak Valley Designs's team is happy to help. Mon–Fri 9–5 ET
Related Guides
See All
How to Update Rental Stairs with Removable Carpet Treads
How to Update a Spiral Staircase

How to Put Carpet Treads on Already-Carpeted Stairs

How to Fix Popping Noises from Adhesive Carpet Treads on Wood Stairs

Subscribe for exclusive updates
Be the first to know about promotions, new products, and sales.