
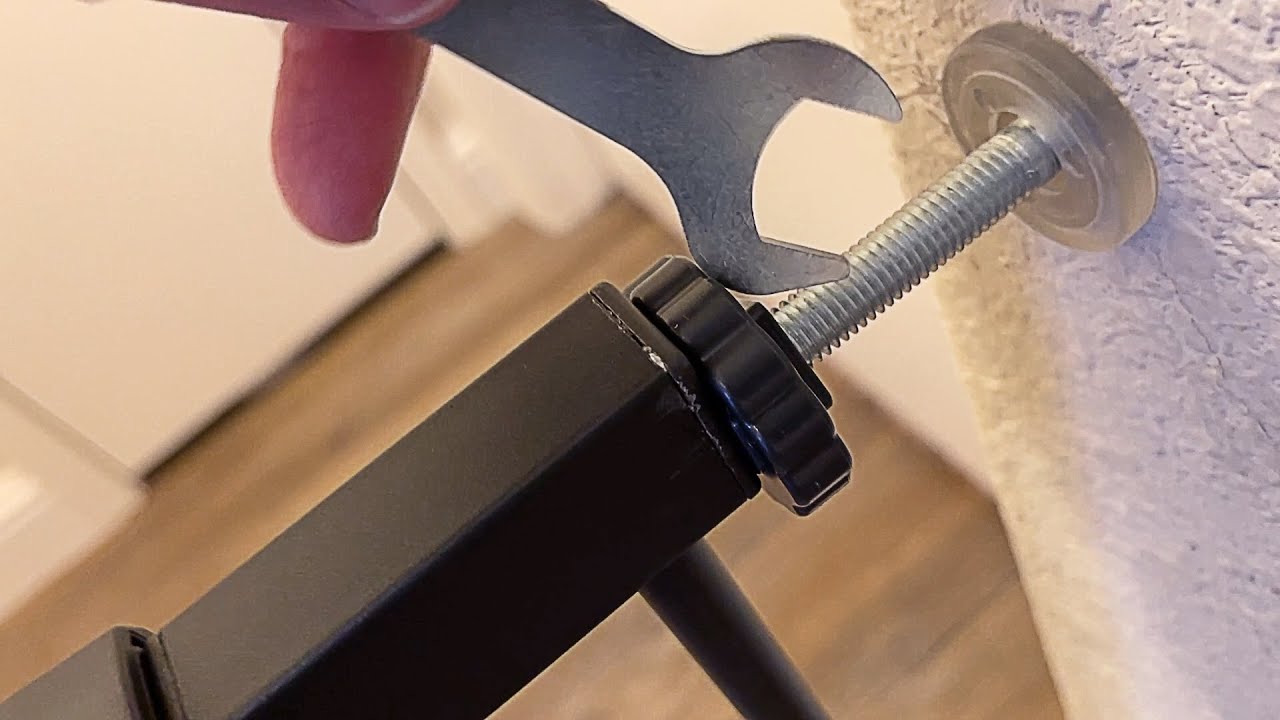
How to Install a Baby Gate on Stairs with a Banister on One Side and a Wall on the Other
About This Guide
Outline for installing a baby gate on stairs with a banister on one side and a wall on the other. This typically involves using a banister mounting kit for the banister side and standard hardware for the wall side, ensuring a secure and safe installation.
Tools & Materials
TODDLEROO BY NORTH STATES Easy Swing and Lock Series 2,31 in. Stairway Child Safety Gate 5050
TODDLEROO BY NORTH STATES Easy Swing and Lock Series 2,31 in. Stairway Child Safety Gate 5050
Steps
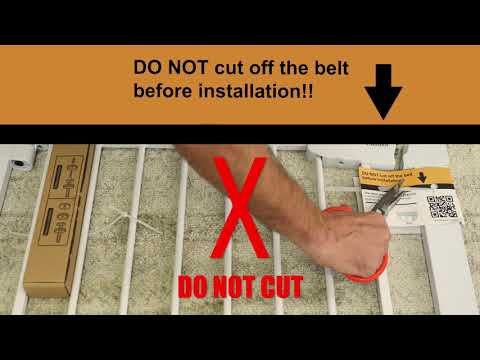
Determine Gate Placement
Before drilling, decide on the precise mounting points. For the wall side, hold the gate at the desired height and mark the screw hole locations. For the banister side, use the banister mounting kit's template or the gate's hardware as a guide to mark the attachment points, taking into account any angled surfaces or required spacing for the mounting kit.

Install Wall-Side Mounts
Using a drill, create pilot holes at the marks you made on the wall. The size of the pilot hole should be slightly smaller than the screws you will be using. If not drilling into a stud, insert appropriate wall anchors. Then, screw the wall-side mounting hardware securely into place, ensuring it is plumb and stable.
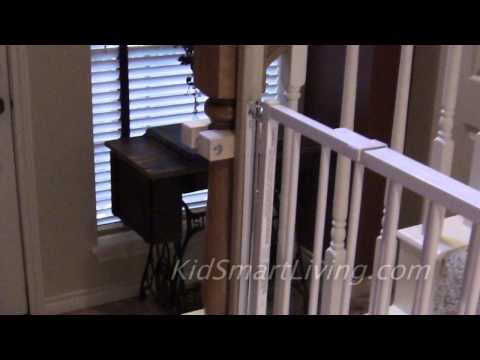
Attach Banister Mounting Hardware
Follow the instructions specific to your banister mounting kit. This typically involves wrapping straps around the banister and securing them, or attaching a mounting post that the gate will connect to. Make sure the hardware is tightened sufficiently to prevent any movement, but not so tight that it could crack or damage the banister material. Some kits may require drilling small pilot holes into a wooden banister; if so, proceed with caution and use the correct bit size.

Mount the Gate
Align the gate with the mounting hardware. For most gates, this involves sliding the gate onto the wall-side brackets and then connecting it to the banister-side mount. Ensure that all locking mechanisms engage properly. You should hear or feel a click indicating the gate is securely attached.

Adjust and Test Latches
Once the gate is mounted, operate the latch and opening mechanism multiple times. Adjust any tension screws or locking points as needed to ensure the gate opens and closes easily and latches securely every time. Check that there is no excessive play or wobble in the gate when closed and locked.
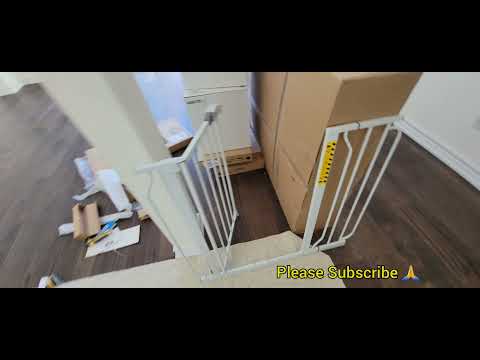
Final Safety Check
Gently push and pull on the gate at various points, especially near the top and bottom, to check for any signs of looseness or instability. Ensure all screws and mounting hardware are tight. Operate the latch several times and confirm it engages reliably. Make sure there are no gaps between the gate and the wall/banister that a child could squeeze through or get a limb caught in.
Questions about your project or which product fits? Oak Valley Designs's team is happy to help. Mon–Fri 9–5 ET
Related Guides
See All
How to Update Rental Stairs with Removable Carpet Treads
How to Update a Spiral Staircase

How to Put Carpet Treads on Already-Carpeted Stairs

How to Fix Popping Noises from Adhesive Carpet Treads on Wood Stairs

Subscribe for exclusive updates
Be the first to know about promotions, new products, and sales.