

how to give your staircase a makeover with carpet stair treads
About This Guide
Ready to revitalize your home? Installing Oak Valley Designs carpet stair treads is a simple, DIY-friendly project that brings immediate style, enhanced safety, and lasting protection to your beautiful wooden stairs. Say goodbye to slippery steps and hello to peace of mind – no nails, no glue, no stress!
Tools & Materials

Steps
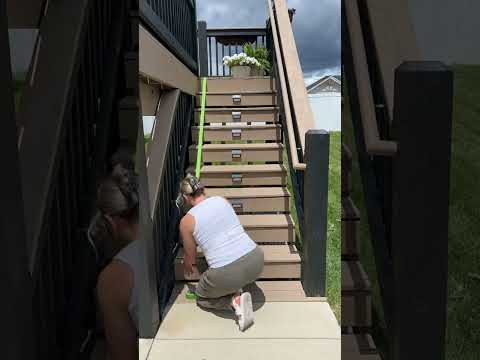
Step 1: Reveal the Adhesive Backing
This crucial first step is part of our signature 'Clean, Peel, and Stick' installation method. Carefully peel the clear plastic liner completely off the back of each carpet stair tread. This exposes the advanced, pressure-sensitive adhesive that will create a strong, secure bond with your staircase while protecting your beautiful wood underneath. It's designed for simple, lasting adhesion without any damage.
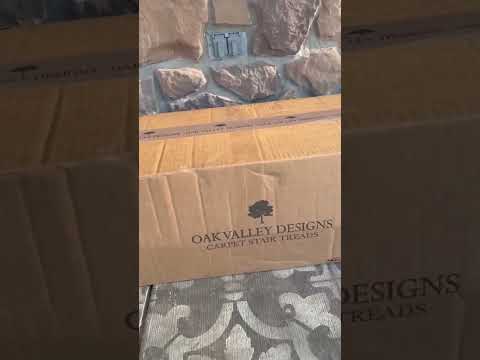
Step 2: Place and Secure Your Tread
Now for the 'stick'! After removing the liner, take your time to precisely align the carpet stair tread on your step or landing area. We recommend starting at the back edge of the tread, gently laying it down. Once you're confident in your placement, apply firm, even pressure across the entire surface of the tread. This activates our specialized adhesive, creating a strong, secure bond that won't damage your beautiful wooden stairs. The Oak Valley Difference means these treads are designed for peace of mind – easily removable and replaceable if needed, without leaving residue or harm to your underlying surface.
Questions about your project or which product fits? Oak Valley Designs's team is happy to help. Mon–Fri 9–5 ET
Related Guides
See AllI want to replace the carpet of 15 stair steps with a landing and turn at step 13. Steps are 35 1/4" wide.
measure my stairs for stair treads, including 12 steps and 1 landing
how to measure stairs
installing 14-16 stair treads

Subscribe for exclusive updates
Be the first to know about promotions, new products, and sales.