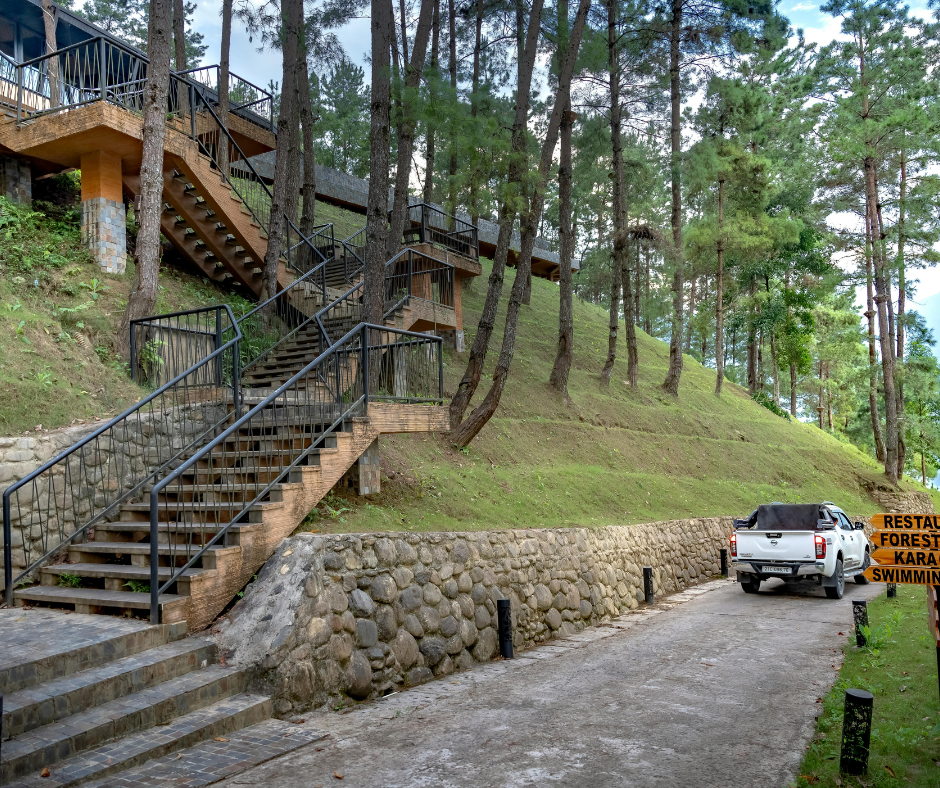
Building outdoor stairs on slopes transforms a challenging incline into a functional and visually appealing pathway.
Whether you are improving access to a garden or adding carpet stair treads and landings, this project can elevate your outdoor space.
This guide will walk you through everything you need to know about building outdoor stairs on a slope, from measurements to materials to finishing touches.
How to Find the Slope of Stairs
Understanding the slope is the first step in creating safe and comfortable stairs.
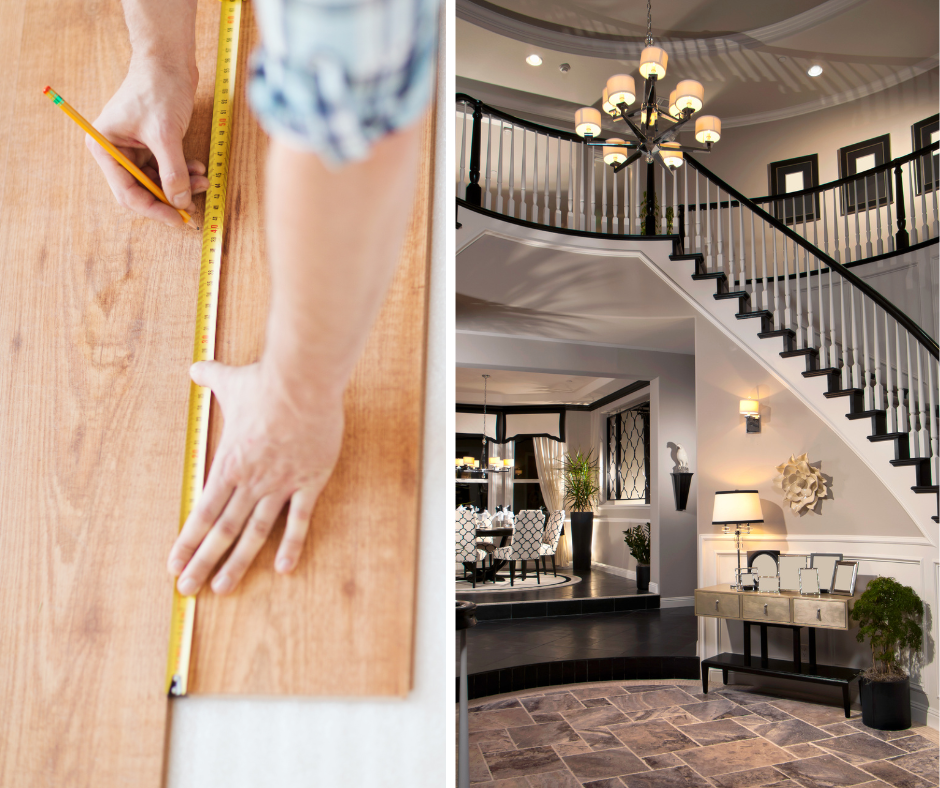
To find the slope, measure the total rise (vertical height) and run (horizontal distance) of your incline.
Divide the rise by the run to calculate the slope ratio.
For example, a rise of 8 feet and a run of 16 feet results in a 1:2 ratio.
This ratio guides the stair design, ensuring a balanced and proportional layout.
What Are the Best Materials for Outdoor Stairs on a Slope?
Choosing the right materials is key to making your stairs durable and stylish.
Popular materials include:
- Natural Stone: Perfect for a timeless, elegant look.
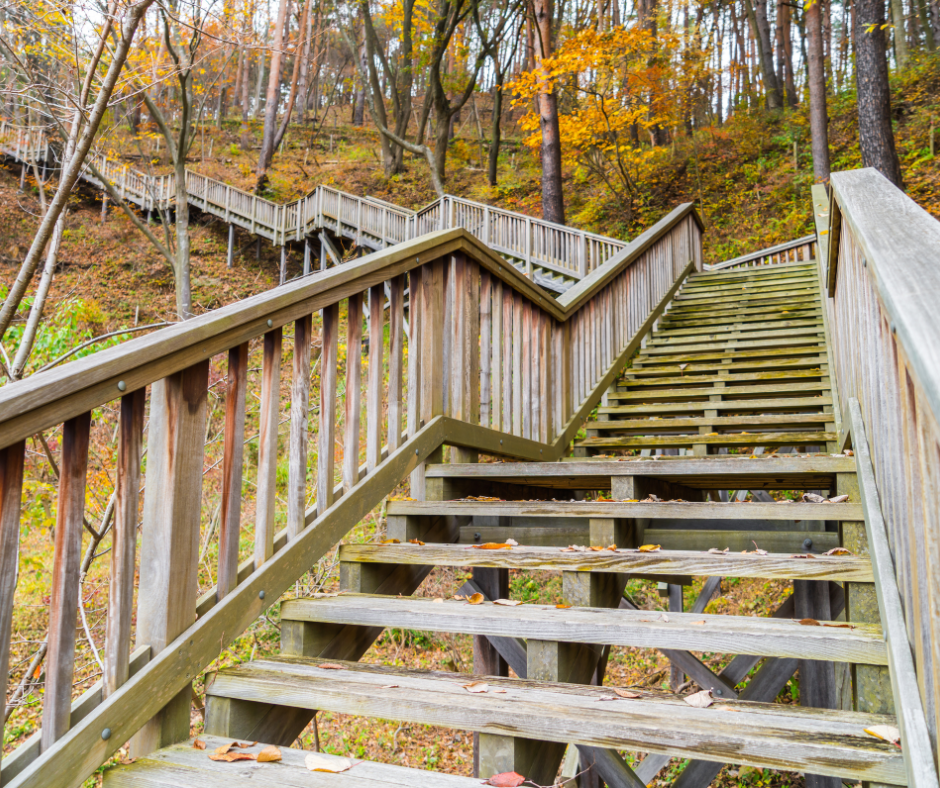
- Pressure-Treated Wood: A budget-friendly option with a warm, natural appearance.
- Composite Materials: Long-lasting and low-maintenance, ideal for busy households.
Combining materials can create a custom design.
For instance, you might pair stone risers with wooden treads for a unique, polished finish.
How to Calculate Maximum Stair Riser Height for Residential Use
The International Residential Code (IRC) states that the maximum stair riser height for residential stairs is 7 ¾ inches.
This standard ensures stairs are safe and comfortable for everyday use.
To design your stairs, follow this formula:
2R + T = 24 to 26 inches.
In this equation, R is the riser height, and T is the tread depth.
For example, if the riser height is 7 inches, the tread depth should be around 10 inches for an easy-to-navigate stair.
Step-by-Step Guide to Building Outdoor Stairs on a Slope
1. Design Your Stairs
Start by measuring the rise and run of your slope.
Decide how many steps you need based on your measurements.
Mark the pathway with stakes and string to outline the design.
2. Prepare the Site
Clear the area of debris, rocks, and vegetation.
Excavate shallow trenches for each step, ensuring the base is level and stable.
Consider using gravel to promote drainage and reduce erosion.
3. Build Each Step
Begin at the bottom of the slope.
Position risers and treads according to your measurements, securing them firmly with screws or anchors.
Check the level of each step as you go to maintain accuracy.
4. Add Finishing Touches
For added safety, install handrails, especially on steeper inclines.
Incorporate carpet stair landings for a luxurious touch and better traction.
To protect your stairs from weather, apply a sealant or stain.
What Safety Considerations Should You Keep in Mind?
Outdoor stairs are exposed to weather, making safety a top priority.
Use slip-resistant materials or add grip strips to the treads.
Keep steps clear of debris like leaves or mud to prevent accidents.
Inspect your stairs regularly for signs of wear, such as loose boards or erosion.
Steps to Success
Building outdoor stairs on a slope is more than just a functional project—it’s an opportunity to create a lasting feature that enhances your home’s beauty.
By planning carefully, choosing durable materials, and paying attention to safety details, you can build stairs that are both practical and stylish.
Add carpet stair landings for a touch of elegance and comfort to truly make your stairs stand out.