Updating your stairs doesn’t have to involve hours of sanding and dust.
The best way to accomplish how to stain stairs without sanding is by applying gel stain or a bonding primer, which allows the new stain to adhere without removing the old finish.
This method saves time, minimizes mess, and creates a smooth, refreshed look.
For a lasting finish, proper preparation is essential, especially if you plan to add carpet stair treads for extra safety and style.
Cleaning, repairing, and sealing the surface ensures the stain adheres well and the treads stay secure.
Keep reading for a step-by-step guide to achieving professional results without the hassle of sanding.
Introduction to Staining Stairs Without Sanding
Staining stairs without sanding is a practical DIY technique that lets homeowners refresh their stairs without the labor-intensive sanding process.
This method allows you to apply a new stain directly over the existing finish, saving time while achieving a professional look.
Additionally, preparing for carpet stair treads is an essential step to ensure a smooth and durable surface for new treads.
Why Homeowners Prefer Staining Without Sanding
Sanding can be a tedious process, often requiring specialized equipment, time, and effort.
Many homeowners opt for staining without sanding because it:
-
Reduces mess: Sanding produces fine dust that can spread throughout your home.
-
Saves time: Without sanding, you can complete the project in a fraction of the time.
-
Preserves wood character: The existing grain and imperfections add to the rustic appeal.
Alternative Methods to Avoid Sanding
If you want to avoid sanding but still ensure a strong bond between the stain and the wood, consider:
Using a Liquid Deglosser
A liquid deglosser, also called liquid sandpaper, removes the gloss from a finished surface, allowing new stain to adhere without traditional sanding.
It works well for stairs with a glossy or polyurethane finish.
Applying Gel Stain
Gel stain is thicker than traditional stain and designed to adhere to finished wood.
It sits on the surface rather than penetrating deep, making it ideal for applying stain without removing the old finish.
Using a Bonding Primer
A high-quality adhesion bonding primer creates a strong base for stain application.
It helps ensure even coverage and a long-lasting finish.
Preparing Your Stairs for Staining Without Sanding
Skipping sanding doesn't mean skipping preparation.
Proper prep ensures the stain adheres well and lasts.
Cleaning the Stairs Thoroughly
Use a wood-safe cleaner to remove dirt, grease, and residue.
A mixture of warm water and mild soap can work well.
If there’s heavy buildup, consider a degreasing cleaner.
Repairing Scratches and Dents
Inspect the stairs for any damage, such as scratches, dents, or loose boards.
Use wood filler to repair any deep gouges and smooth them out with a damp cloth before staining.
Choosing the Right Stain for Stairs
Selecting the right stain is crucial to achieving a professional finish.
Consider these options:
-
Oil-based stains: Provide deep penetration and durability.
-
Water-based stains: Dry faster and have lower VOCs, making them eco-friendly.
-
Gel stains: Ideal for applying over an existing finish without sanding.
Step-by-Step Guide to Staining Stairs Without Sanding
Following the right process ensures an even, long-lasting stain.
Using proper materials helps achieve a smooth finish without sanding.
Gathering Your Materials
To achieve the best results, you’ll need:
-
General finishes gel stain
-
Adhesion bonding primer
-
Painter’s tape
-
Angle brush
-
Plastic sheeting
-
Lint-free cloth
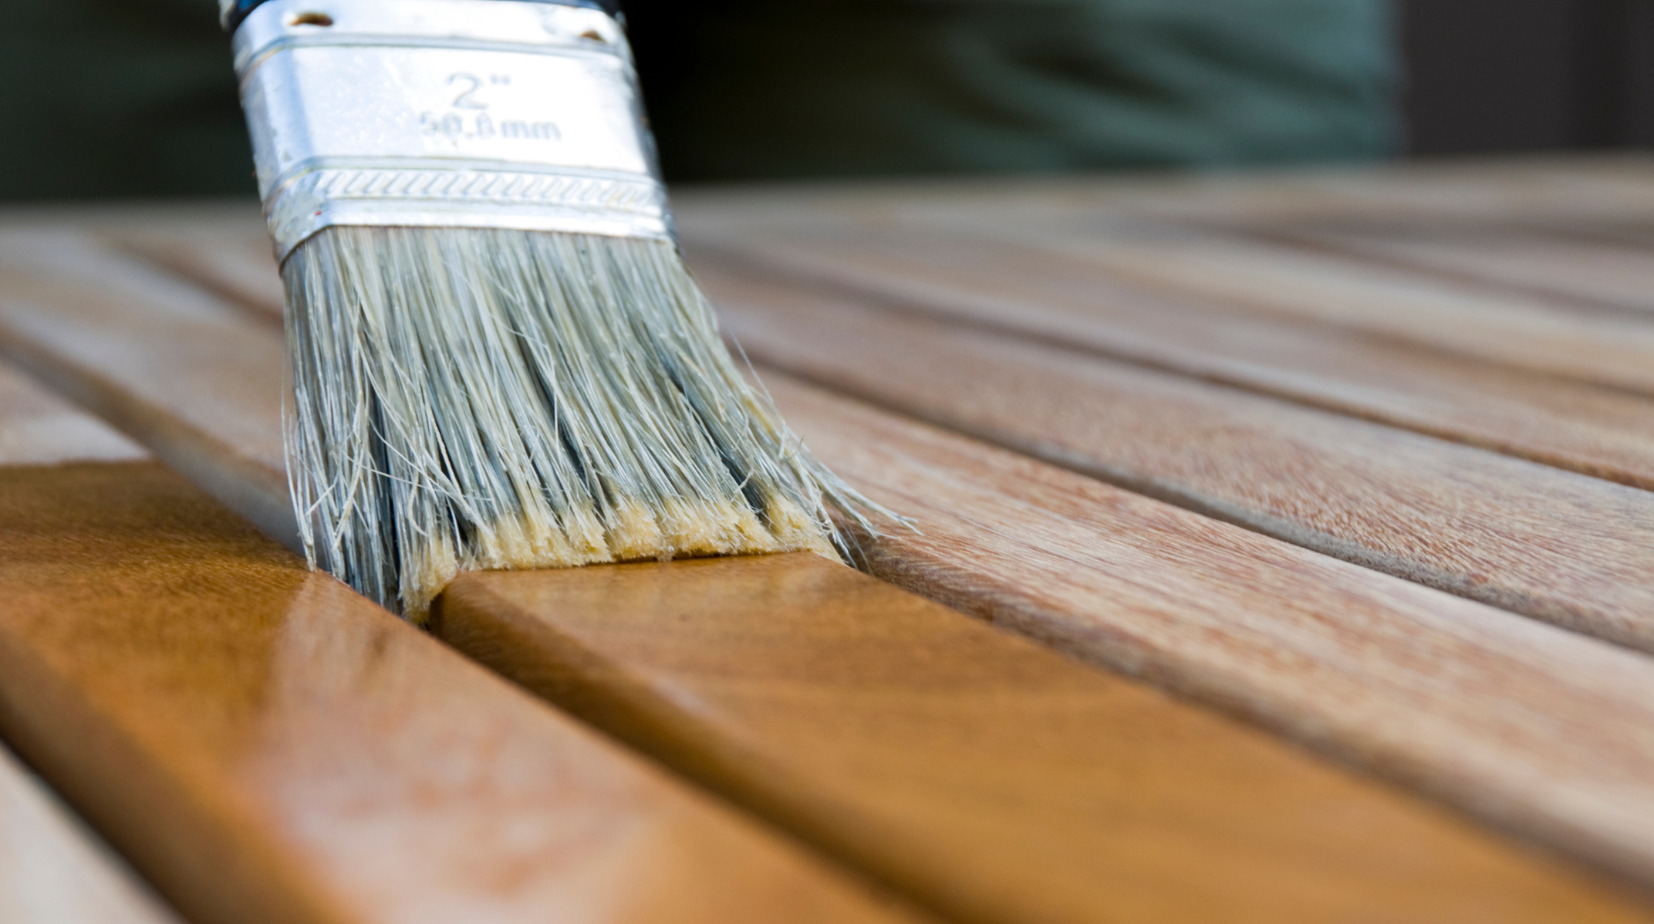
Applying the Stain
-
Apply the adhesion bonding primer to ensure the stain adheres properly.
-
Let the primer dry completely before moving to the next step.
-
Use an angle brush to apply the stain in even strokes, following the grain.
-
Wipe off excess stain with a lint-free cloth for a smooth finish.
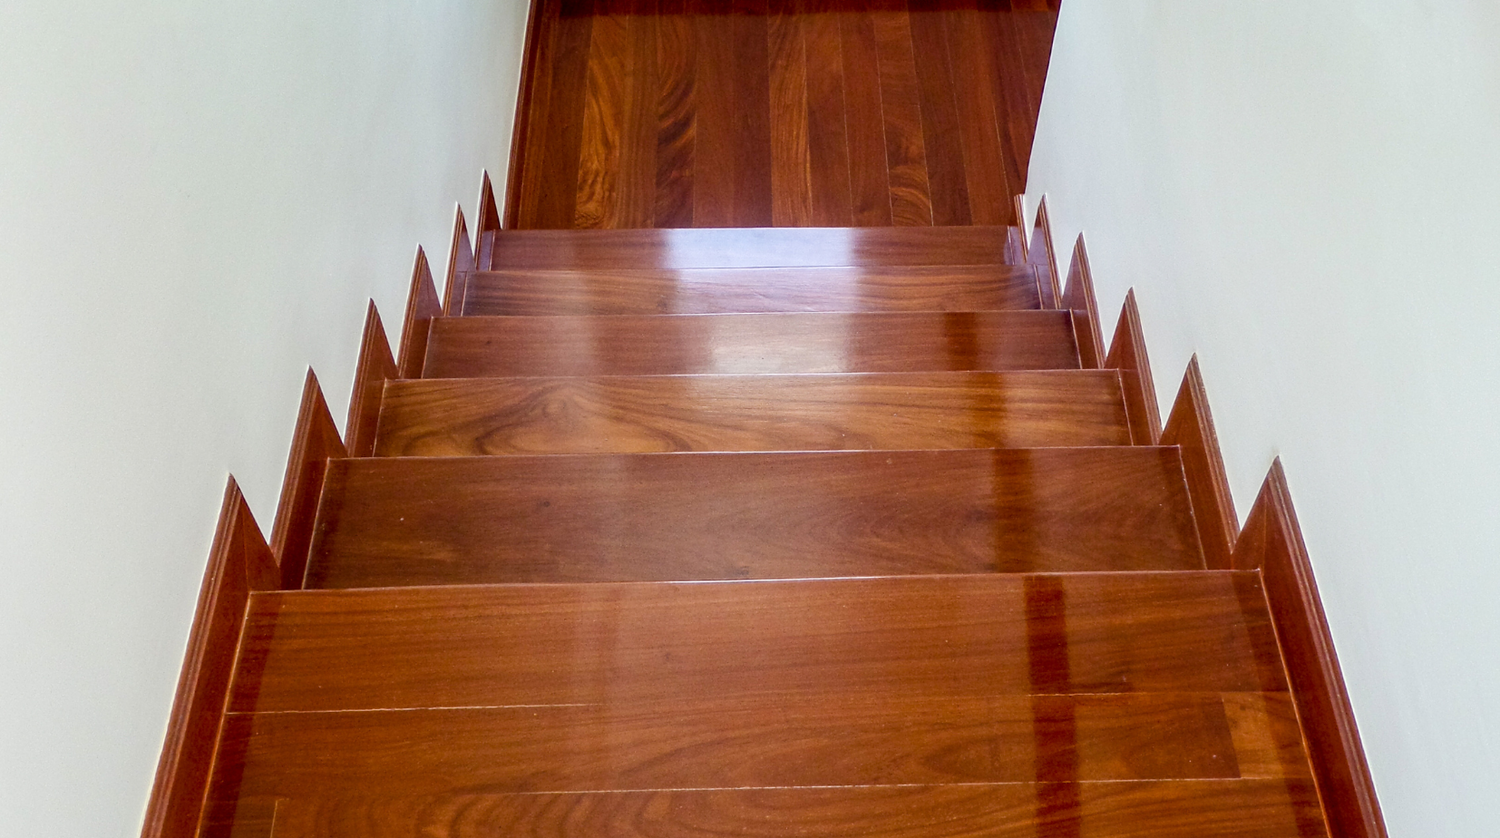
Sealing and Drying
After the stain dries, apply a protective sealant to prevent scratches and wear.
Choose a polyurethane topcoat for added durability.
Common Issues and Troubleshooting While Staining Without Sanding
Even with careful application, you might encounter issues.
Here’s how to fix them:
Uneven Stain Coverage
-
Use a second coat of stain to even out the color.
-
If streaks appear, lightly rub the area with a clean cloth to blend the stain.
Stain Not Adhering Properly
-
Ensure the stairs were cleaned thoroughly before applying stain.
-
Use a stronger bonding primer if the previous finish is too glossy.
Sticky or Tacky Stain
-
Allow additional drying time.
-
Apply a thin layer of mineral spirits to help remove excess stain.
How to Stain Wood Stairs Inside Without Sanding
When staining interior wood stairs, you need to consider indoor ventilation and fume control.
Since oil-based stains can produce strong odors, proper airflow is essential.
Steps for Indoor Staining
-
Ensure proper ventilation by opening windows and using fans.
-
Use a low-VOC stain if you are sensitive to fumes.
-
Apply thin coats to avoid excessive drying time.
Preparing for Carpet Stair Treads After Staining
If you plan to install carpet stair treads, take extra precautions when staining:
-
Let the stain cure fully before applying adhesive treads.
-
Avoid high-gloss finishes, which can make carpet treads slip.
-
Use a matte polyurethane finish for better grip.
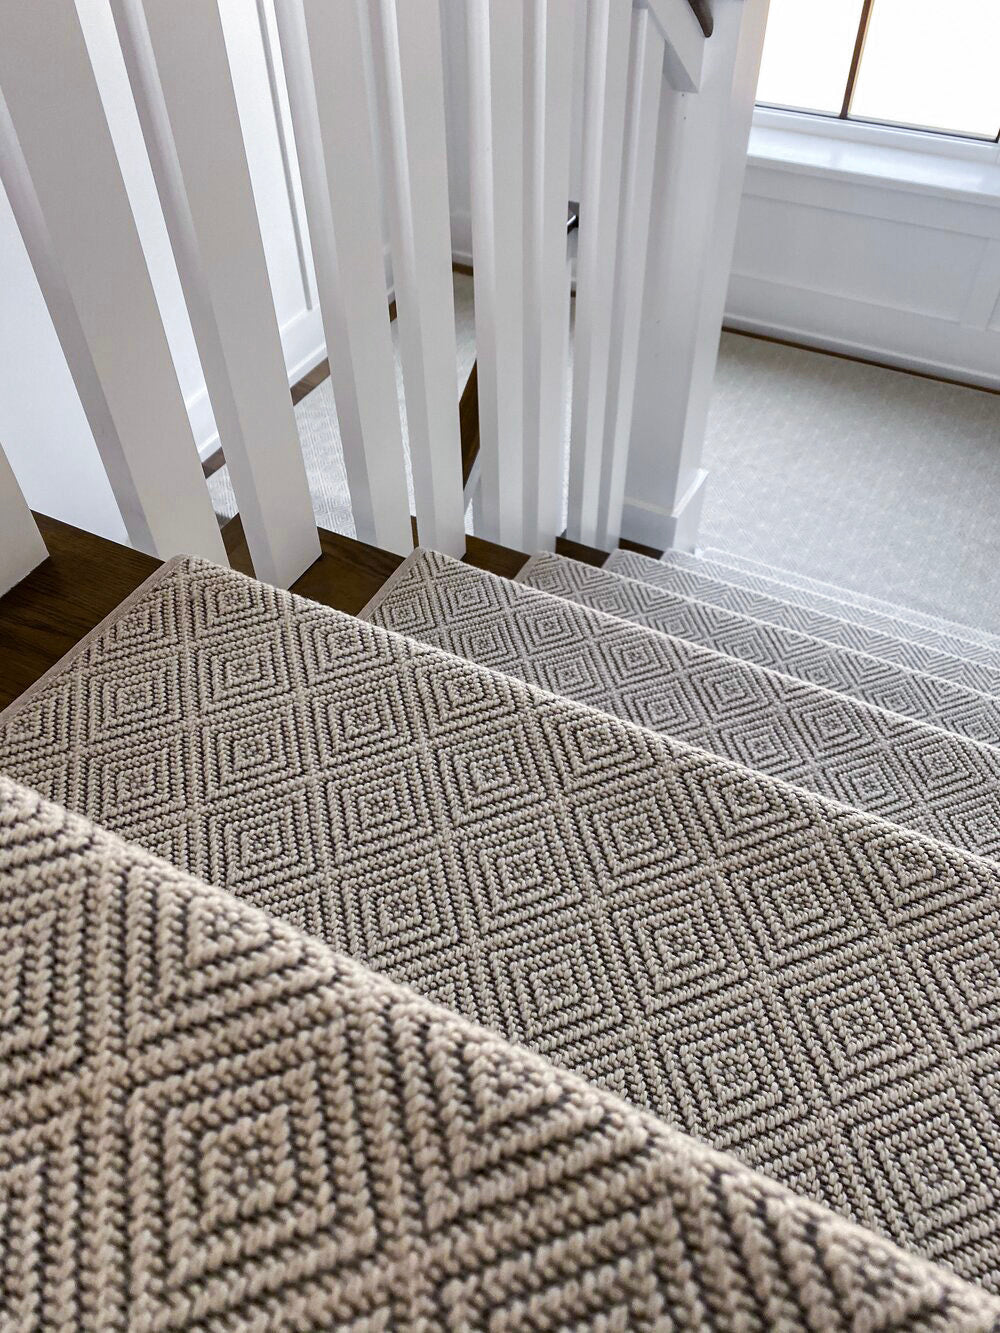
Installing Carpet Stair Treads
Proper installation ensures safety and enhances the look of your stairs.
Choosing the right method helps treads stay in place for long-term use.
Choosing the Right Carpet Stair Treads
Look for stair treads that offer:
-
Non-slip backing to prevent movement.
-
Durable materials such as wool or synthetic fibers.
-
Aesthetic appeal that complements your home design.
Measuring and Cutting the Treads
Measure each stair step carefully before cutting the treads to ensure a secure fit.
Securing the Treads Properly
-
Use double-sided carpet tape or peel-and-stick backing for easy installation.
-
Press firmly to ensure the treads are properly secured.
Caring for Your Stained Stairs and Carpet Treads
Keeping your stairs clean protects their finish and extends their lifespan.
Regular maintenance prevents wear and keeps carpet stair treads secure.
Regular Cleaning
-
Sweep and dust frequently to prevent debris buildup.
-
Use a damp cloth to wipe down stained stairs and remove scuffs.
Maintaining Carpet Stair Treads
-
Vacuum regularly to keep treads clean.
-
Use a carpet cleaner for deep cleaning when necessary.
Steps To Success
Staining stairs without sanding is a practical and effective way to refresh your home’s interior without the hassle of heavy sanding.
By using the right products, proper preparation, and a step-by-step approach, you can achieve professional results.
Additionally, installing carpet stair treads enhances both safety and style.
If you're looking to compliment your newly stained stairs with carpet stair treads, Oak Valley Designs offers high-quality options that blend safety, durability, and style.
-
Website: https://oakvalleydesigns.com/
-
Phone: 706.331.0315
-
Email: info@oakvalleydesigns.com
-
Address: 30 River Ct SW Bldg E Cartersville, Ga 30120