Your staircase shouldn't feel like an afterthought.
It’s often the first thing guests see and one of the most used spaces in your home.
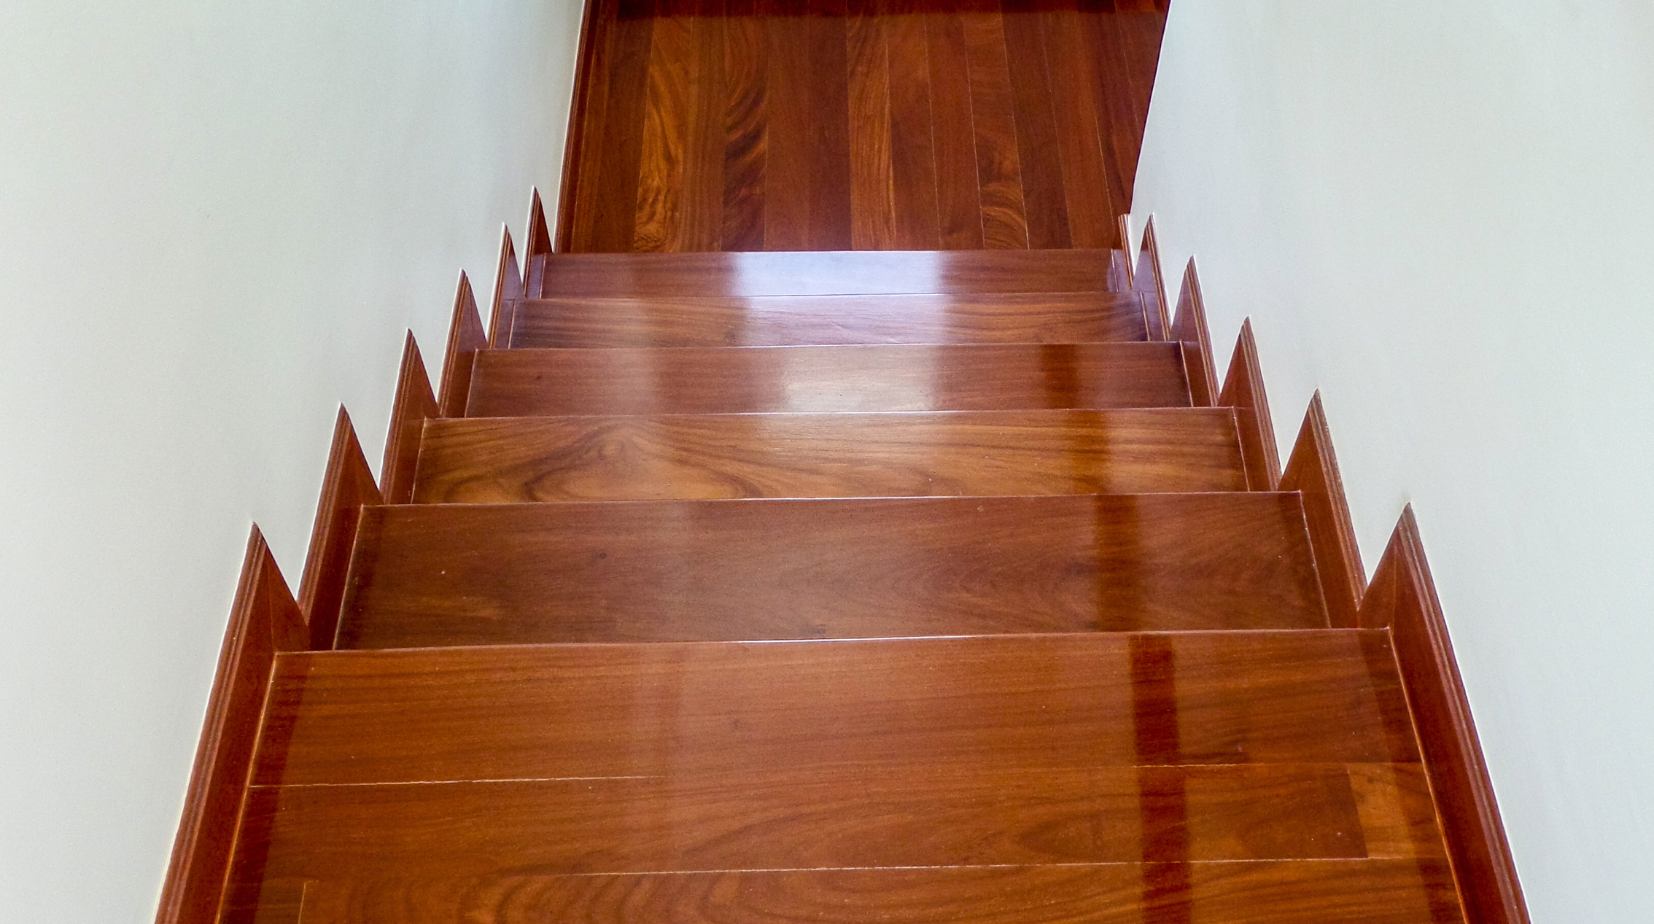
If you're wondering how to stain indoor wood stairs, the process is simple: clean and sand the surface, apply the stain evenly with the wood grain, and seal it for long-lasting durability.
This guide will walk you through every step of the process.
You’ll learn how to choose the right stain, how to match your stair railing, and how to boost both comfort and safety with Oak Valley Designs stair treads.
Whether you're a first-time DIYer or just looking to refresh your space, you're in the right place.
Why Staining Indoor Stairs Matters
Staining your stairs can change the entire feeling of a home.
It adds depth, warmth, and sophistication—especially when paired with the right textures and tones.
Here’s why this project is worth your time:
-
Enhances the natural beauty of your wood
-
Offers protection against scuffs and wear
-
Adds character and a custom feel
-
Can be completed over a weekend
If your current stairs feel outdated, dull, or just don’t match your style anymore, a fresh stain is a smart and satisfying upgrade.
Prep Is Everything
Like most home projects, success starts with preparation.
Clear the area completely.
Remove any existing carpet, staples, nails, or old adhesives.
Once your stairs are stripped down to bare wood, you're ready to begin.
Use painter’s tape to protect nearby trim or flooring.
Cover the surrounding area with drop cloths to prevent spills.
Then vacuum and wipe down the stairs to remove all dust and debris.
Sanding: A Crucial Step—But Not Always Required
For best results, sanding your stairs is highly recommended.
Use medium-grit sandpaper or a power sander to smooth the surface and remove any remaining finish.
Sand with the grain of the wood to prevent scratches.
However, if you're looking for how to stain stairs without sanding, there is a workaround.
A liquid deglosser (also called liquid sandpaper) can help you skip the sanding step.
Apply it to dull the surface and follow up with a gel stain designed for pre-finished wood.
This won’t achieve the same deep finish, but it’s a valid option when sanding isn’t possible.
Still, for high-traffic stairs, sanding gives you the longest-lasting result.
Choose the Right Stain for Your Home
There are a few stain types to consider, depending on the look and durability you're going for:
-
Oil-based stain – Deep, rich color and excellent durability
-
Water-based stain – Low odor, quick-drying, environmentally friendly
-
Gel stain – Thicker, ideal for vertical or pre-finished surfaces
Dark stains give a dramatic, high-contrast look.
Light stains feel more modern and open.
Always test the stain on a spare board or an inconspicuous area first to see how it looks once dry.
Don’t forget: lighting in your home can shift how the color appears, so test in natural light when possible.
Step-by-Step: How to Stain Indoor Wood Stairs
Ready to start staining? Follow this simple process to get even, professional-looking results.
Step 1: Start at the Top
Work your way down to avoid stepping on wet stain.
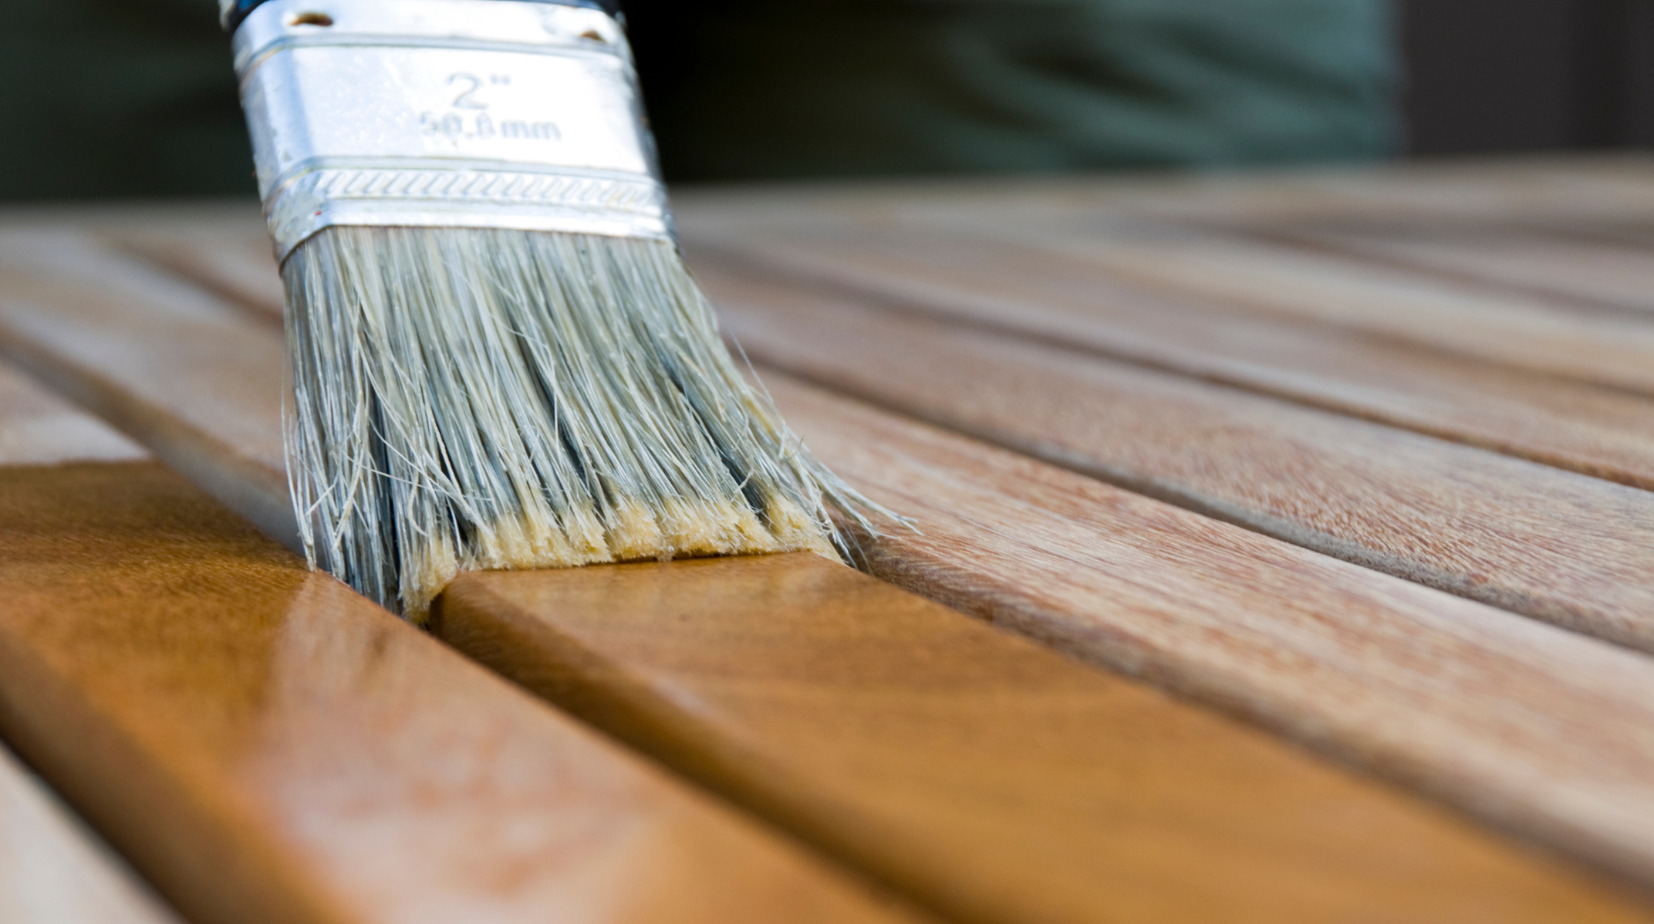
Step 2: Apply the Stain
Use a clean angle brush or lint-free cloth to apply the stain in smooth strokes, following the wood grain.
Step 3: Wait and Wipe
Let the stain sit for 5–10 minutes depending on how deep you want the color, then wipe off any excess with a dry cloth.
Step 4: Dry and Reapply
Allow the first coat to dry completely (typically 6–8 hours).
Apply a second coat if needed, using the same method.
Step 5: Seal the Wood
Once dry, finish with a clear polyurethane sealant to protect the wood.
Avoid walking on your stairs for 24 hours after sealing.
Let each coat fully cure before applying the next.
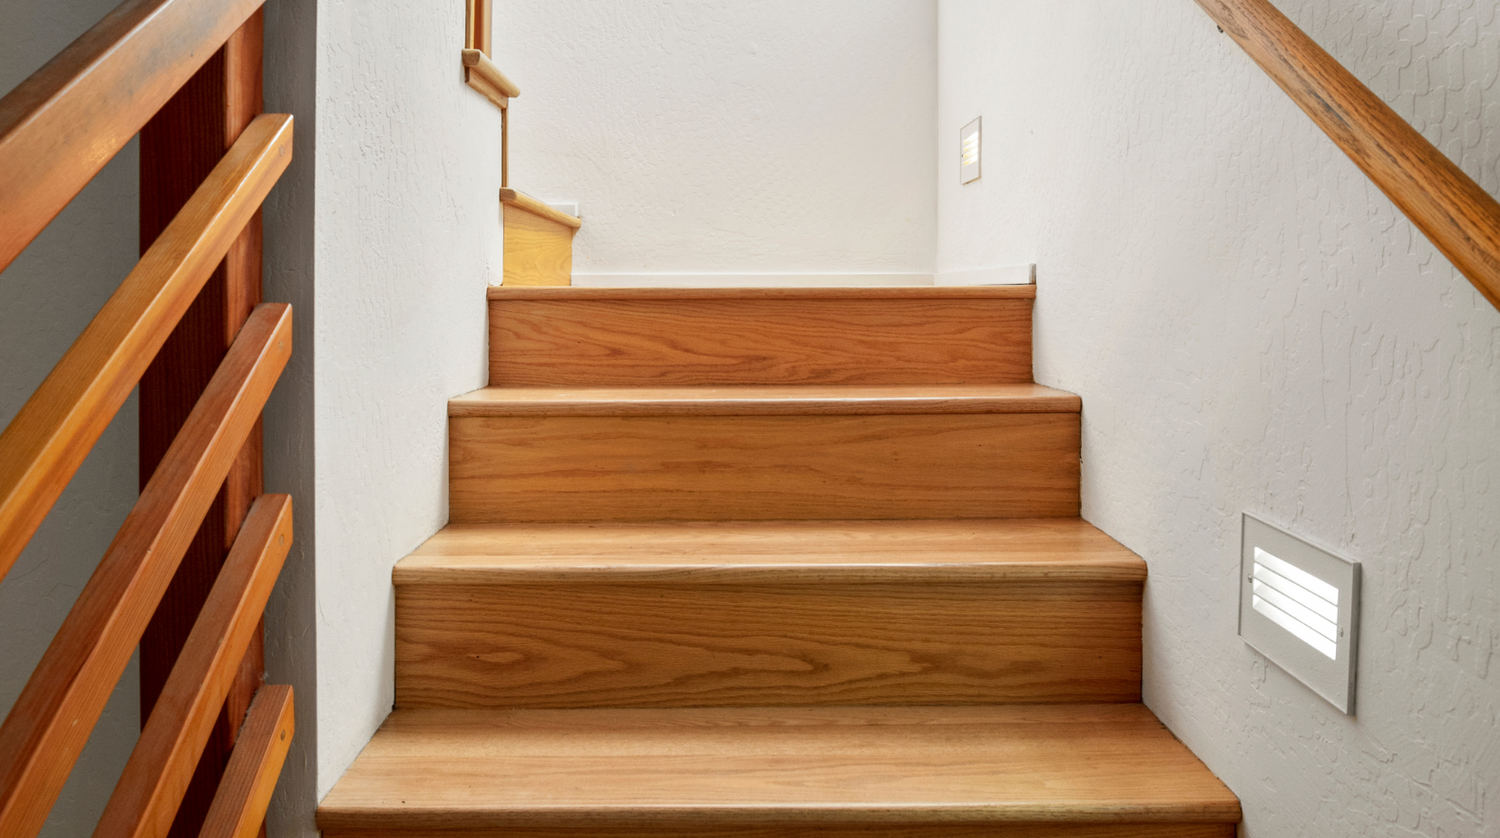
Don’t Skip the Railing
Matching your stairs to your railing completes the look.
If you're wondering how to stain stairs railing, the process is almost identical:
-
Sand the railing thoroughly, or use a deglosser for hard-to-sand areas.
-
Use a small angle brush for precise application.
-
Apply the same stain used on the stairs, and wipe off excess.
-
Finish with a protective clear coat once dry.
Tape off any parts of the railing you want to keep painted (like white spindles).
A matching railing ties everything together and makes the staircase feel professionally designed.
Add Comfort and Safety with Carpet Stair Treads
Once your stairs are stained and sealed, it’s time to think about comfort and function.
Bare wood stairs can be slippery, loud, and less cozy—especially in homes with kids, pets, or older adults.
That’s where carpet stair treads shine:
-
They add a soft, grippy surface that reduces slips
-
They protect your new stain from scratches and scuffs
-
They’re easy to install and just as easy to remove
At Oak Valley Designs, our stair treads are designed to stick without damage.
No nails.
No glue.
Just safety, style, and simplicity.
You can even order $1 swatches to test the perfect style and color for your space.
What to Avoid When Staining Your Stairs
Even a simple project can go sideways with a few common mistakes.
Here’s what to avoid:
Rushing the Dry Time
Each coat needs time to fully cure.
Don’t walk on stairs too soon or you’ll leave permanent marks.
Skipping the Test Patch
Wood type and lighting change how a stain looks.
Always test first.
Applying Too Much Stain
Thick coats can lead to blotches.
Two light coats work better than one heavy one.
Overlooking Prep
Old glue, finish, or dirt can cause streaks and uneven color.
Clean thoroughly before staining.
Ignoring the Railing
A mismatched railing makes your fresh stain look unfinished.
Stain it to match.
How to Maintain Stained Indoor Stairs
Once stained, your stairs need just a little upkeep to stay looking their best.
Sweep or vacuum regularly to prevent dirt buildup.
Use a wood-safe cleaner to wipe treads, and reapply a clear coat every few years for added protection.
If you’ve added carpet stair treads, just lift and clean underneath them every so often.
Many are washable, and swapping them out is a great way to refresh your space without refinishing the wood.
Project Timeline and Tips
Here’s a general timeline for a standard staircase:
-
Prep and sanding: 2–4 hours
-
First coat application: 1–2 hours
-
Dry time: 6–8 hours
-
Second coat and sealing: 2–3 hours
-
Final cure: 24 hours
Tip: Start on a Friday afternoon and your stairs will be ready by Sunday night.
Work in small sections.
Take your time.
This is a project where patience pays off.
Steps to Success
Learning how to stain indoor wood stairs is a rewarding DIY project that adds value and beauty to your home.
With the right materials and approach, even a beginner can get professional-looking results.
Pairing stained stairs with soft, secure carpet stair treads not only enhances the look but adds everyday safety for your family.
This project is about more than stain—it’s about stepping confidently into a space that finally feels like you.
Ready to upgrade your stairs?
Let Oak Valley Designs help you take the next step with our handcrafted, American-made stair treads and personalized support.
-
Website: https://oakvalleydesigns.com/
-
Phone: 706.331.0315
-
Email: info@oakvalleydesigns.com
-
Address: 30 River Ct SW Bldg E Cartersville, Ga 30120