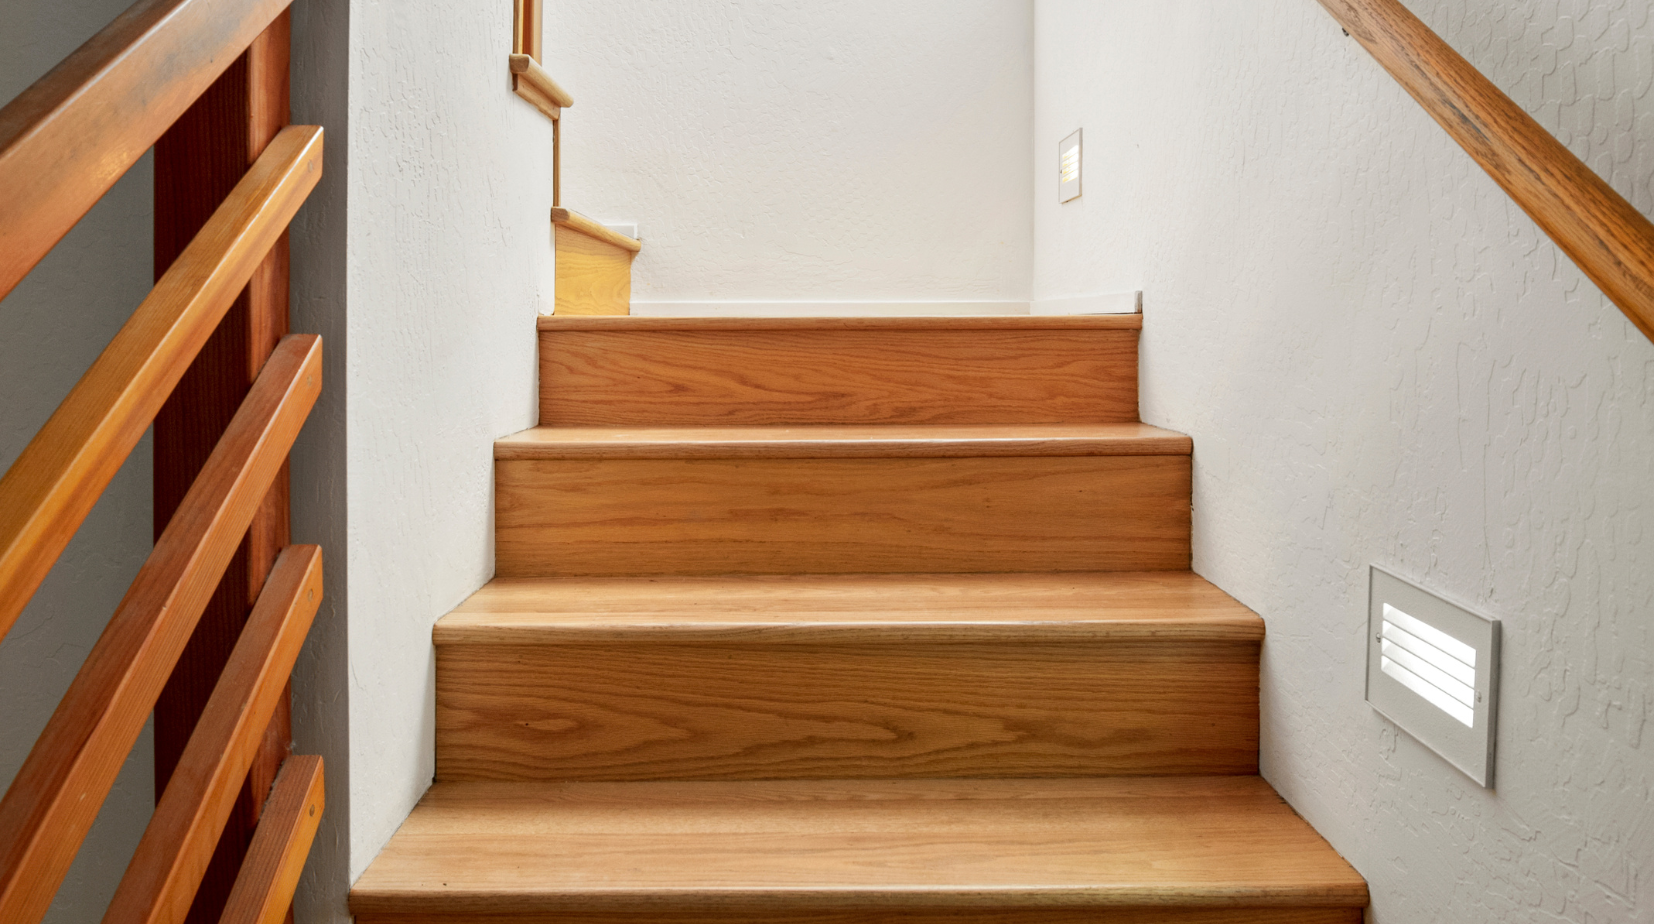
Revamping your staircase can completely transform your home’s aesthetic.
Can you gel stain stair treads?
Yes, you can!
Gel stain provides an easy way to enhance wood treads with a rich, even color while maintaining durability and style.
This guide will walk you through everything you need to know, from surface preparation to application and sealing.
If you have carpet stair treads, be sure to protect them before staining to avoid permanent damage.
Keep reading to master the process and achieve stunning, professional-quality results.
Understanding Gel Stain and Its Unique Qualities
Gel stain differs from traditional liquid wood stains in consistency and application.
Instead of soaking into the wood, gel stain sits on the surface, allowing better control over the final look.
This thicker texture makes it especially useful for stair treads because it won’t drip or run down vertical surfaces.
Benefits of Using Gel Stain on Stair Treads
-
Even color distribution: Gel stain reduces streaks, blotchiness, and uneven absorption.
-
Thicker consistency: This prevents excess dripping, making it easier to apply on vertical surfaces.
-
Longer drying time: You have more time to work with the stain and correct mistakes before it dries.
-
Customizable appearance: You can create faux wood grain effects, distressed finishes, or a deep, rich color.
For those looking into how to stain pine stair treads, gel stain is an excellent option.
Pine is a softwood that absorbs stain unevenly, but the thick nature of gel stain helps regulate absorption, resulting in a smooth and uniform finish.
Preparing Wood for Gel Staining
Proper preparation is essential for a successful staining project.
If the wood surface is not correctly prepped, the stain may not adhere well, leading to uneven coverage and poor durability.
Step 1: Sanding the Stair Treads
Sanding removes the old finish and smooths the wood for better stain absorption.
-
Use medium-grit sandpaper (120-150 grit) to remove existing coatings, imperfections, or uneven surfaces.
-
Follow with fine-grit sandpaper (220 grit) to achieve a smooth texture.
-
Sand in the direction of the wood grain to prevent scratches and rough patches.
If you’re learning how to stain stairs railing, the same sanding process applies.
Since railings have more curves and details, using a sanding sponge or fine steel wool can help smooth the surface effectively.
Step 2: Cleaning the Wood Surface
Once sanding is complete, cleaning the surface is crucial.
Dust or debris can interfere with stain adhesion, leaving rough or blotchy areas.
-
Use a tack cloth or damp rag to remove sanding dust.
-
Let the surface dry completely before moving on to the next step.
Step 3: Applying Wood Conditioner (If Needed)
Certain woods, like pine or maple, tend to absorb stain unevenly.
If you're learning how to stain pine stair treads, applying a pre-stain wood conditioner is highly recommended.
-
Brush or wipe on a thin layer of conditioner.
-
Allow it to sit for 5-15 minutes, then wipe off any excess.
-
Let it dry before applying gel stain.
Choosing the Right Gel Stain for Your Stair Treads
There are many gel stain options available, each offering different tones and finishes.
Popular Gel Stain Colors for Staircases
-
Java Gel Stain – A deep, rich brown that creates a dramatic effect.
-
Antique Walnut Gel Stain – A warm, classic tone that enhances natural wood grain.
-
Grey Gel Stain – A modern, neutral tone for contemporary interiors.
When selecting a gel stain, consider the overall aesthetic of your home and test the stain on a hidden section before applying it to the entire staircase.
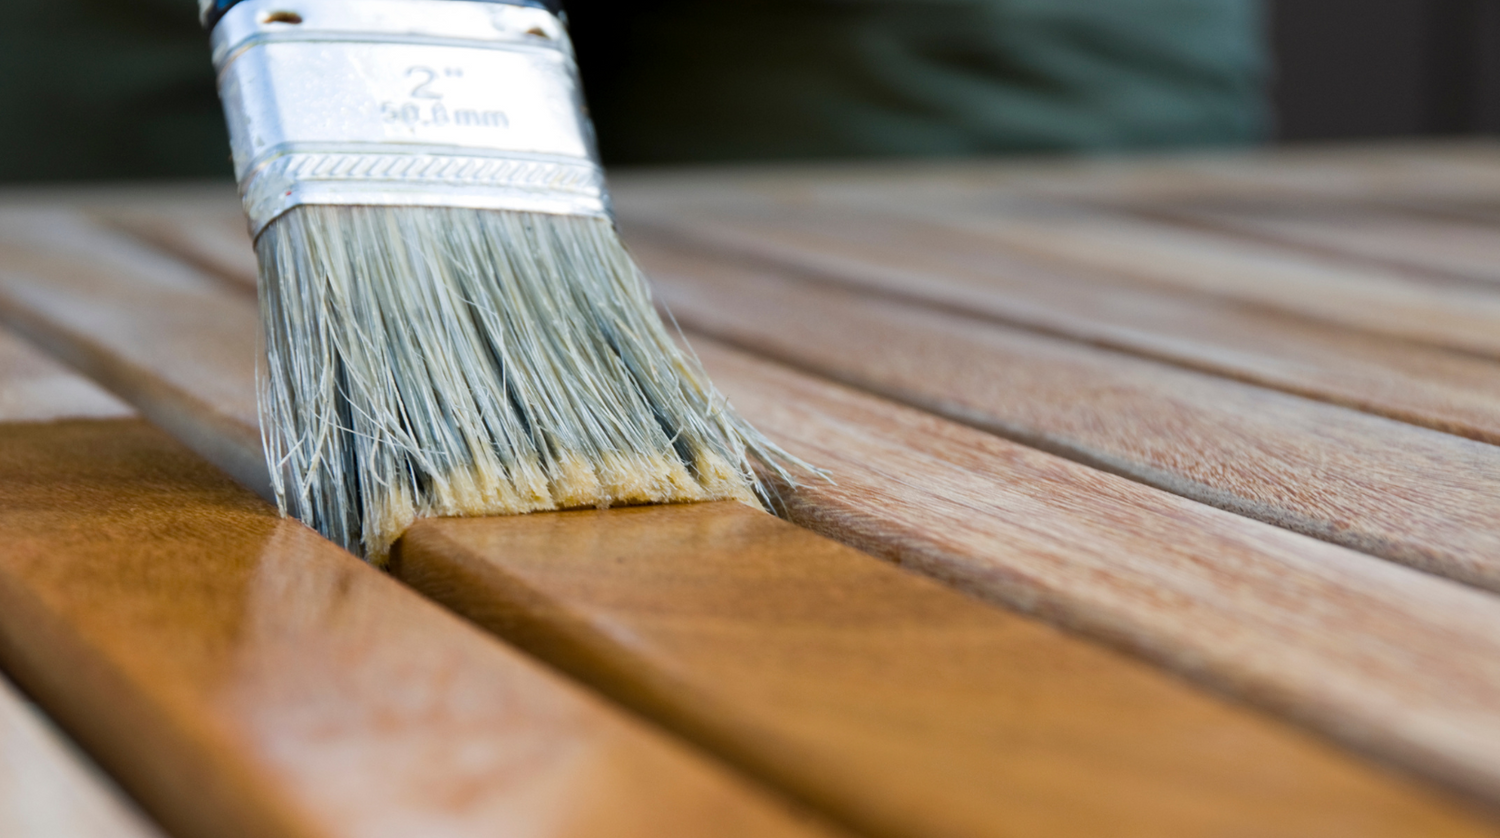
Applying Gel Stain to Stair Treads
A careful application ensures even color and a flawless look.
Using the right tools and techniques will make the staining process easier and more effective.
Essential Tools & Materials:
-
Gel stain
-
High-quality brush or lint-free cloth
-
Gloves and protective eyewear
-
Drop cloths or painter’s tape
-
Clean rags for wiping excess stain
Step-by-Step Application Process
-
Apply the gel stain in thin layers, using a brush or cloth, following the wood grain.
-
Let the stain sit for 3-5 minutes, allowing it to penetrate the wood.
-
Wipe off excess stain using a clean rag for an even finish.
-
Allow the first coat to dry completely before applying additional coats.
For a darker finish, apply multiple thin coats rather than one thick coat.
This prevents streaking and ensures even color distribution.
If you’re also working on how to stain stairs railing, follow the same method but use a smaller brush or foam applicator to reach tight corners and details.
Sealing and Protecting Gel-Stained Stair Treads
Once the gel stain has dried, sealing the stair treads protects the finish from wear and tear.
Best Sealers for Gel-Stained Wood
-
Water-based polyurethane: Dries faster, has low odor, and provides a clear, protective finish.
-
Oil-based polyurethane: Offers superior durability but takes longer to dry.
-
Wax finish: Gives a softer, more natural look but requires more maintenance.
Apply two to three coats of sealer, allowing each coat to dry fully before adding the next.
Troubleshooting Common Gel Staining Issues
Gel stain can sometimes dry unevenly, leaving streaks or blotchy spots.
Identifying and fixing these issues will help you achieve a smooth, professional finish.
Blotchy or Uneven Staining
If the stain appears uneven, lightly sand the affected areas and reapply a thin coat of stain.
Applying a wood conditioner before staining can also help.
Drips and Streaks
Wipe off excess stain before it dries.
For vertical surfaces like railings, use a foam brush for better control.
Sticky or Tacky Finish
If the stain remains sticky after several hours, it may have been applied too thickly.
Wipe it down with a clean cloth to remove excess and allow more drying time.
Enhancing the Look of Your Stairs
For a polished, complete look, consider pairing your newly stained stair treads with decorative elements, such as:
-
Matching stair runners
-
Custom carpet stair treads
-
Coordinating handrails and trim
Adding non-slip carpet stair treads is especially helpful for households with kids and pets, combining safety with style.
Maintaining Gel-Stained Stair Treads
To keep your gel-stained stair treads looking their best, follow these maintenance tips:
-
Clean regularly with a damp cloth and mild soap.
-
Avoid harsh chemicals, which can strip the stain or sealer.
-
Apply a fresh coat of sealer every few years for added protection.
If scratches or wear appear over time, lightly sand and reapply a small amount of stain and sealer.
Steps To Success
Can you gel stain stair treads?
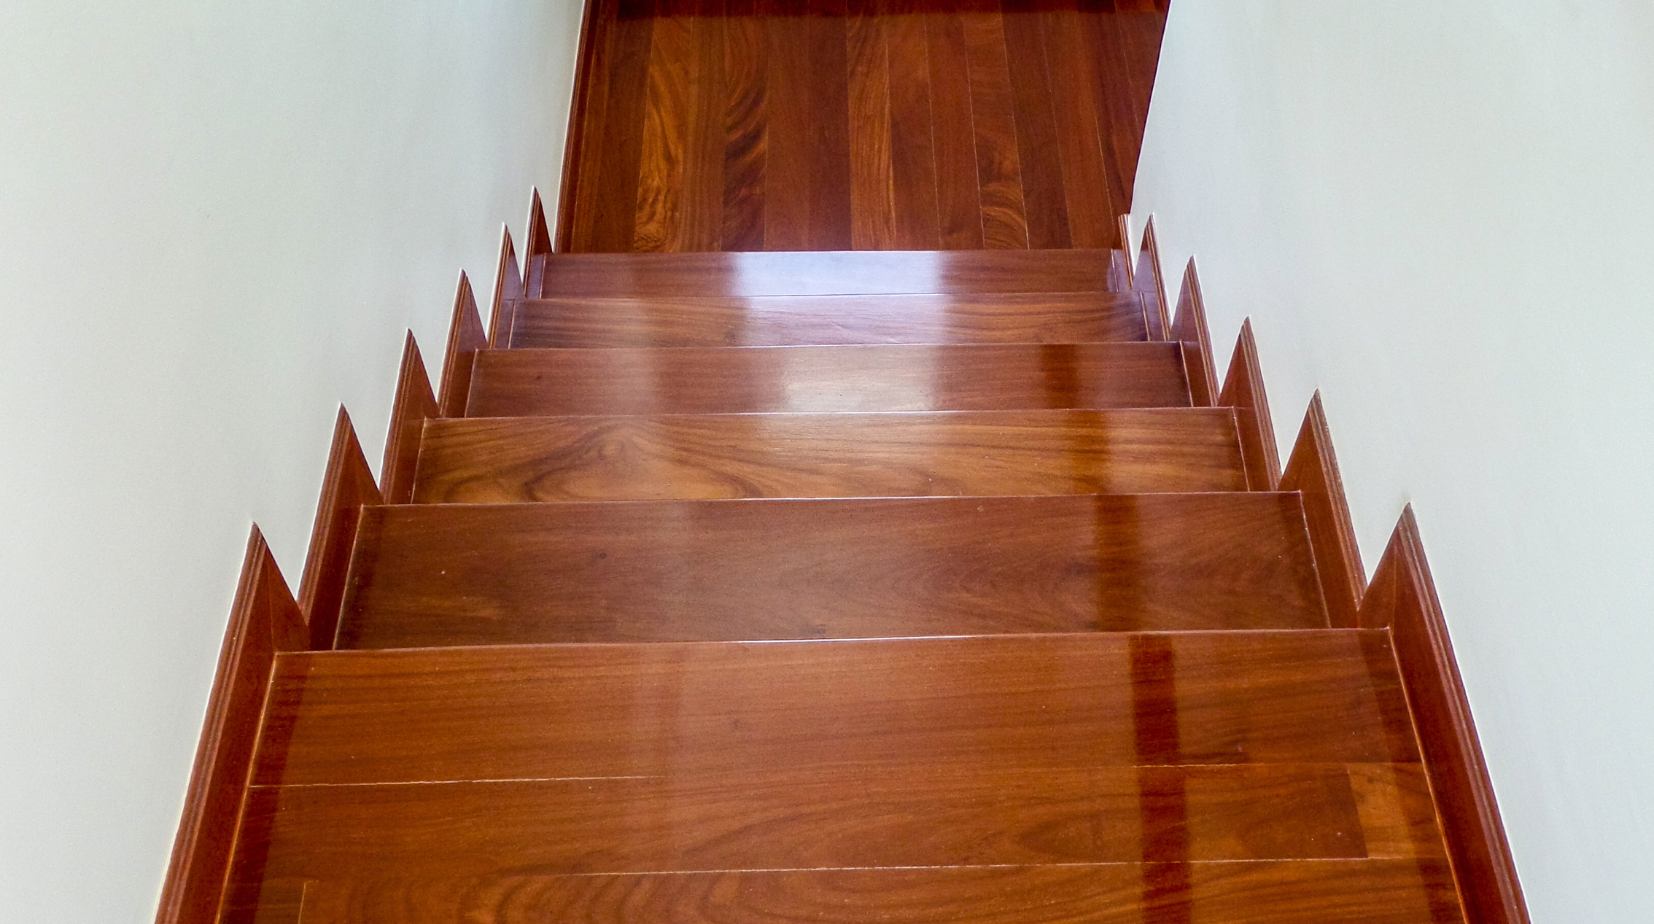
Yes, and it’s one of the best ways to upgrade your staircase without replacing the wood.
Gel stain allows for better control, richer color, and a smooth, even finish that enhances the natural beauty of the treads.
With proper preparation, application, and sealing, your stair treads can achieve a professional-quality look that lasts.
Whether you're refreshing old treads or working with new wood, gel staining is a cost-effective and stylish solution.
Taking the time to follow the right techniques ensures durability and prevents common staining mistakes.
With this guide, you have everything you need to successfully transform your staircase with gel stain.
Contact Us Today!
For premium stair treads, visit our website or contact us today:
-
Website: https://oakvalleydesigns.com/
-
Phone: 706.331.0315
-
Email: info@oakvalleydesigns.com
-
Address: 30 River Ct SW Bldg E Cartersville, Ga 30120