Tired of staring at a dull, scuffed railing that drags down your whole staircase? Worried you’ll splash stain everywhere while updating your space? Learning how to stain stairs railing is simpler than you think when you follow the right steps and protect your carpet stair treads.
This guide will show you exactly how to prep, stain, and finish your railing without damaging the floors or creating a mess. You’ll discover which stain to choose, how to avoid drips, and smart ways to keep your carpet spotless. By the end, you’ll feel confident tackling this project yourself with professional-looking results.
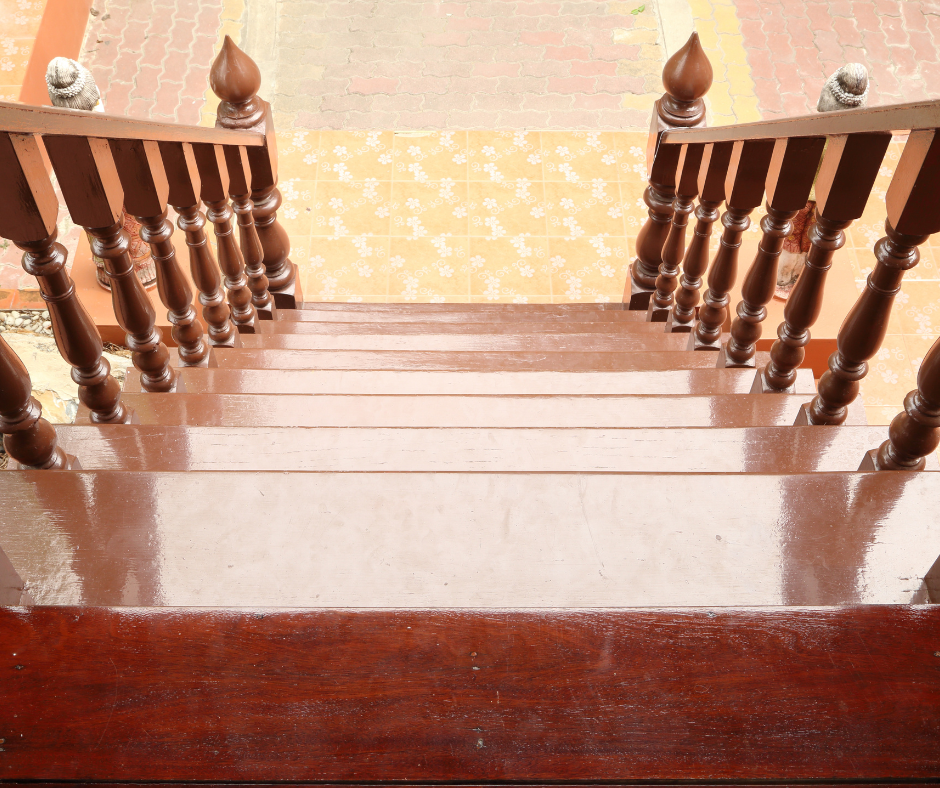
Why Stain Your Stairs Railing?
Staining your railing makes a big impact on your home’s look. It also protects the wood from wear and tear. DIY staining is an affordable way to create a custom look without hiring a professional.
A freshly stained railing can increase your home’s value and help blend old and new wood seamlessly. It’s also a chance to match the railing to your floors, trim, or furniture for a cohesive design. If you’re also thinking about how to stain wood stairs inside to match your railing, you can use these same tips for a seamless design.
Choosing Gel Stain vs. Regular Stain
Can you gel stain stair treads and railings? Absolutely. Gel stain is thicker and easier to control on vertical surfaces. It won’t drip as much, making it perfect for railings. Regular stain is thinner and can run more easily.
If you choose a liquid stain, you’ll need to work slowly and cover your carpet well. Gel stain is also a great choice if your wood has an uneven grain or slight damage because it hides imperfections better.
For deep color, you may need two coats of gel stain, so plan your timing accordingly. Consider the wood type, desired color, and how much protection you need before you pick your stain.
How to Prepare Your Stairs and Carpet
Preparation is everything. Start by clearing the area. Move rugs, furniture, and anything else nearby. Vacuum the stairs and railing to remove dust. Use wood cleaner or mineral spirits to remove any old finish. Lightly sand the railing so the stain sticks well.
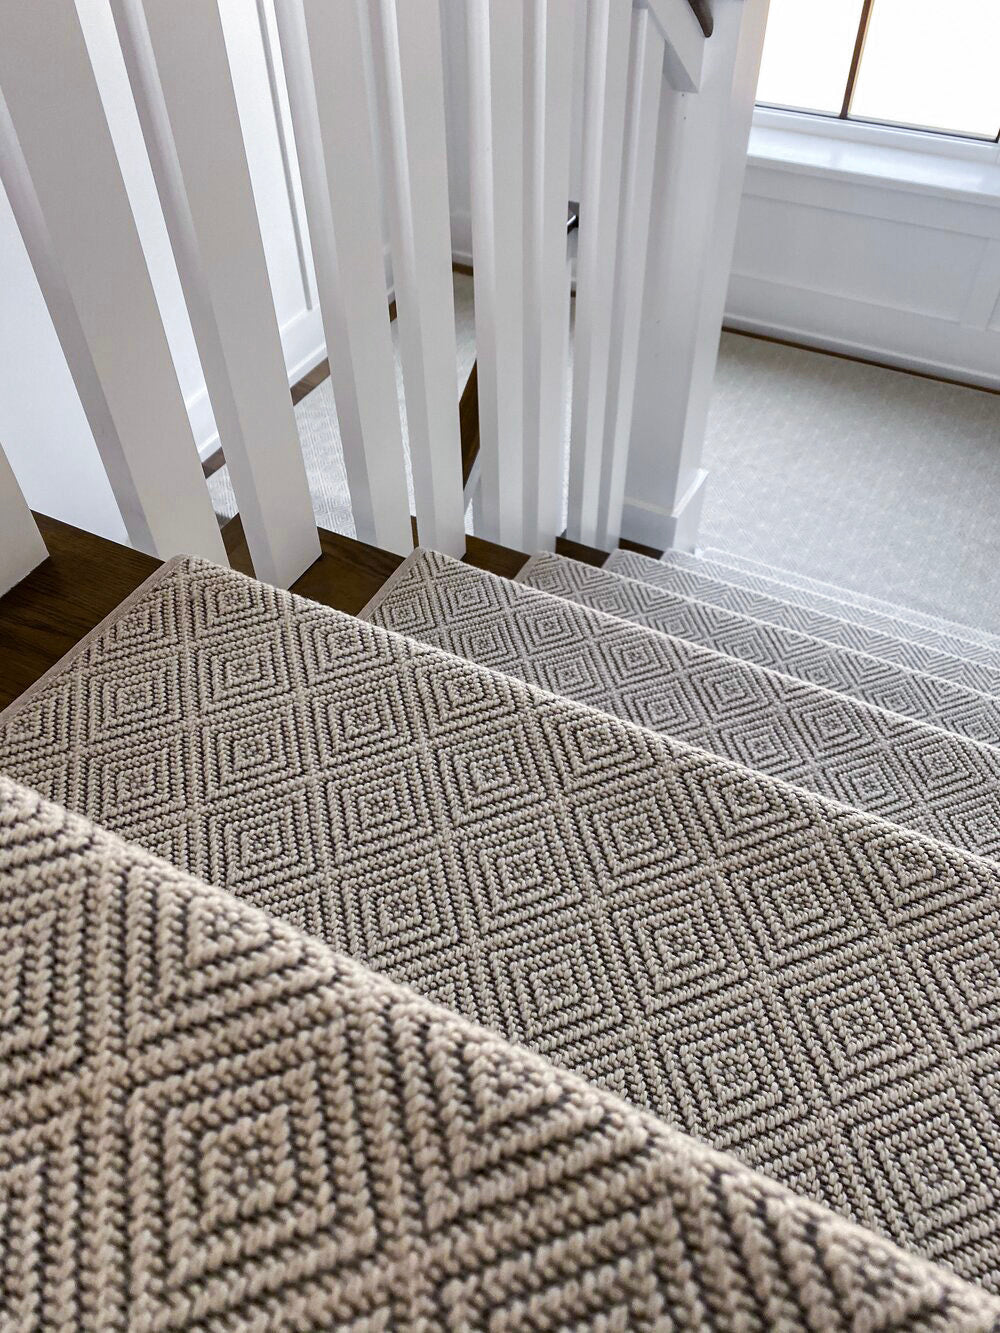
Wipe away dust with a clean cloth. Be sure to wear gloves and a mask if you’re using chemical cleaners or sanding for extended periods. Cover your carpet stair treads with heavy plastic sheeting or drop cloths. Secure the edges with painter’s tape.
This step is crucial to protect your carpet from drips. If your stairs have tight corners, press tape firmly into seams so no stain can seep underneath.
Applying the Stain
Whether you use gel or regular stain, follow these simple steps:
-
Stir the stain well.
-
Dip a clean brush or rag into the stain.
-
Start at the top of the railing and work in small sections.
-
Apply a thin, even coat.
-
Wipe off any extra stain with a clean rag before it dries. Keep your strokes smooth and steady. Work slowly to avoid drips. Always go with the direction of the wood grain to prevent streaks. If you’re applying a second coat, wait until the first one dries completely. Check your work under good lighting so you don’t miss spots or leave uneven patches.
Tips to Prevent Drips and Spills
-
Use a small container instead of the big can.
-
Don’t overload your brush.
-
Keep a damp rag nearby to catch drips fast.
-
Check your work as you go.
-
Re-secure protective coverings if they shift. If you see a drip forming, gently smooth it out right away with the tip of your brush. For extra control, use a sponge brush on small sections like spindles or tight corners. If you do spill on the carpet, blot the stain instead of rubbing, so it doesn’t spread further.
Finishing and Caring for Your New Look
Let the stain dry completely before touching or applying a clear topcoat. Most stains need 24 hours to dry. Once dry, apply a protective finish to seal the wood. This helps prevent scratches and fading. Choose a water-based polyurethane for easy cleanup and a low odor.
Apply two thin coats for the best protection, letting each coat dry fully. To keep your railing looking fresh, dust it often and avoid harsh cleaners. Inspect the finish every few months, and touch up small scratches as needed to maintain a beautiful look.
Stepping It Up
Staining your stairs railing doesn’t have to be stressful. With the right prep and a little patience, you can create a polished look you’ll be proud of. This project is one of the most rewarding ways to update your space without a major renovation. Once your railing is freshly stained, the next step is protecting your stairs themselves.
Oak Valley Designs offers premium stair treads that pair beautifully with stained railings, adding safety, comfort, and style to every step. Each tread is crafted in the USA and designed for easy, no-damage installation—so your new look stays clean and cohesive from top to bottom.
Ready to finish your staircase transformation?
-
Website: https://oakvalleydesigns.com/
-
Phone: (706) 331-0315
-
Email: info@oakvalleydesigns.com
-
Address: 30 River Ct SW Bldg E Cartersville, Ga 30120