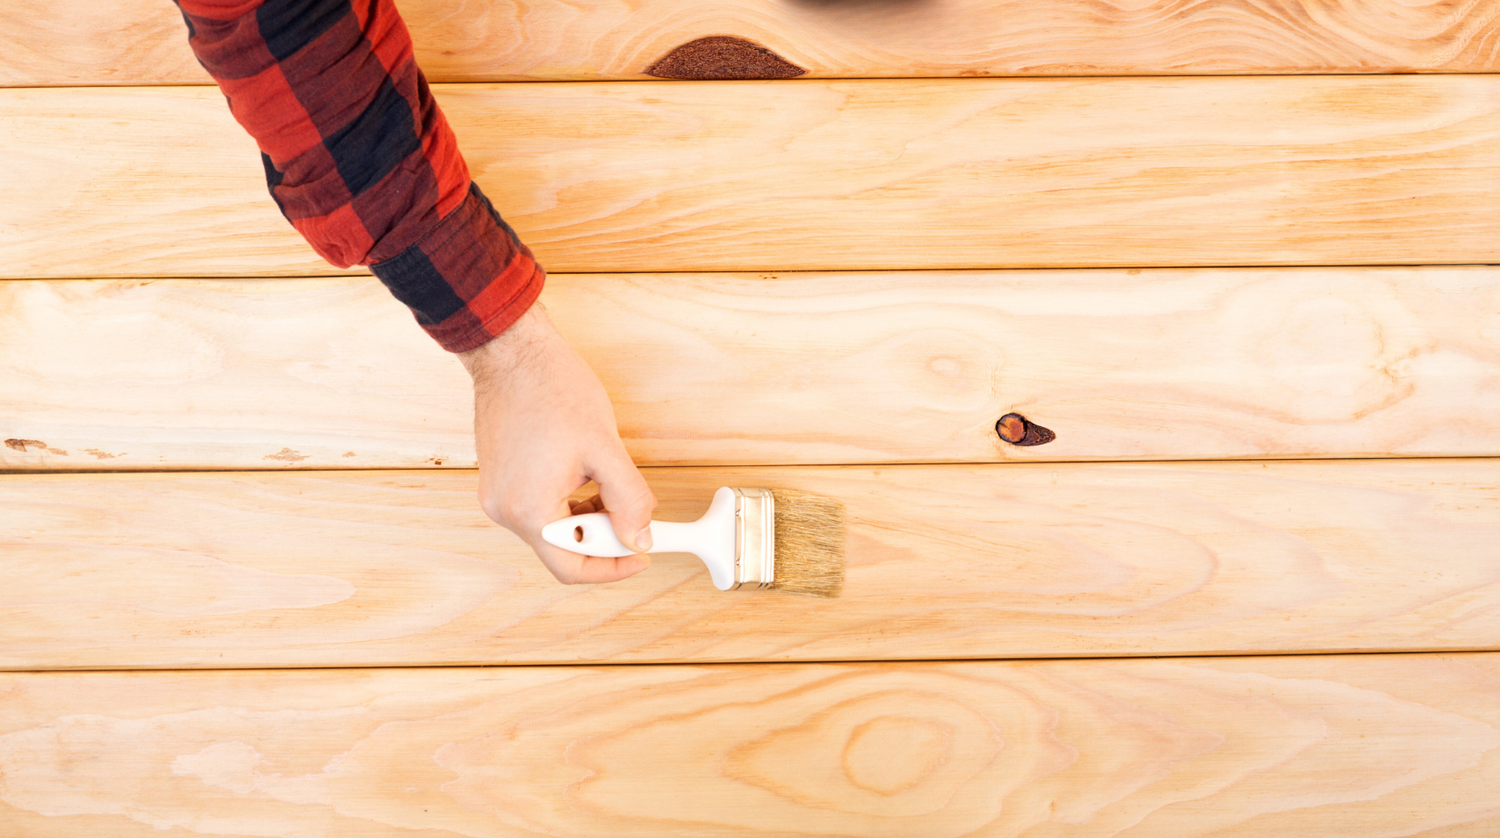
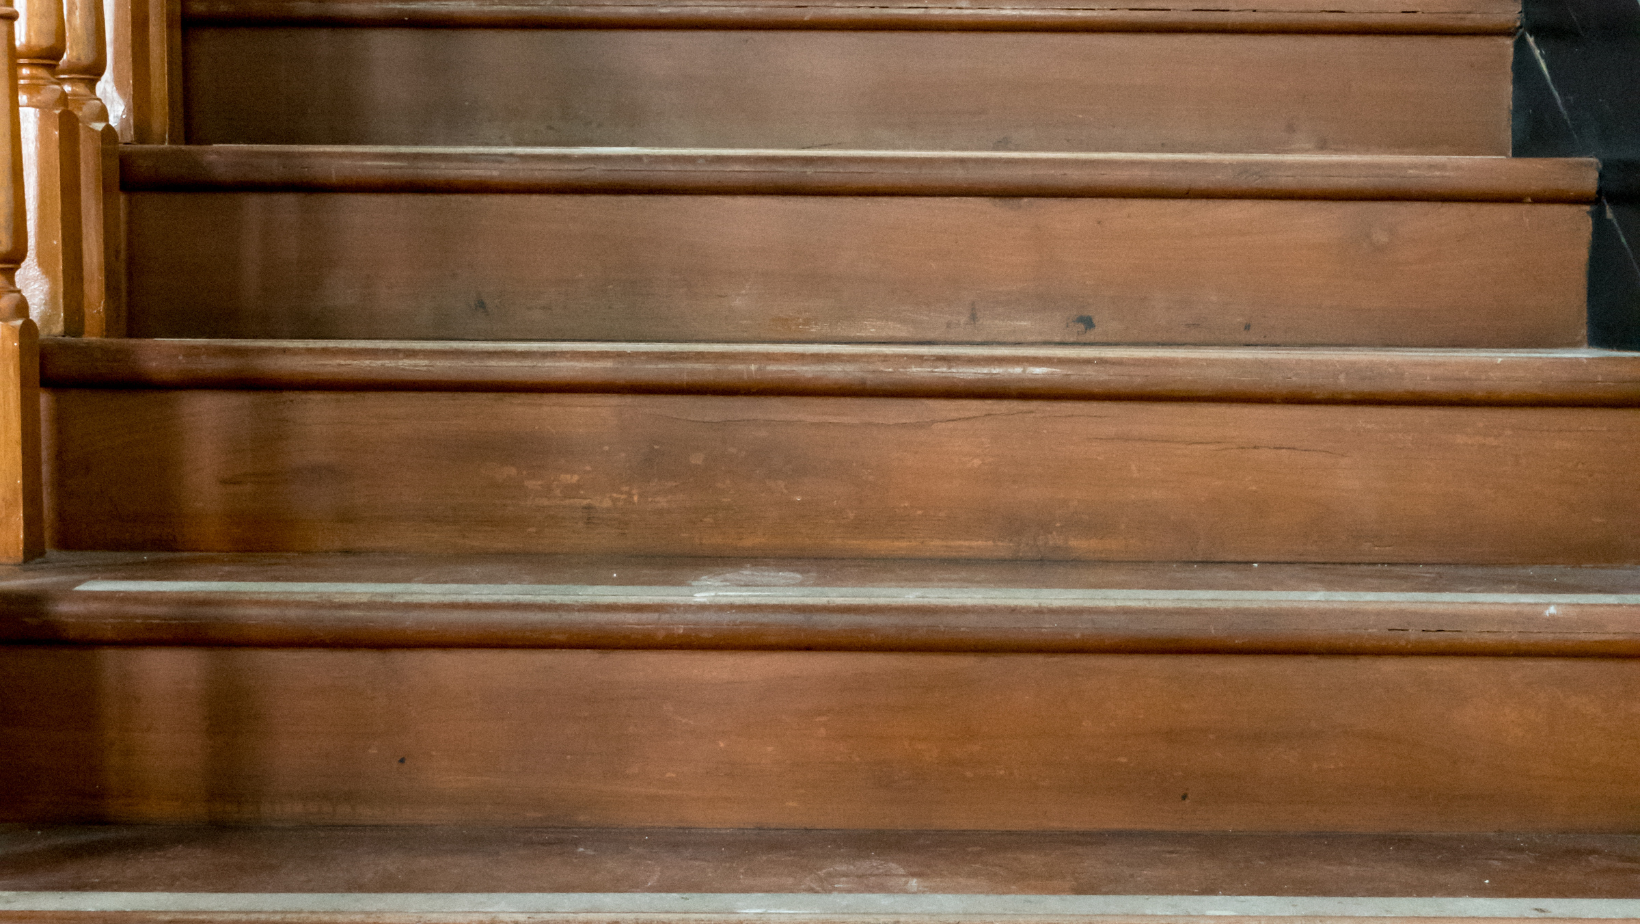
Knowing how to stain pine stair treads is important for maintaining both their appearance and durability.
Staining enhances the natural wood grain while protecting against wear and tear.
Before starting, it's essential to remove any carpet stair treads to ensure an even and long-lasting finish.
Carpet stair treads can trap dirt and adhesive, which may interfere with stain absorption.
Once removed, the wood surface must be sanded and prepped for proper staining.
A well-applied stain will not only improve aesthetics but also extend the lifespan of your stair treads.
Staining Pine Stair Treads
Knowing how to stain pine stair treads is essential for maintaining their durability and enhancing the natural beauty of the wood.
Pine is a softwood that can wear down quickly without proper treatment, leading to scratches and discoloration.
Applying a stain protects the surface while also allowing you to customize the color to match your home’s design.
Before staining, it is important to remove any carpet stair treads to ensure the stain adheres properly.
Carpet can trap dirt and glue residue, which may interfere with the staining process.
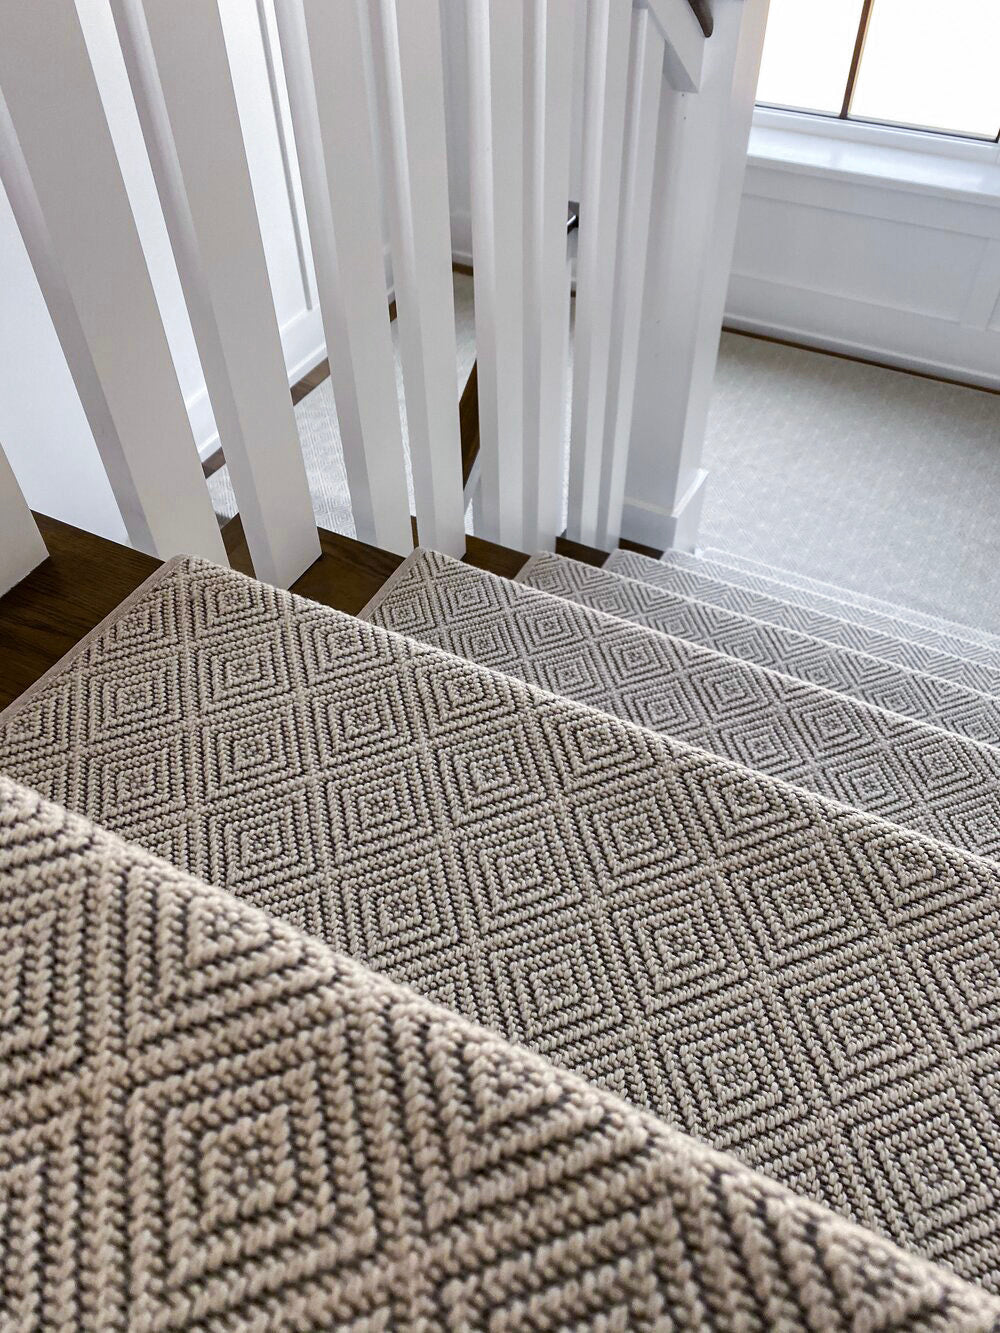
Once the stair treads are stained and sealed, you can choose to leave them exposed or reinstall carpet for added comfort.
Why Staining Pine Stair Treads is Important
Pine stair treads face daily wear, especially in high-traffic areas of the home.
Without protection, the wood can develop deep scratches and discoloration over time.
Staining not only enhances the wood’s durability but also adds a polished, finished look to the staircase.
Staining is a better long-term solution than leaving pine untreated or simply painting over it.
Unlike paint, stain penetrates the wood and provides a richer, more natural finish while still allowing the wood grain to show through.
Choosing the Right Stain for Pine Stair Treads
There are various stains available, but not all work well with pine.
Pine is a softwood that absorbs stain unevenly, which can lead to blotchy results.
To avoid this, it’s essential to choose the right stain and prepare the wood correctly before application.
Types of Stains Suitable for Pine Stair Treads
-
Oil-Based Stains – These stains penetrate deep into the wood, providing long-lasting color and durability. They take longer to dry but offer a rich, even finish.
-
Water-Based Stains – These stains dry quickly, have low odor, and are more environmentally friendly. However, they may not penetrate pine as well as oil-based stains.
-
Gel Stains – A popular option for softwoods, gel stains are thicker than traditional stains and sit on top of the wood instead of soaking in. This helps achieve a more even, controlled application.
If you’re wondering, can you gel stain stair treads? The answer is yes. Gel stain is a great choice for pine because it reduces blotchiness and allows for better color control.
Essential Tools for Staining Pine Stair Treads
Before starting the staining process, gather the necessary tools to ensure a smooth application:
-
Sandpaper (medium and fine grit)
-
Wood conditioner (to help with even stain absorption)
-
Stain (oil-based, water-based, or gel)
-
Brushes or lint-free rags
-
Protective finish (such as polyurethane)
-
Painter’s tape (to protect surrounding areas)
-
Gloves and a mask (for safety)
-
Adequate ventilation (open windows or use fans)
How to Stain Pine Stair Treads: Step-by-Step Guide
Step 1: Preparing the Surface
Start by sanding the stair treads to create a smooth surface.
Use medium-grit sandpaper first, followed by fine-grit sandpaper to eliminate any roughness.
After sanding, wipe away dust with a clean, dry cloth.
Applying a pre-stain wood conditioner is highly recommended, especially for pine.
This step helps the wood absorb the stain more evenly and prevents blotchiness.
Step 2: Applying the Stain
Using a brush or a lint-free rag, apply the stain in long, even strokes following the wood grain.
Let the stain sit for a few minutes before wiping away excess with a clean rag.
For a darker finish, apply additional coats, allowing each coat to dry before reapplying.
If using gel stain, apply it with a brush or cloth and spread it evenly.
Since gel stain is thicker, it requires longer drying times but results in a more uniform appearance.
Step 3: Drying and Sealing the Stain
Allow the stain to dry completely before applying a protective finish.
Polyurethane is the most commonly used finish, providing a durable, long-lasting protective layer.
Apply thin coats of polyurethane, allowing each layer to dry fully before adding another.
The Role of Gel Stain in Staining Pine Stair Treads
Many homeowners ask, can you gel stain stair treads instead of using a traditional stain?
Yes, and it’s often the preferred method for pine.
Gel stain is ideal for achieving a rich, even color because it does not penetrate the wood deeply, reducing the risk of uneven staining.
Advantages of Gel Stain for Pine Stair Treads
-
Even Application – Reduces streaking and blotchiness.
-
Minimal Drips – Easier to apply on vertical surfaces like stair risers.
-
Richer Color – Offers a deep, vibrant finish without excessive layering.
Gel stain works best when applied in thin, even layers and wiped back slightly to create a natural look.
If opting for gel stain, follow the same preparation steps as traditional stains for the best results.
Removing Carpet from Stair Treads Before Staining
Before applying any stain, it’s important to remove existing carpet from stair treads.
Carpet can trap dirt, debris, and adhesives that interfere with stain absorption.
How to Remove Carpet from Stair Treads
-
Start at one corner and carefully pull up the carpet.
-
Use pliers to remove any staples or nails.
-
Scrape off any remaining adhesive with a putty knife.
-
Sand the surface to remove residual glue or imperfections.
Skipping this step can result in an uneven stain and poor adhesion, reducing the longevity of the finished product.
Reapplying Carpet Stair Treads After Staining
Some homeowners choose to reinstall carpet stair treads after staining.
If you want to do so, ensure the stain and finish have dried completely before proceeding.
Steps to Reapply Carpet After Staining
-
Clean the Treads – Wipe away any dust or debris.
-
Measure and Cut the Carpet – Ensure an exact fit.
-
Use Carpet Adhesive or Staples – Secure the carpet in place.
Common Mistakes to Avoid When Staining Pine Stair Treads
Staining stair treads can be a straightforward process, but there are common pitfalls to watch out for:
-
Skipping Sanding – Failing to sand properly leads to an uneven finish.
-
Not Using a Conditioner – Pine absorbs stain unevenly without it.
-
Applying Too Much Stain – Excess stain sits on the surface and creates sticky residue.
-
Ignoring Drying Time – Rushing the drying process can lead to smudging and imperfections.
Maintaining Stained Pine Stair Treads
After staining, proper maintenance ensures the finish lasts for years:
-
Clean Regularly – Use a soft cloth or vacuum to remove dust and debris.
-
Avoid Harsh Chemicals – Use wood-friendly cleaners to protect the finish.
-
Touch Up as Needed – If scratches develop, lightly sand and reapply stain to the affected area.
Stepping It Up
Learning how to stain pine stair treads is a simple but effective way to improve your staircase.
Whether you choose an oil-based, water-based, or gel stain, proper preparation ensures the best results.
Taking the time to remove carpet stair treads and sand the wood properly will help achieve a smooth and long-lasting finish.
Once stained, pine stair treads should be maintained with regular cleaning and occasional touch-ups.
Homeowners who want additional comfort can reapply carpet stair treads once the stain has fully dried.
Following these steps will keep your stairs looking polished and protected for years to come.
Contact Us Today!
For high-quality stair tread solutions, Oak Valley Designs offers premium options to elevate your home’s aesthetic.
-
Website: https://oakvalleydesigns.com/
-
Phone: 706.331.0315
-
Email: info@oakvalleydesigns.com
-
Address: 30 River Ct SW Bldg E Cartersville, Ga 30120


