
Stair Repair finished nosing repairs
Video by Francis Barnett · 1 moment used in Oak Valley Designs's DIY guides · 0:50 long
Moments in this video
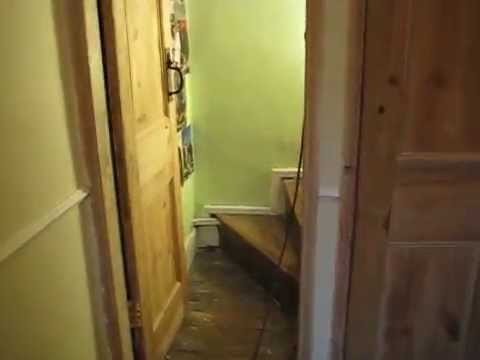
- 0:37–0:45 Sanding the Stairs for Smoothness
From How to Modernize a Dated Staircase with Rails, Lights and Treads, Step 5: Sand and Finish Treads and Handrails
With the stairs now clean of old finish and residue, the next critical step is sanding to achieve a smooth, uniform surface, as is evident in the video's 'after' shots of the stairs which appear perfectly prepared. Begin with a coarser grit sandpaper (e.g., 80 or 100-grit) to remove any remaining stubborn imperfections, minor scratches, or slight discolorations from the stripping process. Progress through successively finer grits (e.g., 120, 150, 220-grit) to gradually smooth the wood. For the flat treads and risers, an orbital sander or belt sander (used carefully) can speed up the process. For edges, corners, and balusters (if applicable), use a detail sander, sanding block, or hand-sanding with appropriate sandpaper. Always sand in the direction of the wood grain to avoid cross-grain scratches that will become prominent once a new finish is applied. The goal is to create a consistently smooth surface ready to accept stain or sealer.
The guide that use this video
More from the Oak Valley Designs DIY Hub
Read the guide Browse all guides
Planning this project? Shop Oak Valley Designs.

Subscribe for exclusive updates
Be the first to know about promotions, new products, and sales.