
How To: Repair a Baluster
Video by The Craftsman Blog · 2 moments used in Oak Valley Designs's DIY guides · 5:06 long
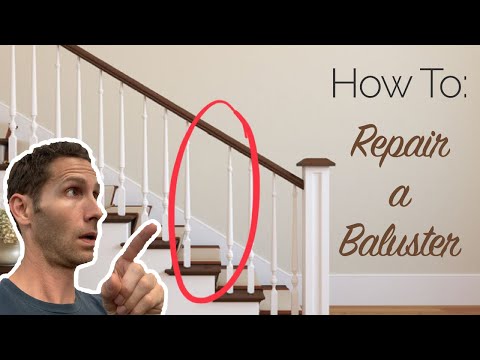
Moments in this video
- 0:05–0:16 Assess Damage
From Stair Baluster Repair, Step 1: Assess Baluster Damage
The video begins by showcasing a broken baluster, specifically highlighting the splintered wood at the base where it connects to the newel post or railing. This initial assessment helps understand the nature of the repair needed, which involves rejoining two broken wooden pieces. The initial presentation of the problem occurs with an impact sound and the display of the broken parts.
- 2:55–3:48 Fill and Smooth the Joint with Spackle
From Stair Baluster Repair, Step 5: Finish and Reinforce
After the glue has fully cured, remove the clamps. Inspect the joint for any gaps, cracks, or imperfections, as the video shows the dried, slightly uneven joint. Using a finger or small putty knife, apply MH Ready Patch spackling compound to the repaired area, filling in any voids and creating a smooth transition between the two baluster pieces. Allow the spackle to dry completely, which is typically for at least 2 hours, as indicated by the '2 hrs later' transition.
The guide that use this video
More from the Oak Valley Designs DIY Hub
Read the guide Browse all guides
Planning this project? Shop Oak Valley Designs.

Subscribe for exclusive updates
Be the first to know about promotions, new products, and sales.