
Easy Cable Stair Railing | The Best DIY System
Video by April Wilkerson · 1 moment used in Oak Valley Designs's DIY guides · 8:02 long
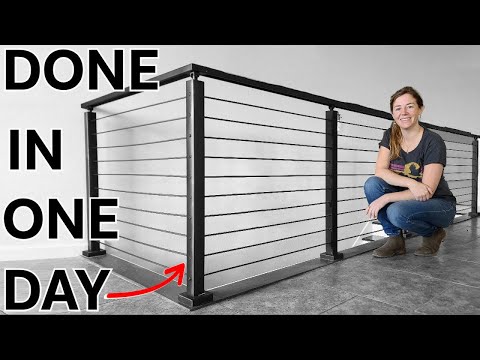
Moments in this video
- 6:21–7:49 Tension and Cut Cables
From Cable Railing Installation, Step 7: Attach Cables to Terminals
Once all cables are fed through, attach a tensioning sleeve to the end of each cable's stinger that connects to the end post. Use an Allen wrench (hex key) to tighten the tensioning sleeve, creating tension along the entire length of the cable. After the end posts are tensioned, mark the position of each cable on the starting end post with tape. Carefully back out each cable one by one. Using an angle grinder with a cut-off wheel, cut each cable to its marked length. After cutting, crimp a new stinger onto the freshly cut end of each cable. Feed this stinger into a tensioning sleeve on the starting end post, then tighten to tension the cables. Repeat this for all cables to complete the modern cable railing installation.
The guide that use this video
More from the Oak Valley Designs DIY Hub
Read the guide Browse all guides
Planning this project? Shop Oak Valley Designs.

Subscribe for exclusive updates
Be the first to know about promotions, new products, and sales.