
Install Balusters and Fillets
From How to Modernize a Dated Staircase with Rails, Lights and Treads · Step 4 of 6 · Video by Menards Home Improvement
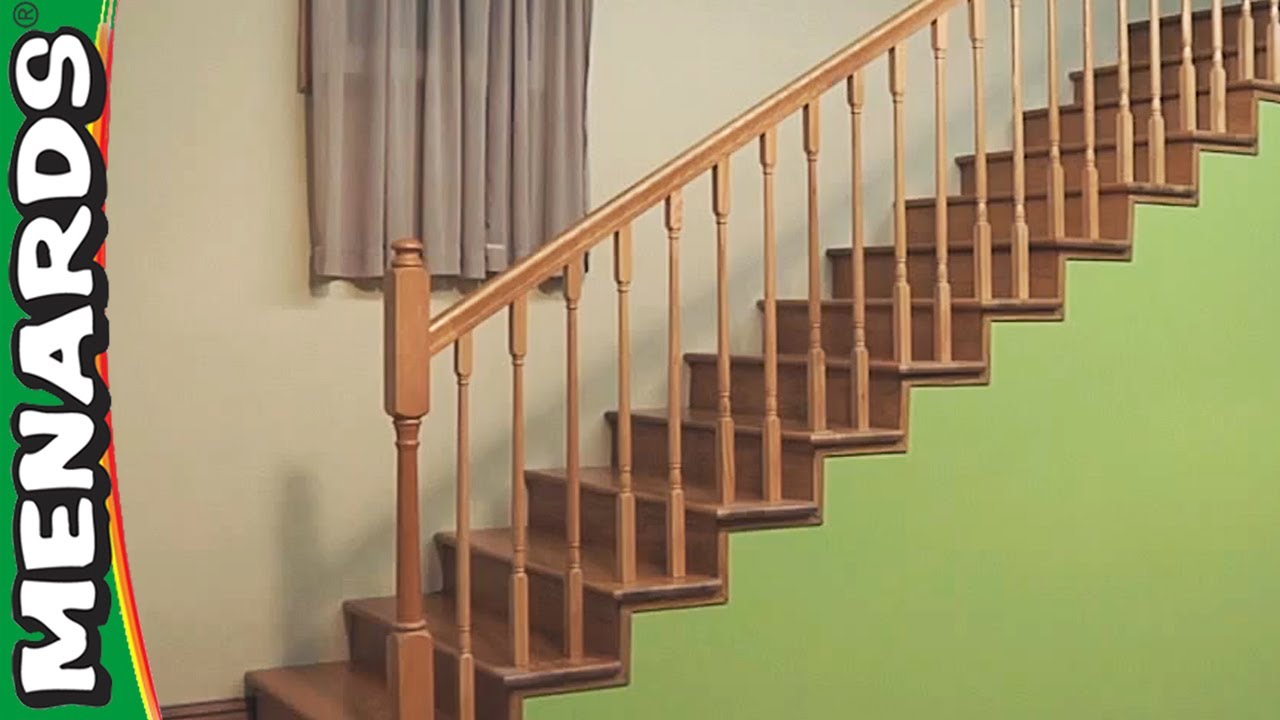
Showing 3:35–4:17 of the source video. Watch the full video with every moment.
What happens in this clip
Insert a baluster into a pre-drilled hole in the stair tread. Use a level to guide you and a pencil to mark the exact angle where the top of the baluster meets the bottom edge of the handrail. Cut each baluster to this marked angle, ensuring it is cut 1/16 inch longer to allow for a snug fit into the groove at the bottom of the handrail. Apply wood glue to the bottom of the baluster and insert it into the tread hole. Then, apply glue to the angled top of the baluster and nail it into place against the handrail using a nail gun and finishing nails. Repeat this process for all balusters. Finally, cut and secure the small fillet pieces, which fit under the handrail between each baluster, using glue and finishing nails. For straight sections of railing, ensure the handrail is cut to the correct length, bolts are installed into the newels, balusters are set, and then the handrail is installed. Clean up any excess glue with a damp cloth. Allow the entire railing system to set for 24 hours to ensure the glue dries completely and the structure is stable.
Goal: Complete the baluster installation and add fillet pieces for a finished look.
What's used
Tools
- Balusters Colonial Elegance
- Damp cloth
- Fillet pieces Colonial Elegance
- Finishing nails
- Handrail Colonial Elegance
- Level
- Miter saw
- Nail gun
- Pencil
Materials
- Wood glue
About the full video
This project provides a comprehensive, step-by-step guide for installing a new wooden stair railing system. It covers the entire process from initial measurement and planning to securing newel posts, cutting and attaching handrails, drilling and installing balusters, and adding finishing touches like fillet pieces, ensuring a secure and aesthetically pleasing result.
Step 4 of 6: Install New Balusters and Handrails
Begin by marking the spacing for your balusters according to local building codes (typically no more than 4 inches apart). Attach the balusters to the treads (or shoe or skirt board) and to the underside of the handrail. Use appropriate fasteners, such as baluster mounting kits or screws, ensuring they are strong and concealed if possible. Next, attach the handrail to the newel posts and to any supporting brackets. Ensure the handrail is at the correct height (typically 34-38 inches from the tread nosing) and is securely mounted to provide adequate support.
Every video in How to Modernize a Dated Staircase with Rails, Lights and Treads
Step 1: Remove Old Treads and Risers
- 1:39–2:35 Cut Tread Fasteners & Remove Old Treads
- 0:01–0:09 Remove Old Carpet and Treads
- 0:05–0:08 Remove Old Stair Components
Step 2: Inspect and Repair Staircase Structure
- 0:00–0:13 Assess Existing Stairs and Planning
- 0:09–0:14 Repair and Prepare Stair Structure
- 3:59–6:57 Replace Damaged Stair Treads or Risers
Step 3: Install New Treads and Risers
- 6:45–8:03 Install New Treads and Secure with Shims/Glue/Nails
- 9:53 Install New Treads
- 0:06–0:09 Install Treads and Risers
Step 4: Install New Balusters and Handrails
- 5:36–6:05 Install Balusters and Handrail
- 0:23–0:31 Install Oak Handrails and Metal Balusters
- 3:35–4:17 Install Balusters and Fillets (this video)
Step 5: Sand and Finish Treads and Handrails
- 0:20–0:25 Sand and Finish Treads
- 0:37–0:45 Sanding the Stairs for Smoothness
- 0:15–0:17 Sand the Stairs
Step 6: Install Stair Lighting (Optional)
- 0:01–0:04 Apply LED Strip Lights to Treads
- 7:31–9:55 Install LED Lighting and Treads
- 0:00–0:19 Install Flexible LED Strip Lighting
How to Modernize a Dated Staircase with Rails, Lights and Treads
This project involves updating a dated staircase by replacing or refinishing treads, modernizing the handrails and balusters, and potentially incorporating lighting elements for both aesthetics and safety. The goal is to create a more contemporary and inviting look for the staircase.
Read the full guide Browse all guides
Planning this project? Shop Oak Valley Designs.

Subscribe for exclusive updates
Be the first to know about promotions, new products, and sales.