
Stair Tread Measurement
About This Guide
Dreaming of a safer, more stylish staircase but feeling unsure where to begin? The first step in any easy DIY stair remodel is getting your measurements right. A perfect fit is key to achieving that professional look and ensuring maximum safety for your family. This guide will walk you through measuring each step's width and depth individually, ensuring your new treads are custom-made to fit your unique staircase. We'll cover how to measure from riser to nosing, account for the ideal 1-inch border, and note any variations for a flawless finish.
Steps
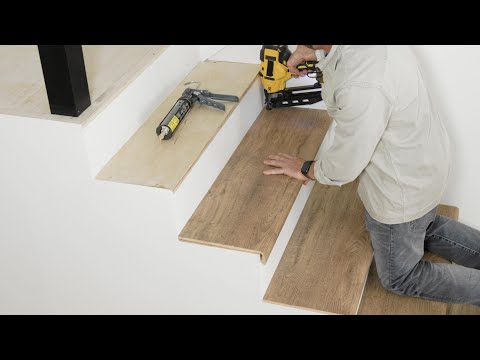
Step 1: Count Your Steps & Gather Your Tools
First things first, let's count the number of stair treads you'll be transforming. A quick tip: you'll always have one more riser (the vertical part of the stair) than you have treads (the flat part you step on). Once you have your count, gather these simple tools for the job: a sturdy, rigid tape measure, a carpenter's square (for checking corners), a small level, some masking tape, and a trusty pencil and notebook. Having everything on hand makes the process smooth and stress-free.
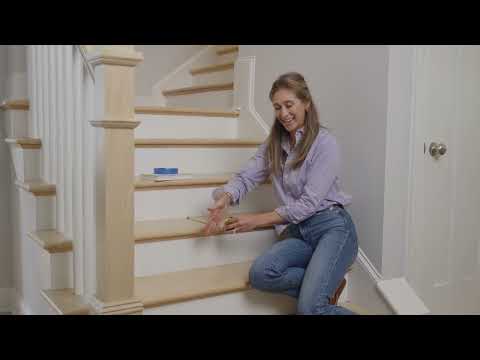
Step 2: Measure Individual Tread Depth
Now, let's measure the depth (the front-to-back distance) of each tread, one at a time. Place the end of your tape measure right up against the riser at the back. Pull the tape straight and flat across the surface until you reach the edge of the stair's 'nosing' (the slight overhang at the front). It's critical that your tape measure is level and not measuring over any old carpet remnants or adhesive, as that can throw off your measurement and compromise the fit. Write down this depth measurement before moving to the next step.
Step 3: Determine Your Ideal Tread Width
Next is the width. Measure across the tread from side to side, keeping the tape parallel to the back riser for an accurate reading. For stairs enclosed by two walls, measure wall-to-wall. If one side is open, measure from the finished edge of the stair to the wall or 'stringer' (the side support board). For that beautiful, professionally finished look, we recommend leaving about a 1-inch border of exposed wood on each side of your carpet tread. So, for a 36-inch wide stair, a 34-inch tread is the perfect choice to bring warmth and elegance to your home.

Step 4: Record, Label, and Double-Check
This is where The Oak Valley Difference truly shines. In your notebook, create a simple chart and record the width and depth for each specific step. Don't assume all your stairs are identical! It's very common for older homes to have slight variations. If you find a step that's different—even by a quarter of an inch—use a piece of masking tape to label it with a number. This careful work is the key to ordering custom-made-to-fit treads that look seamless. For extra peace of mind, snap a quick photo of any unusually shaped steps. Before you finish, double-check your notes against your tape measure one last time.
Questions about your project or which product fits? Oak Valley Designs's team is happy to help. Mon–Fri 9–5 ET

Subscribe for exclusive updates
Be the first to know about promotions, new products, and sales.