
← Guide
Stair Tread Installation
Step 4 of 8
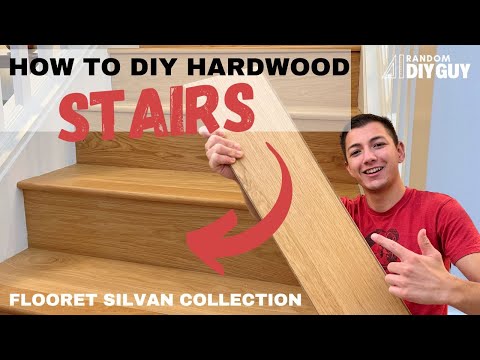
Clip 1/3
Helpful?
Step 4 · Perform a 'Dry Fit' Test
This is a key part of any successful DIY project. Place the prepared tread onto the stair without any adhesive to check its fit. Ensure it sits snugly against any walls and that the bullnose profile aligns correctly. Look for any gaps or tight spots. Making minor adjustments now is much easier and guarantees a perfect result.
Tools and Materials
 Oak Valley Island Stripe - Tread
Tips and Tricks
(1)
1
Gently tap the tread into place with a rubber mallet if it's slightly tight.
Gently tap the tread into place with a rubber mallet if it's slightly tight.
Safety Warnings
(1)
General Hazard
Do not force the tread into place, as this could damage the tread or the stair structure.

Subscribe for exclusive updates
Be the first to know about promotions, new products, and sales.