
← Guide
Stair Tread Installation
Step 3 of 5
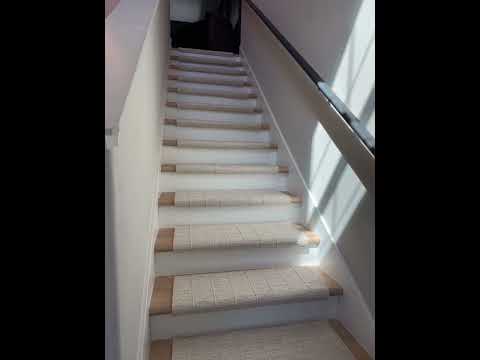
Step 3 · Cut Your Treads with Precision
On a flat, stable surface, lay out your material. Carefully transfer your recorded measurements onto the fabric, marking the dimensions for each tread. A sharp utility knife or heavy-duty scissors are your best friends here; a clean cut is key to a professional finish. Take your time to ensure every line is straight and precise, accounting for any material needed to wrap the stair's front edge, known as the 'nosing'.
Use a cutting mat to protect your work surface and ensure cleaner cuts.
Use a cutting mat to protect your work surface and ensure cleaner cuts.
If the material frays easily, consider using a fabric sealant on the cut edges.
If the material frays easily, consider using a fabric sealant on the cut edges.
General Hazard
Always cut away from your body and fingers. Consider wearing cut-resistant gloves.
Subscribe for exclusive updates
Be the first to know about promotions, new products, and sales.