
← Guide
measure stairs for tread installation
Step 2 of 2
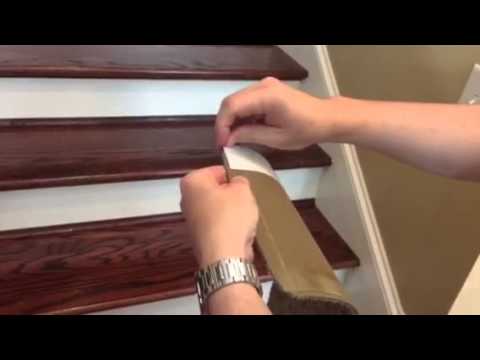
Step 2 · Position and Press Firmly
With the adhesive exposed, carefully position the tread on the stair. We recommend leaving an even border of wood on all sides for a classic, professional look. Once you're happy with the placement, press down firmly across the entire tread, paying special attention to the edges. This activates the adhesive, creating a secure, non-slip surface where safety meets style. That's it—a beautiful, easy DIY stair remodel is that simple!
Tools and Materials
 Oak Valley Tailored Square - Tread
For best results, start from the front edge of the step and work your way back, pressing firmly to ensure full contact with the adhesive.
For best results, start from the front edge of the step and work your way back, pressing firmly to ensure full contact with the adhesive.
You've reached the last step
Nice work — share this guide or find your next project.

Subscribe for exclusive updates
Be the first to know about promotions, new products, and sales.