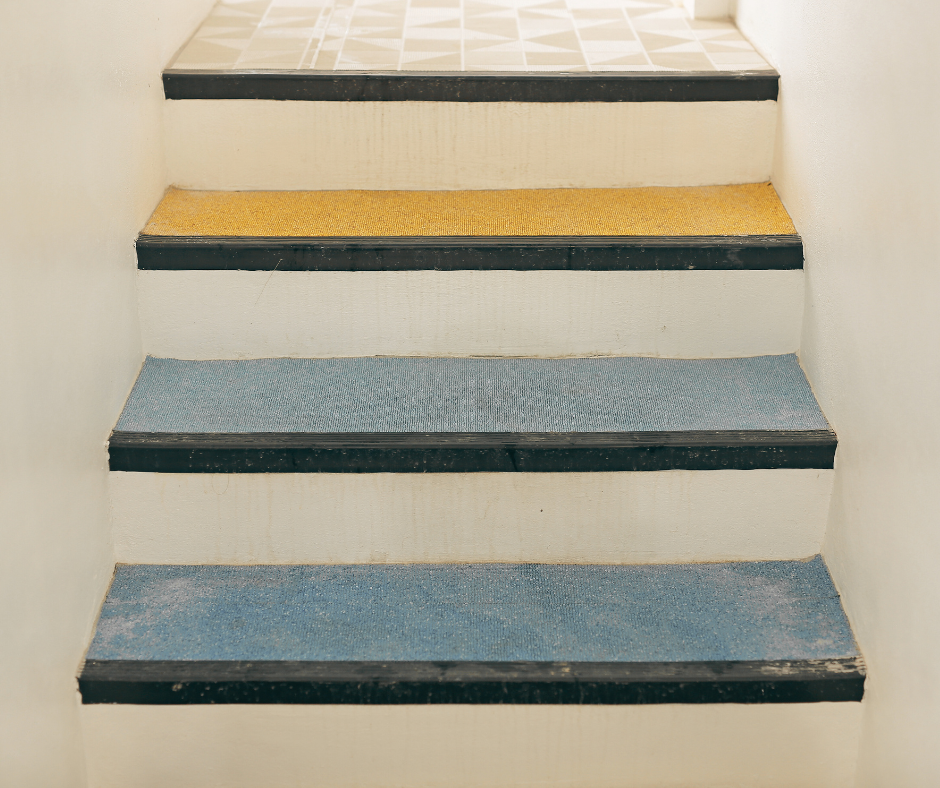
Old, worn-out treads can make your stairs look tired—and even unsafe. Removing rubber stair treads for a fresh new look is a straightforward, DIY-friendly project that involves cutting, heating, peeling, and cleaning to reveal a smooth, ready-to-use surface beneath.
By following this step-by-step guide, you’ll learn exactly how to safely remove these treads and prepare your stairs for new coverings—whether you’re adding carpet stair treads, wood finishes, or other materials. Along the way, we’ll cover common challenges and how to tackle them, including removing vinyl stair treads and removing pine stair treads, so you’ll be fully prepared for a successful stair upgrade.
Why Homeowners Choose to Remove Rubber Stair Treads
Rubber stair treads are a reliable choice for safety and durability, especially in high-traffic homes with pets, kids, or elderly residents. Over time, however, they may lose their grip, peel at the edges, or clash with your interior design. Whether you're planning a full renovation or just want a quick refresh, removing rubber stair treads is often the first step toward a staircase that reflects your style and needs.
Beyond aesthetics, outdated or worn rubber treads can become a hazard, leading to trips or slips. Replacing them with carpet stair treads or other alternatives improves both safety and the overall feel of your space.
Essential Tools and Safety Gear
Before you begin, gather these essential tools to make the process smoother and safer:
-
Utility knife
-
Heat gun or adhesive remover
-
Putty knife or floor scraper
-
Pry bar
-
Flathead screwdriver
-
Gloves and safety glasses
These tools will help with removing rubber stair treads and other materials like vinyl or pine. Safety is key—don’t skip the protective gear.
Step-by-Step: Removing Rubber Stair Treads for a Fresh New Look
Taking out old rubber stair treads doesn’t have to be overwhelming. Follow these simple, clear steps to do it safely and efficiently.
Step 1: Score the Edges
Use a utility knife to cut along the edges of the rubber tread. This breaks the seal between the tread and the stair surface. Go slow to avoid damaging the underlying wood.
Step 2: Soften the Adhesive
Heat the adhesive with a heat gun or apply adhesive remover, working in sections. The glue will soften and make removal much easier. Be patient—this can take a few minutes per tread.
Step 3: Peel Back the Rubber
Starting from a corner, gently pull back the rubber tread. If resistance occurs, use a putty knife or scraper to help lift it. Avoid excessive force to protect the stairs underneath.
Step 4: Clean Up the Surface
Once the treads are off, scrape off any remaining glue and debris. Clean the area with a safe cleaner to prep it for your new covering. Proper surface preparation ensures lasting results.
How to Handle Other Stair Tread Materials
Not all stair treads are rubber, and you may encounter other materials during your project. Here’s how to deal with two common alternatives.
Removing Vinyl Stair Treads Nailed In
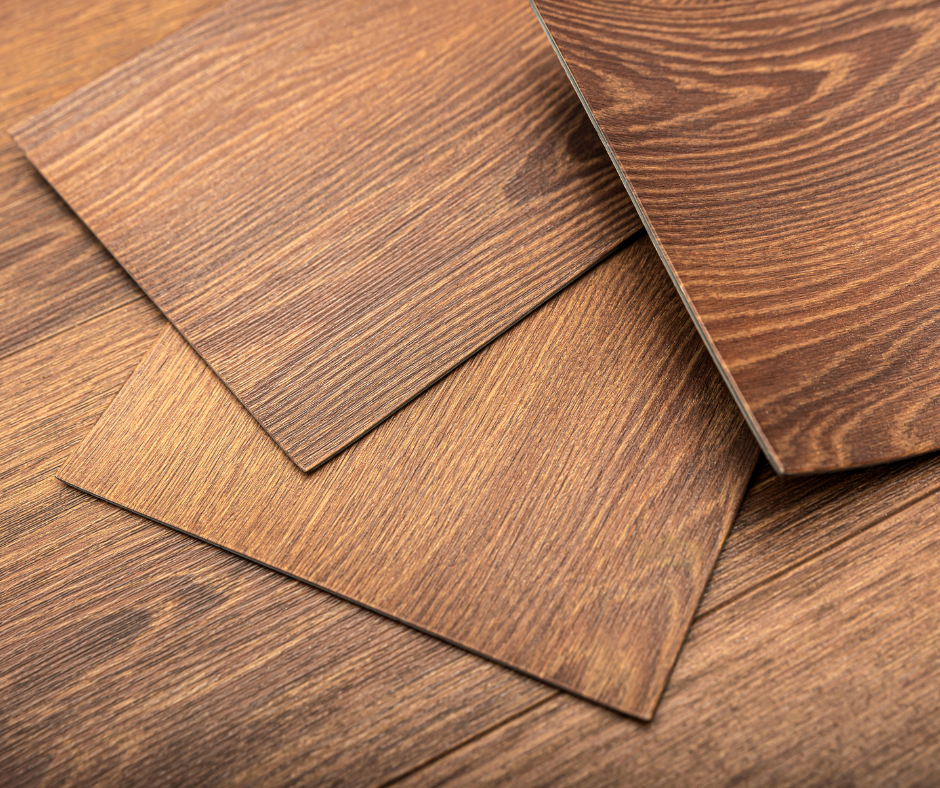
Vinyl treads nailed in place require special attention. Locate each nail and use a flathead screwdriver or pry bar to gently lift them. Once the nails are removed, heat or adhesive remover helps clear any residue. Be cautious to avoid damaging the stair wood.
Removing Pine Stair Treads
Pine treads are soft and prone to splintering. Carefully remove any fasteners with a screwdriver or power drill. Then, use a pry bar to lift the tread gently, applying even pressure. Take your time, especially if you plan to repurpose the pine.
Tips for Dealing with Tough Spots
Stair treads don’t always come off cleanly. Here’s what to do:
-
Tough Adhesive? Apply heat, wait, and scrape again.
-
Cracking Rubber? Cut into smaller sections for easier peeling.
-
Splintering Wood? Sand or fill before applying new treads.
Remember, these challenges are part of the process, and the end result is worth the effort.
Prepping for a New Look
With the treads removed and the surface clean, it’s time to choose your new look. Consider options like:
-
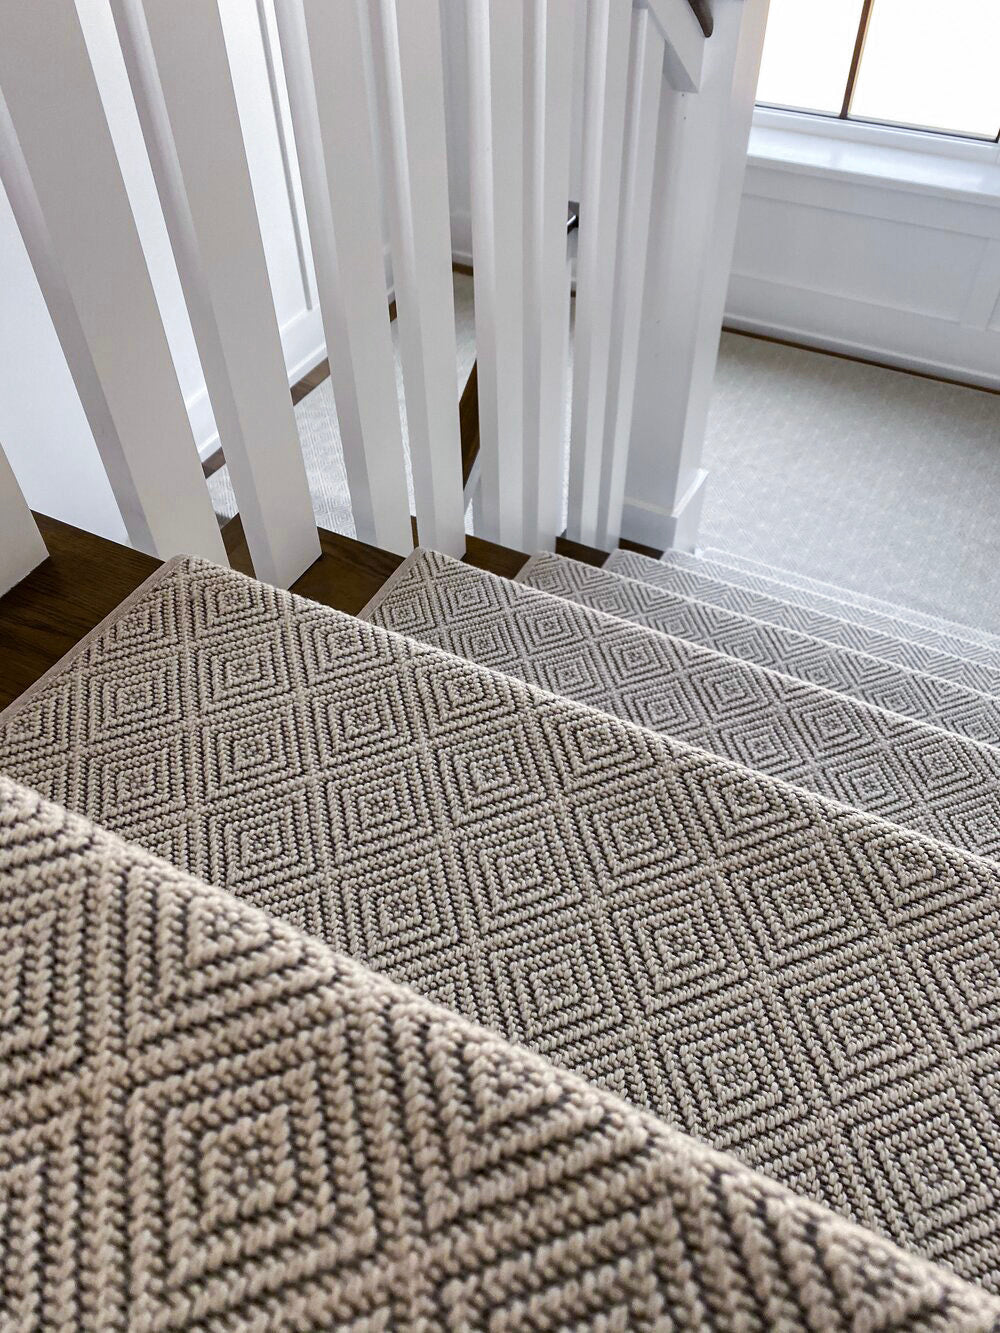
Carpet Stair Treads for comfort and safety, especially with pets and kids.
-
Hardwood Refacing for a classic, polished finish.
-
Vinyl or Laminate for moisture-prone areas.
-
Rubber for high-traffic or utility spaces.
Your choice should balance style, safety, and maintenance needs.
Steps to Success
Removing rubber stair treads for a fresh new look—and tackling materials like removing pine stair treads or removing vinyl stair treads—is a rewarding DIY project. It not only revitalizes your stairs but also adds value and comfort to your home.
By following this guide, you’ll ensure a smooth removal process and set the stage for a beautiful, long-lasting upgrade. Whether it’s a stylish refresh or a safety improvement, you’ll be proud of what you’ve accomplished.
Your Next Step with Oak Valley Designs
At Oak Valley Designs, we’re ready to help you complete the transformation. Once your stairs are clean and prepped, explore our curated collection of custom-made, American-crafted carpet stair treads—designed with your family’s safety, comfort, and style in mind.
Need help finding the perfect fit? Try our $1 swatch program to see how your chosen design looks in your home. We’re here to support your DIY project from start to finish.
-
Website: https://oakvalleydesigns.com/
-
Phone: 706.331.0315
-
Email: info@oakvalleydesigns.com
-
Address: 30 River Ct SW Bldg E Cartersville, Ga 30120


