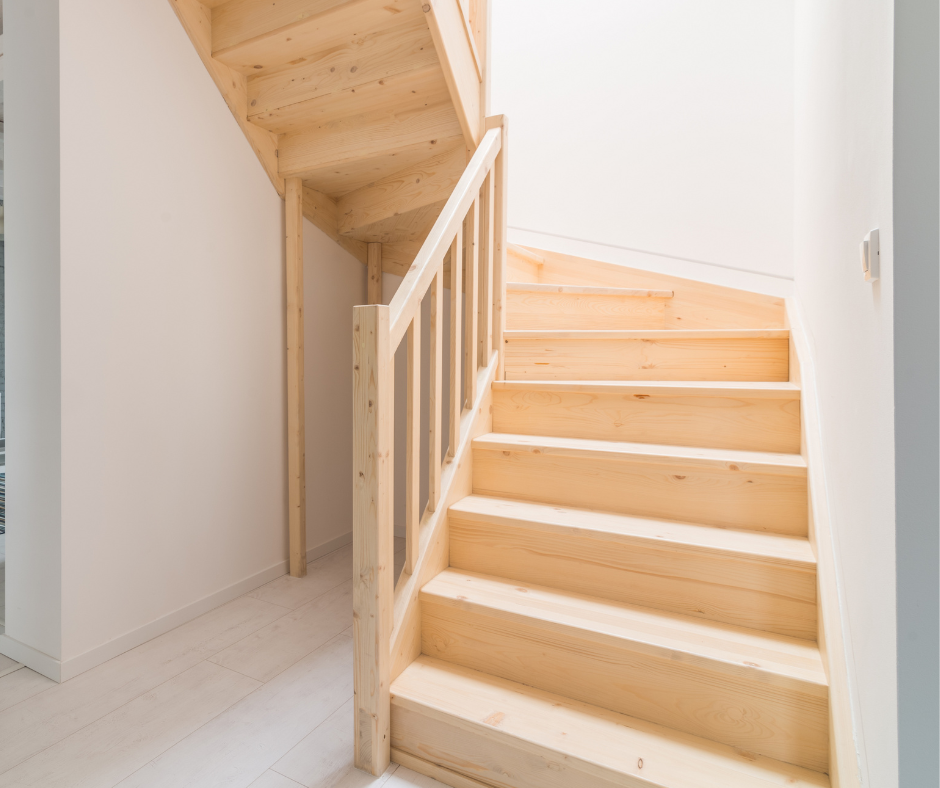
Trying to figure the process of removing pine stair treads?
Don't worry; it’s not as hard as it might seem, but you’ll need to be patient in the removal process whether that's pine or carpet stair treads and take your time.
Pine treads are often nailed or screwed in place.
You’ll need to go slow and steady to avoid damaging your staircase.
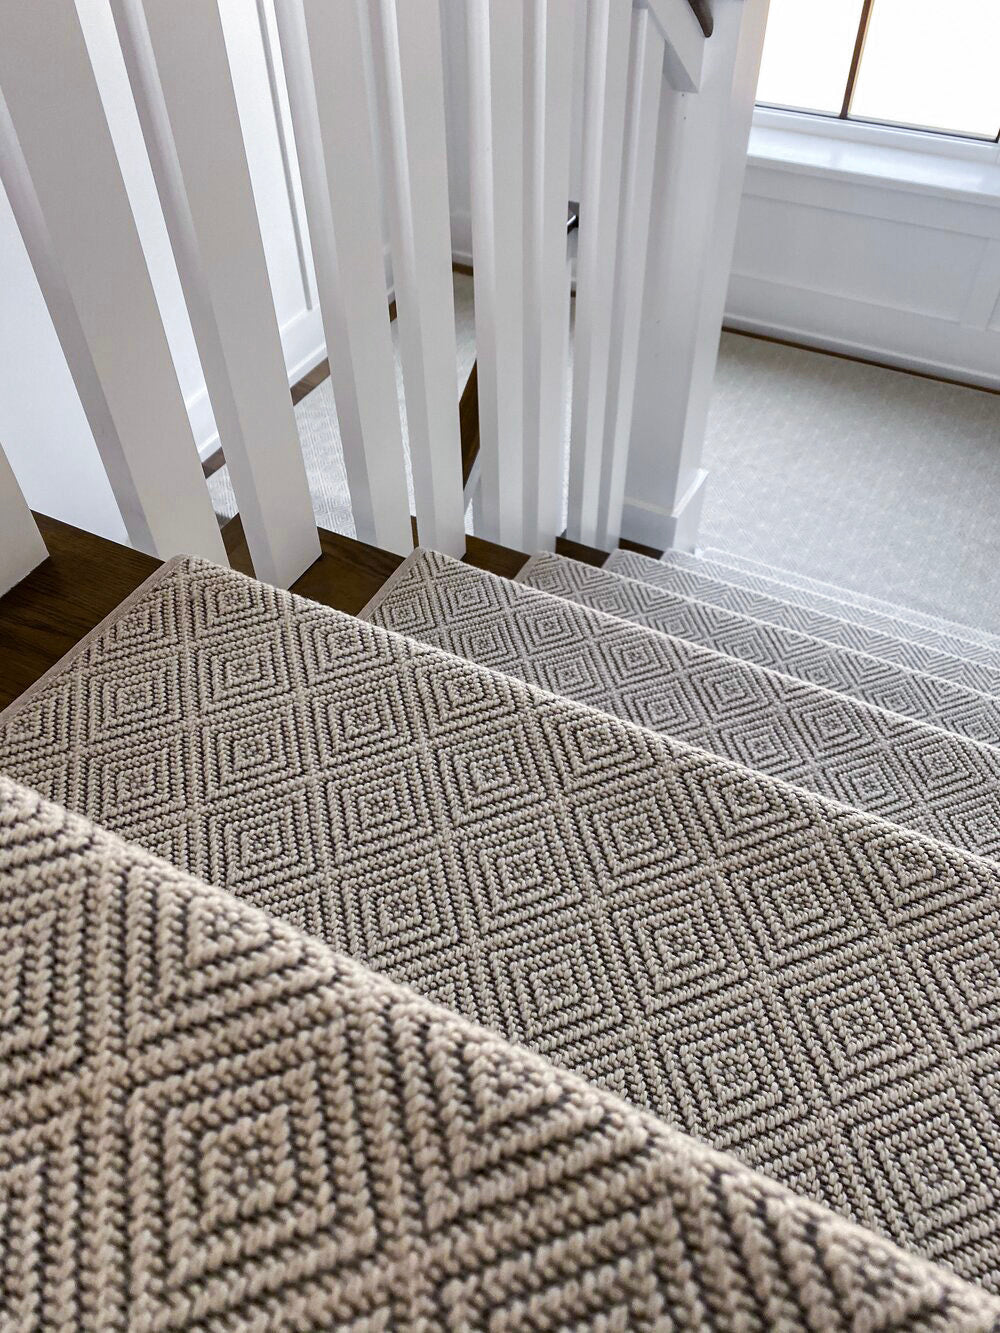
If you’ve got carpet stair treads on top, you’ll need to peel that off first before getting to the pine beneath.
Ready to get started?
Let’s dive in!
Why Pine is Popular for Stair Treads
Pine is often used for stair treads because it’s easy to work with and has a nice, natural look.
Plus, it won’t break the bank!
But because it’s soft, pine can get scratched or dented, especially in high-traffic areas.
When to Remove Pine Stair Treads
You might need to remove your pine stair treads if they’re creaking, cracking, or showing signs of rot.
Or maybe you’re just looking to give your stairs a facelift.
Either way, knowing how to remove pine stair treads is a handy skill for any home DIYer.
Getting Ready to Remove Pine Stair Treads
Before you jump into removing your pine stair treads, make sure you’re prepared.
Let’s talk about the tools and safety tips you’ll need.
Tools You’ll Need
Here’s what you’ll want to have on hand.
A pry bar or flathead screwdriver.
A putty knife or small chisel.
A screwdriver or drill.
A heat gun or adhesive remover, if needed.
And finally, a scraper or some sandpaper.
Having the right tools can make all the difference.
They'll save you from unnecessary headaches.
Safety Tips Before You Start
Safety first!
Make sure you’re wearing gloves and safety glasses to protect yourself from splinters and debris.
If you’re using power tools, double-check that you know how to use them properly.
And be careful with heat guns—they can cause burns if you’re not careful!
Detailed Guide on How to Remove Pine Stair Threads
Here’s a step-by-step guide to help you remove them:
Step 1: Find the Fasteners
The first thing you need to do is find the nails or screws holding the pine treads in place.
Sometimes, they’re hidden under wood filler or paint.
You may need to scrape away a bit to uncover them.
A putty knife or a small chisel should do the trick.
Step 2: Remove the Nails or Screws
Once you’ve found the fasteners, it’s time to get them out.
Grab your screwdriver or drill for screws, or a pry bar for nails.
Work carefully and slowly.
Yanking them out too fast could splinter the wood or damage the stairs.
Step 3: Gently Lift the Pine Treads
Now that you’ve got the fasteners out, it’s time to lift the treads.
Use a pry bar or flathead screwdriver to carefully lift from the edges.
Think of it like pulling a loose tooth.
You want to apply gentle, even pressure to avoid splitting the wood.
If the treads are still sticking because of old glue, a little heat from a heat gun or some adhesive remover can help loosen things up.
Step 4: Clean Up the Staircase
With the treads off, your next job is cleanup.
Scrape away any leftover glue or nails.
Give the staircase a good once-over.
A scraper or some sandpaper will help you get the surface nice and smooth, whether you’re planning to install new treads or leave the wood bare.
Removing Different Types of Stair Treads
Not all stair treads are created equal!
Whether you're dealing with oak, linoleum, or vinyl, each type has its own removal process.
Let's walk through the basics of how to remove different kinds of treads.
Removing Oak Stair Treads
Oak treads can be a bit more stubborn, thanks to their durability.
Follow these steps of removing oak stair treads without causing damage.
Step 1: Find the Fasteners
Just like with pine, look for nails or screws hidden under filler or paint.
You’ll need to scrape away a bit to uncover them.
Step 2: Remove the Fasteners
Carefully remove the screws or nails using a screwdriver or pry bar.
Go slowly.
Avoid messing up the wood around the fasteners.
Step 3: Lift the Treads
Once the fasteners are out, gently pry up the oak treads.
Apply even pressure.
Think of it like peeling off a sticker.
You want to avoid causing damage.
Removing Rubber Stair Treads
Removing rubber stair treads can be a bit tricky, but with the right approach, you can get the job done without damaging your stairs.
Here's how to tackle the process step by step.
Step 1: Loosen the Edges
Start by using a putty knife or flathead screwdriver.
Gently work around the edges of the rubber treads.
This will help lift them slightly.
It makes the removal process easier.
Step 2: Apply Heat or Adhesive Remover
A heat gun can be very helpful here.
You can also use adhesive remover.
Gently heat the adhesive.
Or, apply the remover to soften the glue.
This helps release the rubber treads from the stairs.
Step 3: Pry Off the Rubber Treads
Once the adhesive is soft, carefully pry off the treads.
Be patient as you work.
Go slowly to avoid tearing the rubber.
Also, be careful not to damage the stairs underneath.
Step 4: Clean the Surface
After removing the treads, scrape off any remaining glue.
This step is crucial.
It ensures a clean surface for any refinishing.
Or, it preps the stairs for new treads.
Final Thoughts
Taking on a project like removing or repairing pine stair treads can seem like a tall order at first.
But with the right approach and a little patience, you’ll get the job done without breaking a sweat.
Whether you're freshening up your old treads or giving your stairs a brand-new look, knowing how to remove pine stair treads will help you step up your DIY game.
And keep your home looking great!


