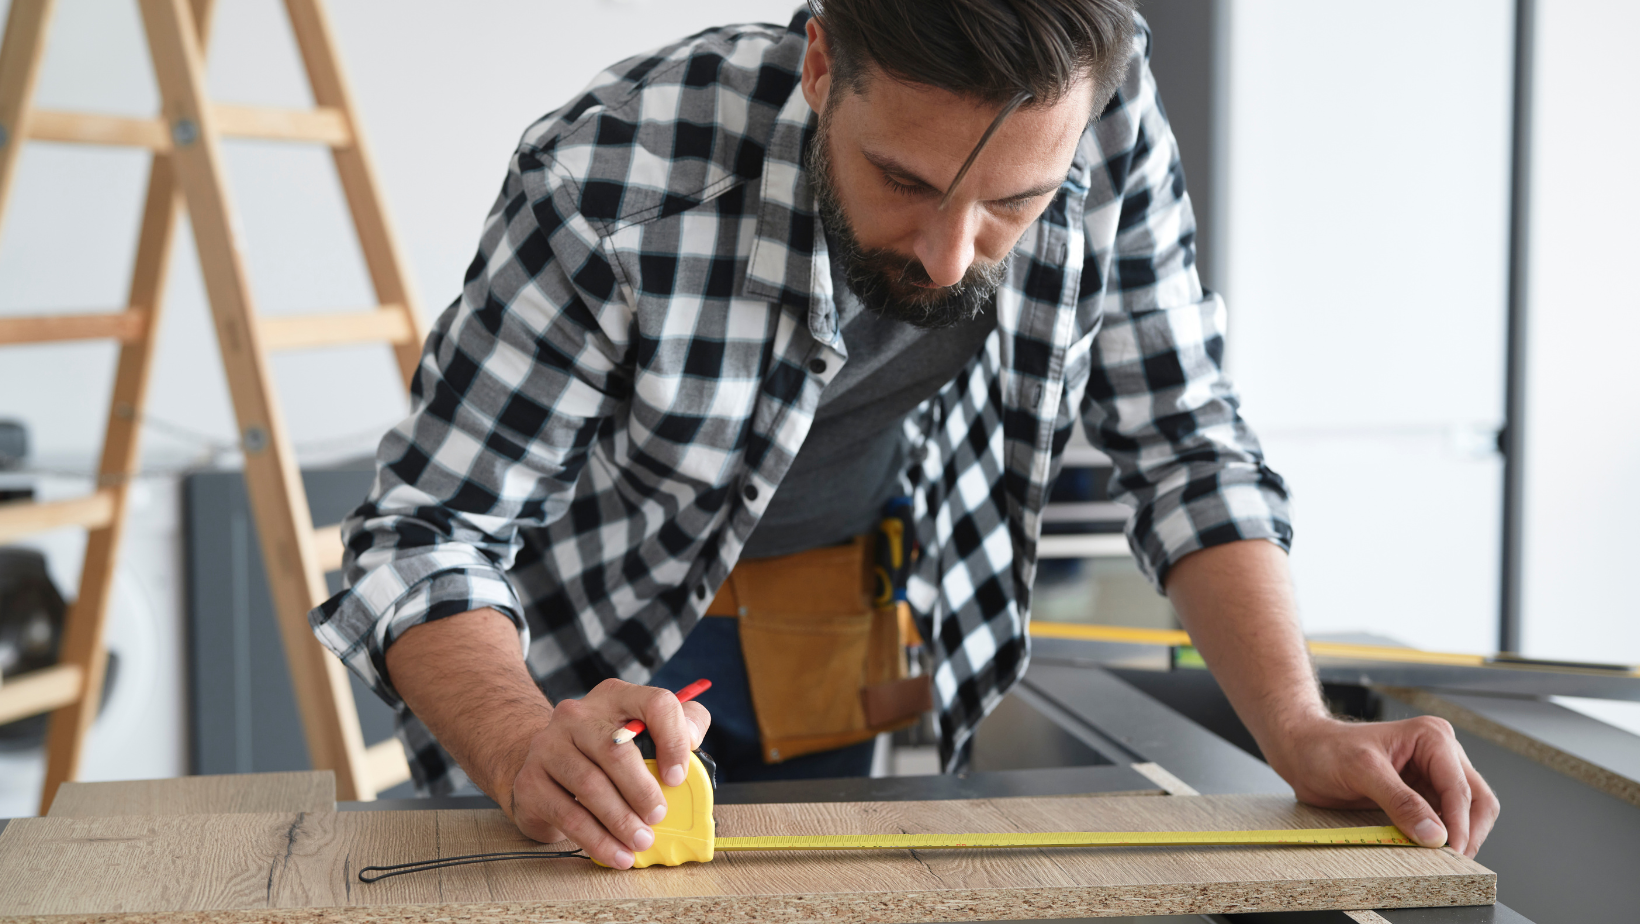
If you’re building or renovating stairs, understanding the parts of a stair stringer is a good place to start.
The parts of a stair stringer include the top cut, bottom cut, tread notches, riser notches, and outer edge—each playing a critical role in supporting every step.
Mastering these basics sets the foundation for a staircase that’s safe, durable, and visually appealing.
This guide will walk you through each part in detail and explain how they interact with elements like risers, treads, and carpet stair treads.
You'll also get practical insights on measurements, material choices, and installation best practices.
Whether you're planning a DIY upgrade or working with a contractor, knowing your stringer inside and out will help you build smarter and safer.
What Are the Parts of a Stair Stringer?
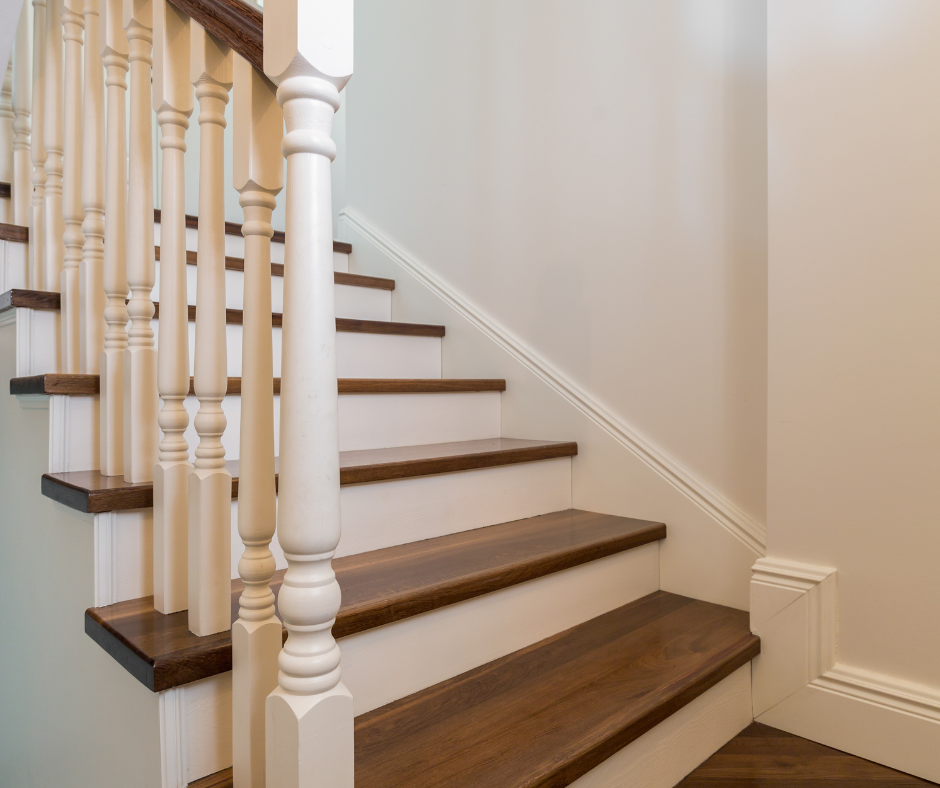
A stair stringer is the sloped board running along each side of the staircase, forming the base structure that holds everything together.
It supports every step you take, and when done right, provides both safety and structure for years to come.
Here are the main parts every stringer includes:
-
Top Cut – The upper end of the stringer that connects to the top floor or landing.
-
Bottom Cut – The lower end that rests securely on the bottom floor.
-
Tread Notches – Horizontal cuts where the stair treads (steps) fit into place.
-
Riser Notches – Vertical notches that hold the risers, helping form the step height.
-
Outer Edge – The visible outside edge, often seen from the side of the staircase.
Each part plays a role in keeping the staircase aligned, balanced, and stable.
Main Components of Stair Stringer Construction
Beyond the cuts and angles, the stair stringer interacts directly with the components you see and walk on daily.
Let’s break it down:
-
Treads – These are the flat, horizontal surfaces that support your step. They must rest securely in the tread notches and be thick enough to handle regular use.
-
Risers – These are the vertical boards between each tread. They determine the height of each step and increase the overall strength of the staircase. Closed risers (solid boards) are typically used in homes with kids and pets for added safety.
-
Nosing – This is the front edge of the tread that hangs slightly over the riser below. It helps with comfort and can reduce wear on the stairs.
-
Stringer Board – This is the diagonal support beam itself—the backbone that holds everything in place. This board is cut with consistent, accurate spacing for the treads and risers, ensuring the entire staircase works together as one structure.
For anyone looking to install stair treads or risers, it’s important to ensure your stringer is strong, properly cut, and free of warps or damage.
The Stair Stringer Formula: Rise and Run
Stairs that feel too steep or too shallow are often the result of poor math—not poor materials.
Getting the measurements right starts with understanding rise and run.
-
Total Rise – This is the full height between your bottom and top floor. Use a measuring tape and take this measurement vertically—not diagonally.
-
Step Count – Divide the total rise by your ideal riser height. Most homes use 7" to 8" per step. This tells you how many steps your staircase needs.
-
Total Run – Multiply the number of steps by your preferred tread depth (usually 10"). This gives you the horizontal length your staircase will need.
-
Stringer Layout – With these numbers, you can mark out your stringer using a framing square and cut the notches for each tread and riser. Staying within comfortable measurements keeps the staircase code-compliant and user-friendly.
Why Stringer Material Matters
Not all stringers are created equal, and the material you choose can directly affect the strength and life of your staircase.
Most commonly, stair stringers are cut from either 2x10 or 2x12 boards.
-
2x12 Stringers – These are the preferred standard. They offer more support, especially for stairs with more than four or five steps. A wider board allows deeper notches, reducing the chance of cracking or sagging over time.
-
2x10 Stringers – While more affordable, these should only be used in short or low-traffic staircases. Too many deep cuts in a 2x10 can weaken the structure. If in doubt, always go with 2x12 for safety and durability.
At Oak Valley Designs, safety isn’t a trend—it’s our standard.
We always recommend choosing stair parts and materials built for long-term, everyday use.
How the Parts of a Stair Stringer Support the Whole Staircase
Each component of a stringer may seem small on its own, but together they form the load-bearing system that holds up the entire staircase.
When properly cut, the treads rest flat and evenly across the notches.
The risers sit flush inside their slots, providing vertical support and reinforcing the stair's rigidity.
Nosing ensures that the steps feel natural underfoot and helps reduce trip hazards.
The stringer board itself must remain straight and well-supported at both the top and bottom cuts to prevent shifting over time.
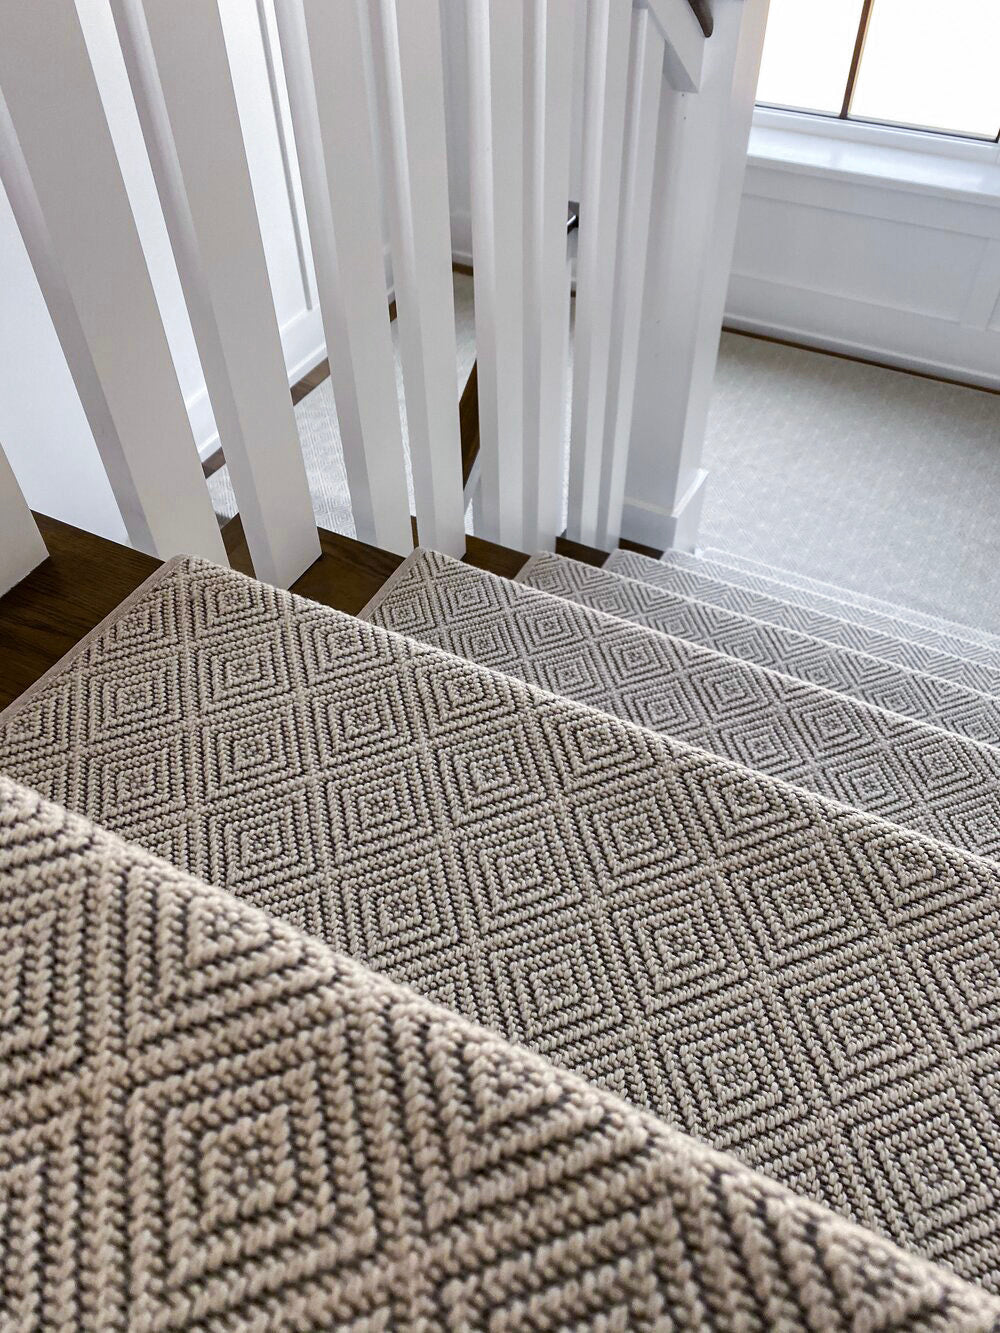
For homeowners planning to install stair coverings—like carpet stair treads or a stair riser cover—it’s especially important that the underlying structure is level and secure.
An uneven stringer can lead to poor adhesion, visible gaps, or a tripping hazard.
Common Mistakes to Avoid When Cutting a Stair Stringer
Whether you're working with a pre-cut stringer or cutting your own, small missteps can lead to serious issues later.
Here are some to avoid:
-
Incorrect Rise or Run – Always double-check measurements before marking your cuts. A quarter-inch error per step can add up quickly.
-
Cutting Too Deep – Tread and riser notches shouldn’t go more than one-third the depth of your board. Over-cutting weakens the structure.
-
Warped Boards – Always use straight, dry, pressure-treated lumber. Warped stringers won’t sit level, even if the cuts are perfect.
-
Not Supporting the Mid-Span – For wide staircases or long runs, include a center stringer for added strength. Ignoring this can lead to bounce or sag over time.
-
Lack of Fasteners – The top and bottom of the stringer must be firmly secured to the framing with screws, brackets, or hangers. Avoid relying on nails alone.
Stair Stringers and Stair Riser Covers: Working Together
Many homeowners install a stair riser cover after completing their stringer and tread installation.
This cover protects the riser from scuff marks, dirt, and pet damage—especially in high-use areas.
Options include wood veneer, laminate, or peel-and-stick vinyl that mimics tile or paint.
Installing a stair riser cover is one of the fastest ways to refresh your stairs without structural changes.
It also provides a decorative accent, especially when paired with complementary stair treads or matching wall treatments.
Just ensure your risers are flat, clean, and well-secured before applying any cover material.
Proper Stringer Prep for Handrail Installation
Every secure staircase needs a handrail, and that means integrating your stringer with the structural components of the railing system.
This brings us to how to install a stair newel post, which plays a central role in staircase support.
The newel post anchors the bottom or top of your handrail and adds safety to the stairs—especially for families with kids or older adults.
The process starts with marking the location directly on your landing or floor, then pre-drilling bolt holes to prevent splitting.
You’ll need to attach a sturdy base plate or mount, then fasten the post using heavy-duty screws or bolts.
Once the post is in place, align your handrail and secure it with brackets or joiners designed for your railing style.
This step is critical to overall stair safety and should be done only after confirming your stringers are fully stable and secure.
Upgrading Your Stairs with Style and Safety in Mind
Staircases are more than just functional—when designed well, they become a centerpiece of your home.
While the parts of a stair stringer might be hidden beneath the surface, they play a major role in the final result.
If you’re installing carpet stair treads or a stair riser cover, your stringer must be accurate, level, and strong enough to support daily use.
Adding custom touches like a hardwood nosing, tile accents on the risers, or a well-placed newel post can transform your stairs into a statement piece—while keeping your space safe for kids, pets, and guests.
Steps To Success
Whether you're planning a DIY project, working with a contractor, or simply trying to understand your staircase better, learning about the parts of a stair stringer gives you a major advantage.
When every element—from the top cut to the outer edge—is properly understood and installed, your stairs don’t just look good—they function safely for years.
And when you're ready to upgrade, Oak Valley Designs offers premium carpet stair treads made with safety, craftsmanship, and beauty in mind.
Our products are made in the USA and designed with families in mind—easy to install, durable, and always stylish.
Ready to Upgrade Your Stairs With Safe, Luxurious Stair Treads?
Contact Oak Valley Designs for expert advice or to shop our handcrafted collections.
-
Website: https://oakvalleydesigns.com/
-
Phone: 706.331.0315
-
Email: info@oakvalleydesigns.com
-
Address: 30 River Ct SW Bldg E Cartersville, Ga 30120