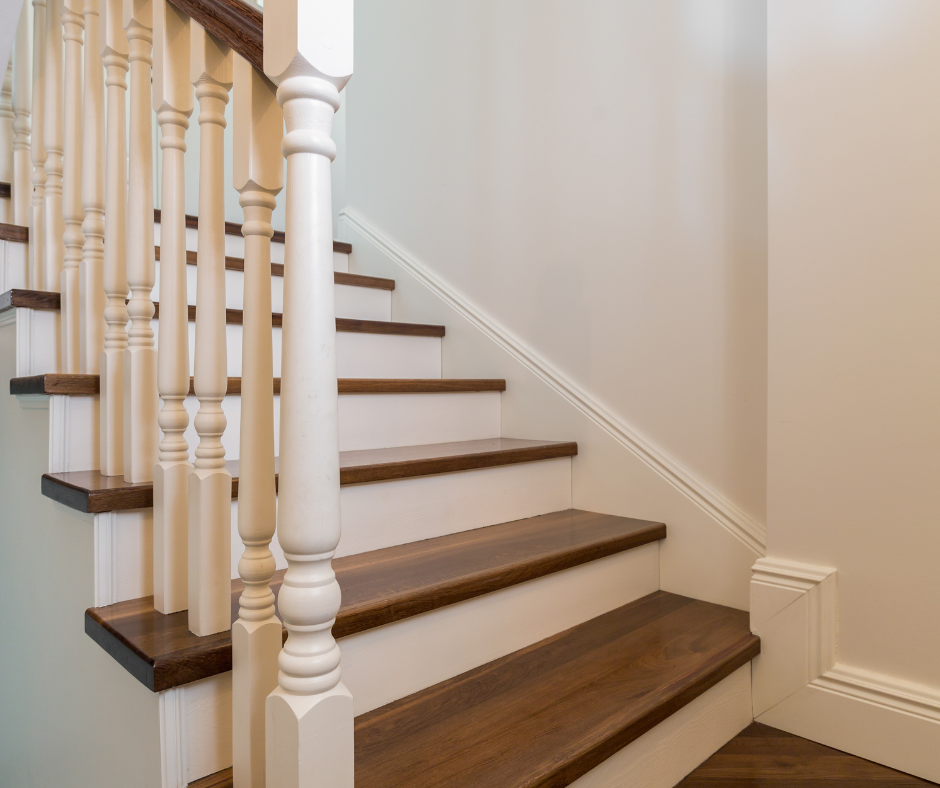
Installing stair treads doesn’t have to be complicated—especially when you know exactly where to start.
To answer the question of how to measure and cut stair treads, begin by measuring the width and depth of each stair individually, then cut the tread material precisely using the correct tools.
This ensures a secure, even fit that enhances both safety and appearance.
If you're working with carpet stair treads, accurate cutting and placement are key to achieving a clean, professional look without shifting or bunching.
In this guide, you’ll learn step-by-step how to measure, mark, and cut your treads correctly, including tips for safety and code compliance.
Whether you're installing hardwood, vinyl, or carpet, we’ll walk you through every detail to get it right the first time.
Measuring Stair Treads: Where to Begin
Your first job is to understand that not all stairs are the same.
Even within the same staircase, widths and depths can vary by fractions of an inch.
That’s why you should measure every stair individually, not just one and assume the rest are identical.
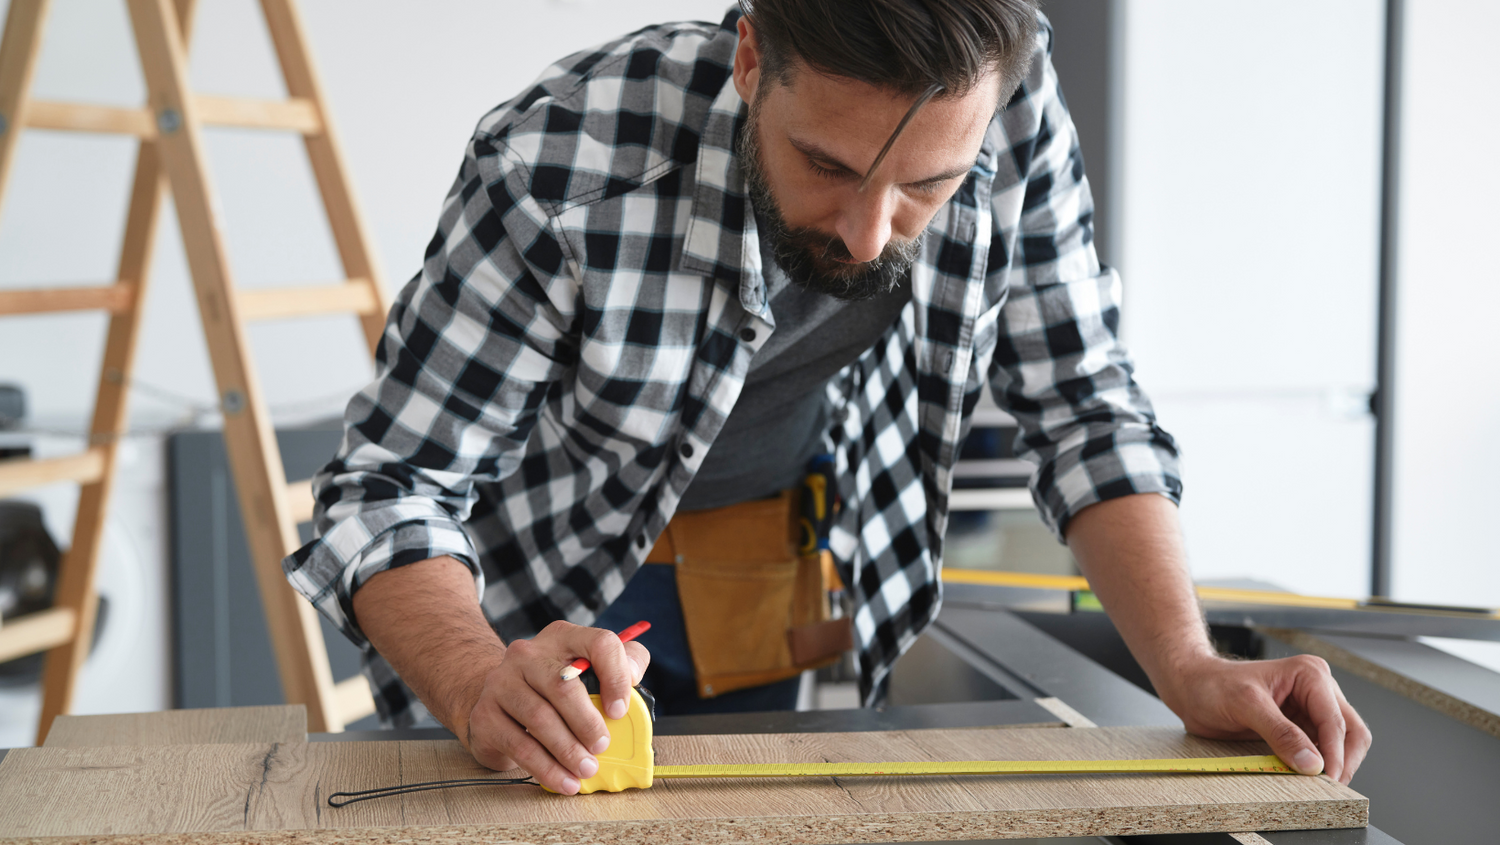
Start by grabbing a high-quality tape measure. For each stair, measure:
-
Width: From one side to the other at the widest point.
-
Depth: From the front edge (known as the “nosing”) straight back to where the tread will meet the riser.
Write down these measurements stair by stair.
Label each one to avoid confusion later, especially if you're working with custom-fit or pre-cut treads.
If you're installing stair treads from Oak Valley Designs, this step is even more important, since our precision-fit products are designed to look seamless once in place.
A perfect fit starts with perfect numbers.
Marking and Preparing Your Tread Material
Once your measurements are recorded, it’s time to transfer them to the tread material.
Lay the tread flat on a clean surface.
Use a pencil and a straight edge to mark the width and depth lines directly onto the material.
For accuracy, make sure your lines are square and easy to follow.
If your stairs have a rounded nose or bullnose edge, you may need to measure and cut around that curve to make your treads lay flat.
Tip: If you're using a textured material like wool or a high-pile carpet, lightly pressing with the straight edge before marking can help define the line.
Cutting the Stair Treads: Tools and Techniques
Now it’s time to cut.
Your tools should match your material.
For wood or composite stair treads, a circular saw or miter saw works best.
Make sure your saw blade is sharp and suitable for fine-finish work to avoid chipping or splintering.
If you're cutting carpet stair treads, you’ll need a sharp utility knife and a cutting mat.
Change blades often for cleaner cuts and avoid pressing too hard—you want to slice, not saw.
Secure your material before cutting. Use clamps if needed, especially for longer treads.
This prevents slipping and ensures your lines stay accurate.
Always cut along the outside edge of your pencil line to maintain your intended dimensions.
And of course—never forget eye protection and safety gear. Safe cuts are clean cuts.
What Angle Do You Cut Stair Stringers?
Cutting stair stringers is a more structural task, but if you're building or replacing a staircase from the ground up, it matters.
To determine the angle, start by calculating the total rise (vertical height from floor to floor) and the total run (horizontal distance the staircase will span).
Divide the total rise by your ideal riser height to find the number of steps.
Most comfortable staircases have risers between 7" and 8" tall.
Using a framing square, you can mark each “step” on the stringer by aligning the rise and run along the square’s arms.
Once marked, use a circular saw to cut along the lines.
Careful cuts here ensure that the treads lay flat and align perfectly across the entire staircase.
Why Consistent Measurements Matter
Inconsistent tread sizes can create visual mismatches and safety issues.
Even a difference of a quarter inch in depth or angle can cause a tripping hazard or lead to shifting over time.
Precision also makes installation easier.
With Oak Valley’s peel-and-stick carpet treads, a snug fit ensures maximum adhesion and performance—especially in homes with kids, pets, or high foot traffic.
Using Templates for Curved or Uneven Stairs
Some staircases, particularly older ones, have curves, rounded edges, or varying angles.
In these cases, a template can save you hours.
You can use cardboard or thin wood to trace the exact shape of each stair, especially if walls or banisters cause irregular outlines.
Lay the template on top of your tread material and trace it before cutting.
This minimizes mistakes and wasted material and helps your treads sit flush against every edge.
Understanding Standard Stair Dimensions
When building or upgrading stairs, knowing the typical sizes used in residential homes helps guide your work.
The standard measurements for stair treads and risers fall into a very specific range for comfort, safety, and code compliance.
Tread depth usually ranges between 10 to 11 inches.
This gives each step enough surface area for a full foot landing.
Riser height tends to fall between 7 to 8 inches, which allows for an easy, natural stride up and down the staircase.
While these are the norm, it's still important to verify your own stair sizes and local building codes.
Even small variances can make a big difference when it comes to both usability and legality.
How to Calculate Riser and Tread Sizes
When calculating riser and tread dimensions from scratch, use the well-known stair formula:
2 x Tread Depth + Riser Height = 24 to 25 inches.
This formula helps ensure stairs are comfortable to use.
If your risers are 7 inches high, for example, then your tread depth should be 10 to 10.5 inches.
Measure the total rise of your staircase and divide it by the ideal riser height to determine the number of steps.
Once you know how many steps you’ll have, divide the total horizontal run to figure out the ideal tread depth.
This step is essential for stair builds that don’t follow standard framing or for outdoor or basement staircases where custom sizes are common.
Span Considerations for Stair Treads
Another factor to consider when installing stair treads is their ability to hold weight without sagging or flexing.
This is where the question of how far can stair treads span becomes important.
For most wood treads, the general rule is that they can span up to 36 inches without needing extra support.
However, if your staircase is wider than that, or if you're using thinner materials, you’ll want to add additional stringers or center supports underneath.
Ignoring span limitations can result in soft or springy treads, which is not only annoying underfoot but also dangerous over time.
Before cutting or installing anything, evaluate the material, width of the staircase, and your planned foot traffic to determine whether reinforcement is necessary.
When in doubt, always refer to your local building code for specifics on span limits and support spacing.
Materials and Finish: Making It Yours
The material you choose for your stair treads affects both function and visual appeal.
Wood adds a warm, classic look.
Carpet treads add comfort, grip, and safety—especially for kids and pets.
Vinyl is low maintenance and durable.
Whatever material you choose, it’s worth investing time in the finish.
A well-cut and properly finished tread blends naturally into your space and improves the overall feel of the room.
If you’re installing carpet stair treads, ensure the pile direction is consistent across each step.
This not only improves appearance but also prevents wear patterns over time.
Improving Safety Without Sacrificing Style
Many homeowners worry that safety upgrades like stair treads might make their space look less refined—but the opposite is true when the product is thoughtfully designed.
Adding non-slip adhesive strips or choosing carpet treads with sewn-in padding adds friction underfoot, improving safety without drawing attention.
When choosing a finish or color, match your stair treads to nearby flooring, trim, or wall color to create visual unity.
A cohesive design enhances your home’s aesthetic flow.
Planning for Installation
Once all your treads are measured and cut, it’s time to prep for installation.
Clean each stair surface thoroughly.
Remove any dust, debris, or residue that could affect adhesion or stability. Dry completely before applying adhesive or placing the tread.
If you’re using peel-and-stick treads from Oak Valley Designs, align the edge with the front of the stair, press down firmly from front to back, and smooth out any air bubbles.
Repeat for each step, double-checking alignment as you go to maintain a consistent look from top to bottom.
Steps To Success
Accurately measuring and cutting stair treads is one of the most important steps you can take to build a safe, beautiful, and long-lasting staircase.
By following proven measuring techniques, using the right tools, and sticking to trusted stair formulas, you’ll ensure your treads are not only code-compliant but also visually clean and secure underfoot.
From understanding standard measurements for stair treads and risers to knowing exactly how far can stair treads span, preparation is everything.
And when you’re ready to take your staircase to the next level, Oak Valley Designs has your back with handcrafted, high-performance stair tread solutions that look as good as they feel.
Contact Us Today
Oak Valley Designs offers custom solutions that blend style, safety, and comfort.
-
Website: https://oakvalleydesigns.com/
-
Phone: 706.331.0315
-
Email: info@oakvalleydesigns.com
-
Address: 30 River Ct SW Bldg E Cartersville, Ga 30120