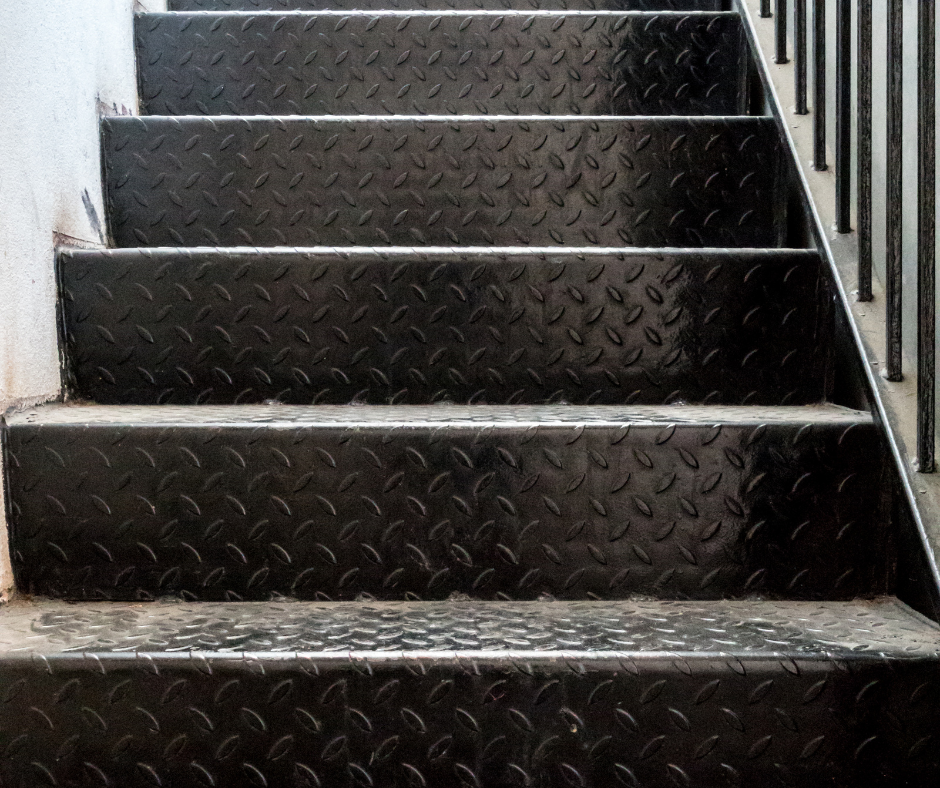
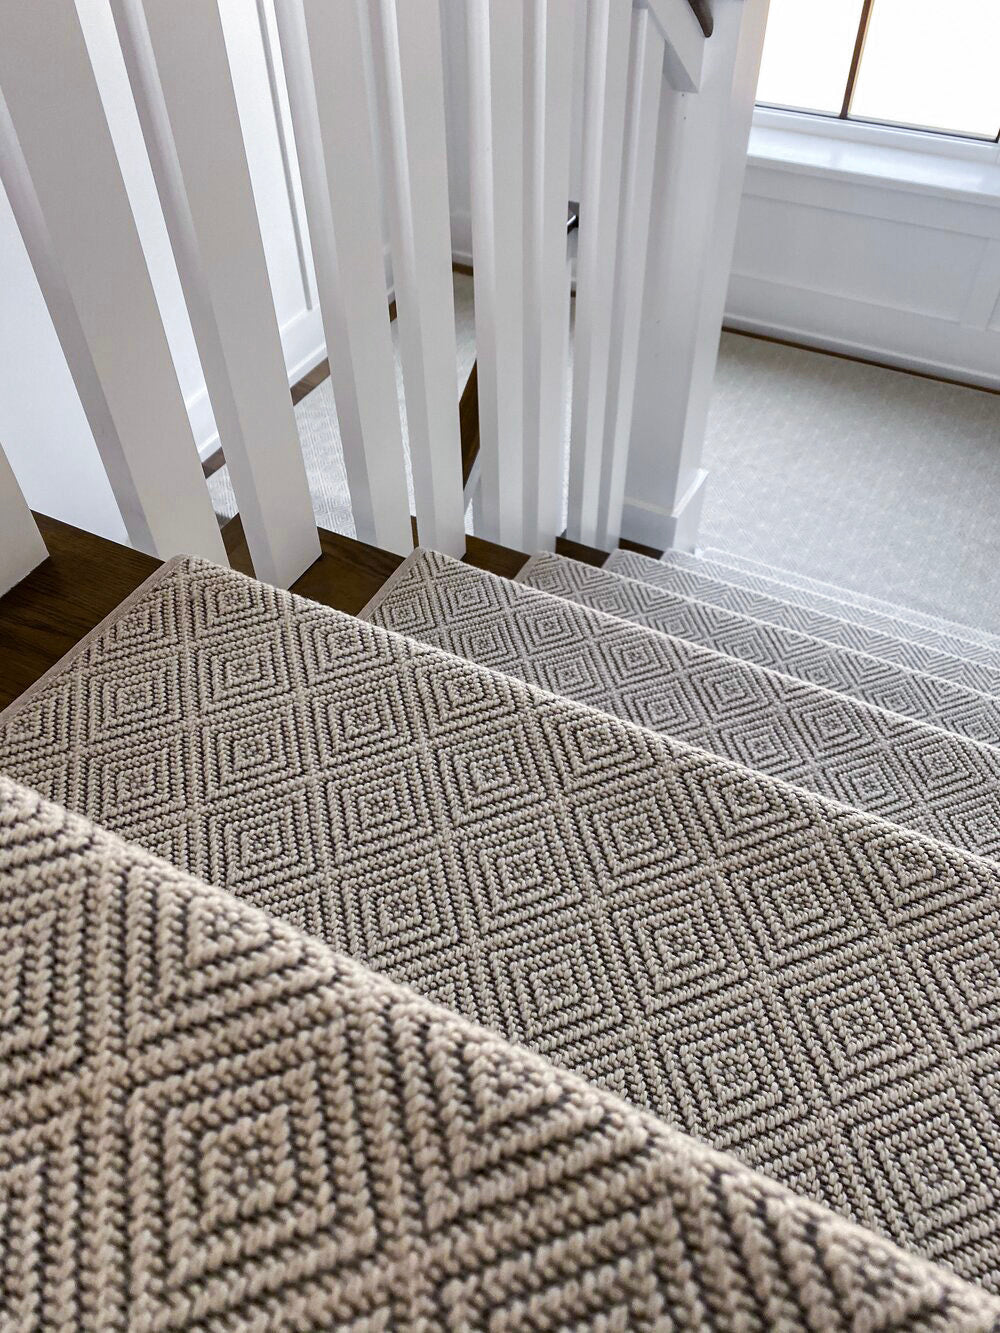
Upgrading your stairs shouldn’t feel like an impossible weekend project. With the right approach, you can protect your investment and create a space that feels safe and welcoming. If you’ve been wondering how to secure oak stair treads, it starts with using strong construction adhesive along with finish nails or screws to keep each tread firmly in place.
Proper installation ensures your oak or carpet stair treads stay level, quiet, and resistant to daily wear. By following this guide, you’ll learn simple steps to attach your treads securely without hiring a professional. Keep reading to discover clear instructions and helpful tips that will make your project smooth and successful.
Why Oak Stair Treads Are a Smart Choice
Oak is a favorite for homeowners because it combines timeless beauty with incredible strength. It stands up to daily wear from kids, pets, and heavy foot traffic. But installing oak stair treads properly is essential to prevent shifting, squeaking, and damage over time.
Before you start, remember: preparation is key. Taking a little extra time to get it right will save you headaches later.
How to Attach Oak Stair Treads to Existing Stairs
If you’ve never installed stair treads before, don’t worry. With the right tools and a bit of patience, you can do it yourself.
Here’s exactly how to secure oak stair treads so they stay put and look fantastic.
Materials You’ll Need
-
Oak stair treads
-
High-quality construction adhesive (like Liquid Nails or Loctite)
-
Finish nails or wood screws
-
Wood filler
-
Sandpaper
-
Measuring tape
-
Circular saw or handsaw
-
Safety glasses
-
Rubber mallet
Step-by-Step Instructions
Follow these step-by-step instructions to secure your oak stair treads safely and correctly. Each step is designed to help you feel confident and avoid common mistakes.
1. Measure and Cut
Measure each stair carefully, from side to side and front to back. Cut your oak treads so they are about 1/8 inch shorter than the stair width. This allows for natural wood expansion.
Tip: Label each tread with painter’s tape so you know where it belongs.
2. Prepare the Surface
Sweep and vacuum the existing stairs. Sand any glossy finishes so the adhesive will stick better. Clean up all dust and debris. A clean surface makes a big difference in how secure the treads will be.
3. Apply Adhesive
Using your construction adhesive, apply a zigzag bead across the back of the tread. Be generous but avoid getting glue too close to the edges, which can seep out when pressed down.
This method is the best way to secure stair treads because it gives full coverage without making a mess.
4. Position the Tread
Set the tread in place carefully. Press down firmly with your hands or use a rubber mallet to tap it into position. Check that the tread is straight and flush with the stair nose.
Remember, you’ll have only a few minutes before the adhesive begins to set.
5. Secure with Nails or Screws
For extra strength, pre-drill small holes along the back edge of the tread. Use finish nails or screws to anchor the tread into the stair. This helps prevent any movement or squeaks.
Countersink each fastener so it sits just below the surface.
6. Fill and Smooth
Use wood filler to cover the nail or screw holes. Once the filler dries, sand the area smooth. This step keeps the surface looking clean and professional.
7. Apply a Protective Finish
Seal your new oak treads with a high-quality finish to protect against scratches, spills, and wear. Reapply the finish every few years to keep the wood looking beautiful.
How to Fix Loose or Squeaky Oak Stair Treads
Even the best installation can develop issues over time. If your treads start to feel loose or squeak underfoot, don’t ignore it. Loose steps can be dangerous.
Here’s how to fix them:
-
Loose Treads: Carefully pry the tread up. Clean off any old adhesive and reapply fresh construction adhesive. Secure again with nails or screws.
-
Squeaks: Squeaks often happen because of slight movement. Tap in additional nails along the back edge or add a small amount of adhesive into gaps.
-
Cracks or Dents: Light scratches can be sanded out and refinished. For deeper damage, replacing the tread is usually the safest option.
How to Protect Oak Stair Treads
Proper protection makes your treads last longer and look better. Here are a few simple steps to keep them in great shape:
-
Regular Cleaning: Dust and dirt can grind into the wood over time. Sweep or vacuum your stairs weekly.
-
Rugs and Runners: Consider adding non-slip rugs in high-traffic areas. If you prefer not to cover your beautiful oak, you can also use clear stair protectors.
-
Protective Finish: Reapply your finish as needed. It acts as a shield against stains and moisture.
-
Routine Checks: Every few months, check for loose treads or new squeaks. Catching small issues early prevents bigger problems later.
If you’re also curious how to secure rubber stair treads, the process is similar. However, rubber treads often use heavy-duty double-sided tape or adhesive formulated specifically for rubber. Always follow the manufacturer’s instructions.
Steps to Success
Securing oak stair treads doesn’t have to feel overwhelming. When you take time to prepare your materials and measure carefully, the process becomes smooth and rewarding. You’ll feel confident knowing each step is safe, sturdy, and built to last.
With these simple steps, you can upgrade your staircase into a beautiful focal point your family will love. From preventing squeaks to protecting the wood, a little care goes a long way. Your home deserves thoughtful touches that blend style, comfort, and safety.
Secure Your Steps with Confidence
Your stairs deserve the same care and style as the rest of your home. Whether you’re installing new oak treads or fixing a squeaky step, Oak Valley Designs is here to help you do it right.
From easy-to-install treads to expert advice, we have everything you need to make your staircase safe, beautiful, and built to last.
Let’s create a space your family will love walking on every day.
-
Website: https://oakvalleydesigns.com/
-
Phone: (706) 331-0315
-
Email: info@oakvalleydesigns.com
-
Address: 30 River Ct SW Bldg E Cartersville, GA 30120


