Is your staircase worn out, outdated, or just not as safe as it should be?
If you’re wondering how to replace treads and risers, the process involves removing the old stair parts, cutting new materials to fit, and installing risers first followed by treads for a secure, polished finish.
In this guide, you’ll get clear, step-by-step instructions to make your stairs safer, more stylish, and DIY-friendly.
You’ll also learn how to choose materials, avoid common mistakes, and enhance your finished steps with carpet stair treads for added comfort and safety.
Whether you're doing a full replacement or upgrading for looks, we’ve made the process simple and approachable.
Keep reading to take your stairs from basic to beautiful—one step at a time.
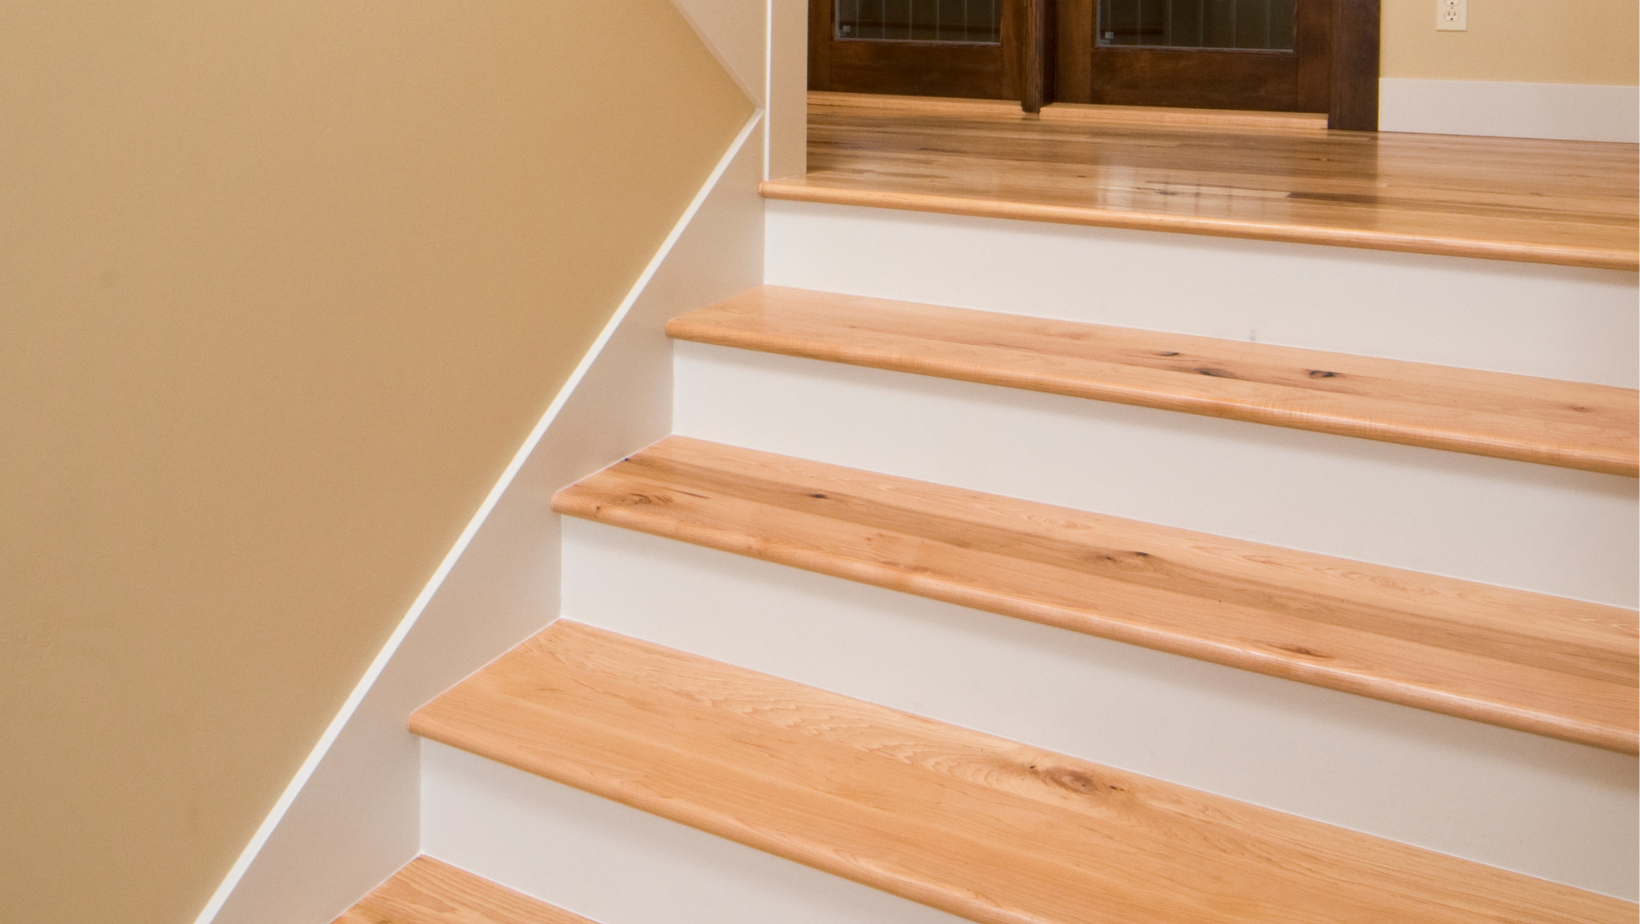
What Are Treads and Risers?
Before we grab the toolbox, let’s break it down.
Every staircase is made up of a few core parts:
-
Treads – the flat surfaces where your foot lands
-
Risers – the vertical pieces between each step
-
Stringers – the structural boards on each side that support everything
When you replace the treads and risers, you’re not just giving your stairs a facelift.
You’re building a safer, more stylish passageway in your home.
This upgrade can make a dramatic difference—especially in homes with aging wood, creaky steps, or bare finishes.
Can You Replace Treads and Risers?
Yes, and you don’t need to be a carpenter to do it.
Replacing these parts can completely transform the look and feel of your staircase.
You’ll get a chance to choose your own materials, finishes, and layout.
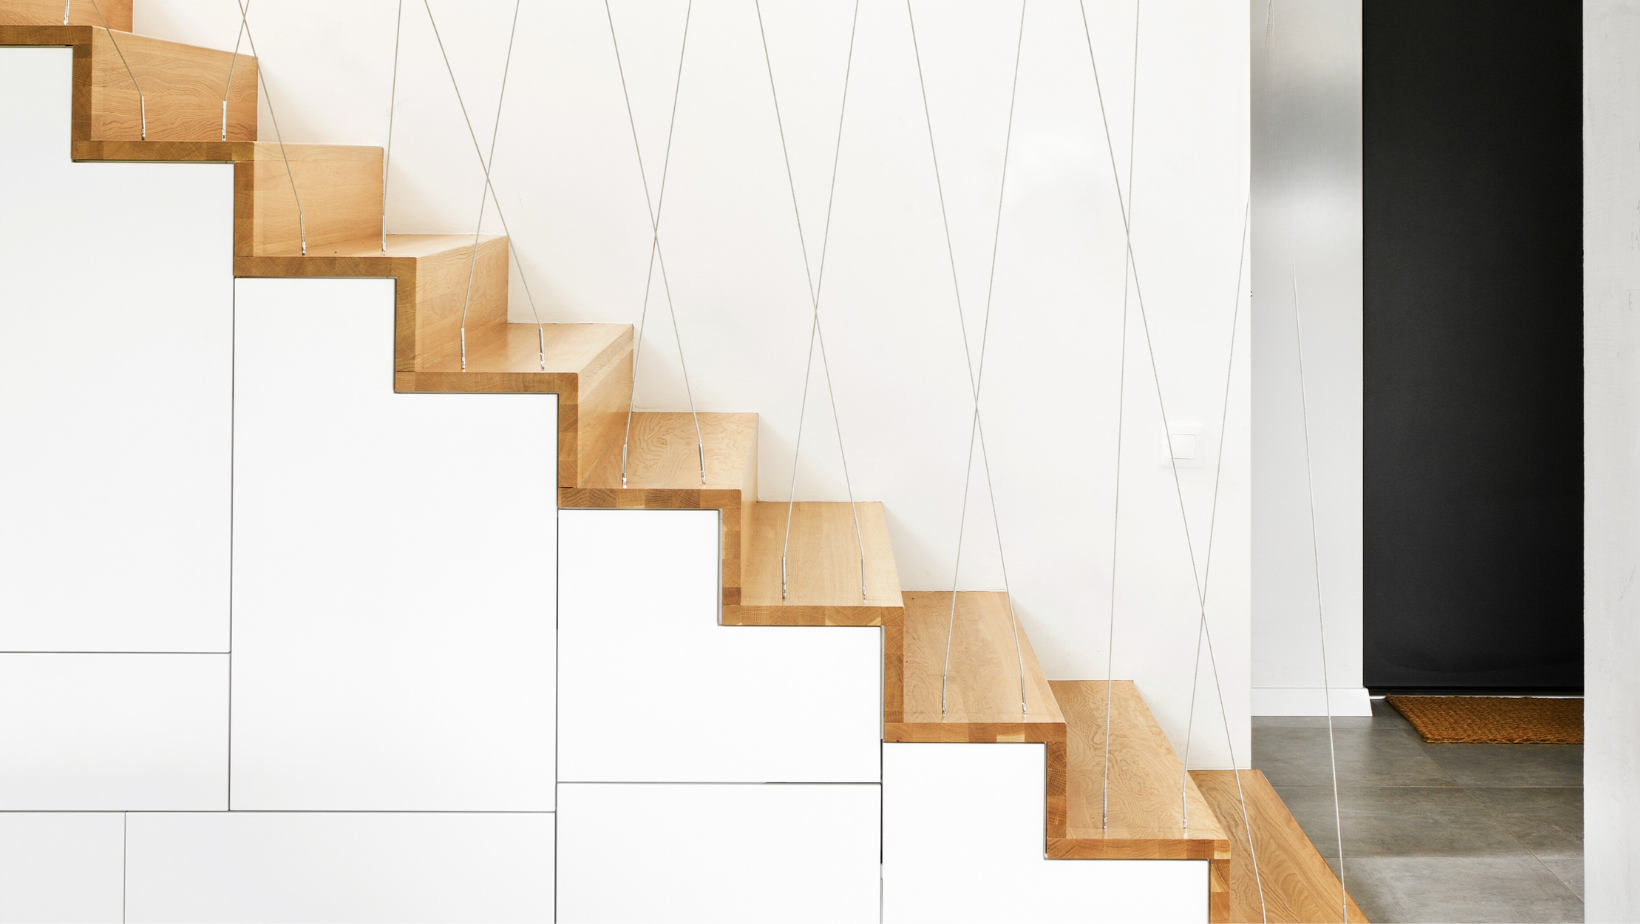
Whether you prefer natural wood, painted risers, or carpet treads, it’s all about creating a custom space that matches your family’s needs.
For example, a staircase with fresh white risers and warm oak treads brings a classic look, while darker finishes can create a modern, dramatic effect.
Step-by-Step: How to Replace Stair Treads and Risers
Ready to get started? Let’s walk through each phase of the process:
Step 1: Remove Old Treads and Risers
First things first—out with the old.
Use a pry bar and hammer to gently remove your current treads and risers.
Start at the top of the staircase and work your way down.
Be careful not to damage the stringers, especially if they’ll remain in place.
Once removed, scrape off any glue, nails, or screws still left on the stairs.
A clean base will make installation smoother.
Step 2: Measure and Cut New Pieces
One size doesn’t fit all here.
Staircases often vary slightly in height or width, especially in older homes.
Measure each riser and tread individually.
This ensures every piece fits tightly and securely.
-
For treads, measure the width and depth.
-
For risers, measure the height and width.
-
Cut each piece using a table saw or circular saw. Clean, straight edges make for tighter, safer installs.
Step 3: Install the Risers
Start with the risers to get the cleanest finish.
Apply a high-quality construction adhesive to the back of the riser.
Press it firmly into place, making sure it sits flush with the stringers and underneath the tread nosing above.
Secure the risers with finishing nails or trim screws.
A nail gun can save time here, especially for longer staircases.
Step 4: Install the Treads
Now it’s time for the part you’ll walk on.
Apply adhesive along the top edges of the stringers and the back of the tread.
Press the tread into position, lining it up with the riser below.
Make sure it sits flat with no overhangs or gaps.
Finish by securing it with screws or nails.
For long-term durability, screws are often preferred.
They help prevent movement and reduce the chances of squeaks.
Step 5: Finishing Details
The little things make a big difference.
-
Caulk gaps between treads, risers, or stringers to create a polished, finished look.
-
Sand edges for a smooth surface.
-
Stain or paint your stairs to match your home’s style. Choose finishes designed for high-traffic areas.
This is also a great time to check for any minor adjustments—like uneven spacing, gaps, or alignment issues.
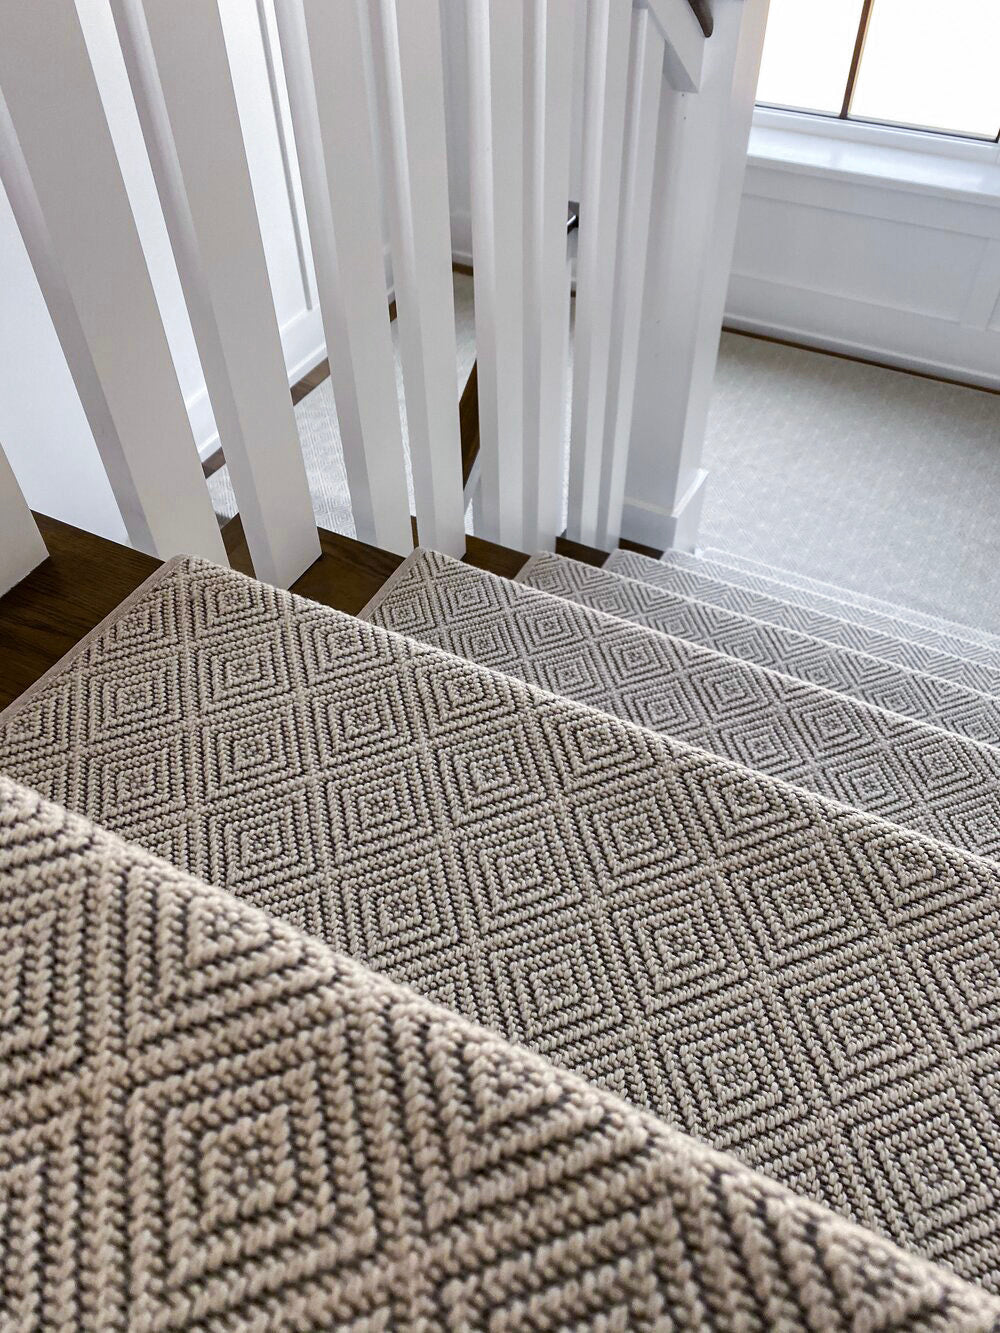
Step 6: Add Carpet Stair Treads (Optional but Recommended)
Want more comfort and grip underfoot?
Adding carpet stair treads is a smart move—especially if you have toddlers, older adults, or dogs in the home.
At Oak Valley Designs, we specialize in premium, easy-to-install treads that stay in place without damaging your stairs.
-
Choose a pattern and color that fits your home.
-
Center each tread on the step.
-
Use carpet tape or adhesive for secure, non-slip installation.
They look beautiful and add a layer of softness and safety you'll immediately notice.
Do You Install Treads or Risers First?
Install risers first.
This is one of the most common questions we hear.
And the answer matters—because the order impacts both how your stairs look and how safe they are.
When you install the risers first, the treads can rest neatly on top.
This overlap hides any seams and gives your staircase a finished edge that’s both strong and attractive.
It also makes it easier to secure each step evenly.
Can You Put New Stair Treads Over Old Ones?
Yes—but only if the existing ones are solid and level.
If your stairs are structurally sound but just look a little rough, you can place new treads right over them.
This is a great option when you want a quicker refresh without the mess of demolition.
Still, you’ll need to make sure the old treads are flat and secure.
Otherwise, the new layer could shift or feel unstable.
Always clean and sand the surface first.
This is also where carpet stair treads shine.
If you're looking for a simple, budget-friendly upgrade, this solution delivers comfort, beauty, and grip—all in one.
How Much Does It Cost to Replace Stair Treads?
Let’s talk numbers.
How much does it cost to replace stair treads depends on two big factors: the materials you choose and whether you hire help.
Here’s a general breakdown:
-
Standard wooden treads: $30–$75 per piece
-
Painted or pre-finished options: slightly more
-
Custom hardwoods or designer finishes: $90+ each
-
Labor (if hiring a pro): $100–$200 per step
For a 12-step staircase, the total can range from $600 to $2,500+, depending on what you choose.
DIYing can save a lot of that cost. And adding Oak Valley’s carpet stair treads?
Just a fraction of the price—and often the biggest style boost.
How To Replace Stair Treads Safely and Effectively
Learning how to replace stair treads takes more than just the right tools—it’s about working smart.
Here are some key safety and efficiency tips:
-
Wear protective gloves and safety goggles when removing old boards.
-
Keep pets and kids away during demo and install phases.
-
Use clamps when cutting boards to keep them steady.
-
Double-check that each tread is level before securing it in place.
-
Always start from the top stair when removing, but install from the bottom up. This helps ensure even spacing and a cleaner finish.
Additional Tips for a Seamless Stair Remodel
Small details make a big difference when remodeling stairs.
These extra tips will help you get a cleaner look and longer-lasting results.
Choose Quality Materials
Not all stair parts are created equal.
Look for moisture-resistant wood, durable adhesives, and finishes made for foot traffic.
If you're adding carpet stair treads, invest in high-quality products that are safe, washable, and built to stay put.
Oak Valley’s treads are crafted with care—and they look just as good as they feel.
Customize for Your Home
Want a statement look?
Go with contrasting treads and risers—like dark walnut paired with white risers.
Love simplicity?
Try a soft, neutral carpet tread on natural wood.
Either way, tailor it to fit your home’s style and your family’s needs.
Measure Twice, Cut Once
It may be an old saying, but it holds true—especially when dealing with staircases, where precision matters.
Take your time with each measurement.
Stairs can shift slightly over the years, and no two steps are exactly the same.
Mark each cut carefully, and always test-fit before securing.
Stepping It Up
Replacing treads and risers isn’t just a smart upgrade—it’s a powerful way to make your home more stylish, safe, and welcoming.
Whether you're covering old steps, installing new ones, or simply adding a soft finish with carpet stair treads, every change you make brings comfort and personality into your space.
At Oak Valley Designs, we believe in creating beautiful homes with heart.
That’s why our stair treads are made right here in the USA—crafted for families, designed for safety, and built to last.
If you're ready to take that first step, we’re here to help—every stair of the way.
-
Website: https://oakvalleydesigns.com/
-
Phone: 706.331.0315
-
Email: info@oakvalleydesigns.com
-
Address: 30 River Ct SW Bldg E Cartersville, Ga 30120