Building a staircase can seem overwhelming, but with the right steps, it's completely doable—even for DIY homeowners.
To understand how to make your own stair stringers, you’ll need to calculate your rise and run, mark precise cuts on the stringer board, and install them securely.
Getting this foundation right ensures your stairs are safe, level, and ready for finishing touches like carpet stair treads.
This guide walks you through each stage, from planning and layout to cutting and final installation.
You’ll learn how to avoid common mistakes, choose the right materials, and get professional-quality results.
Whether you're remodeling or starting from scratch, this guide will help you build strong, stylish stairs with confidence.
Step-by-Step Guide: How to Build Stair Stringers from Scratch
Building stair stringers is a precise process that requires careful planning.
This guide breaks it down into clear, manageable steps.
Step 1: Calculate the Dimensions
Begin by measuring the total rise—the vertical height from the lower floor to the upper floor.
Divide this number by the ideal riser height (usually between 7 and 7.5 inches) to calculate the number of risers needed.
The number of treads will be one less than the number of risers.
Next, multiply the number of treads by the desired tread depth (usually 10 to 11 inches) to get your total run.
Accurate math at this stage sets the foundation for a safe, code-compliant staircase.
Step 2: Lay Out the Stringers
To lay out your cuts, use a framing square equipped with stair gauges.
Set the gauges to your calculated rise and run.
Place the square on your stringer board and mark each step.
Trace along the outer edges to form the step profile.
Repeat this process until you’ve marked the entire length of the stringer.
This layout will guide all your cuts and help ensure accuracy from top to bottom.
Step 3: Cut the Stringers
Cut along the lines using a circular saw, beginning with the riser (vertical) cuts and following with the tread (horizontal) cuts.
Since circular saws leave rounded inside corners, complete the cuts with a handsaw for clean, squared edges.
This extra step ensures the treads and risers will sit flush against the stringer.
Step 4: Test the Fit
Before cutting additional stringers, temporarily place your first one where it will be installed.
Check that it sits evenly against the floor and landing.
This is a critical moment: a poor fit now can cause long-term structural or cosmetic problems later.
Make any necessary adjustments to ensure a perfect alignment.
Step 5: Cut Additional Stringers
Once the first stringer fits correctly, use it as a template for the others.
Trace its shape onto new boards and repeat the cutting process.
This ensures every stringer is identical, which is essential for level, even stairs.
Most staircases require at least three stringers—one on each side and one in the middle—for proper support.
Step 6: Install the Stringers
Position your stringers on the stair location.
Attach them securely at the top (to the deck or landing) and at the bottom (to the floor or base framing).
Use framing anchors or heavy-duty screws for a secure connection.
Always check that each stringer is level and aligned before finalizing the installation.
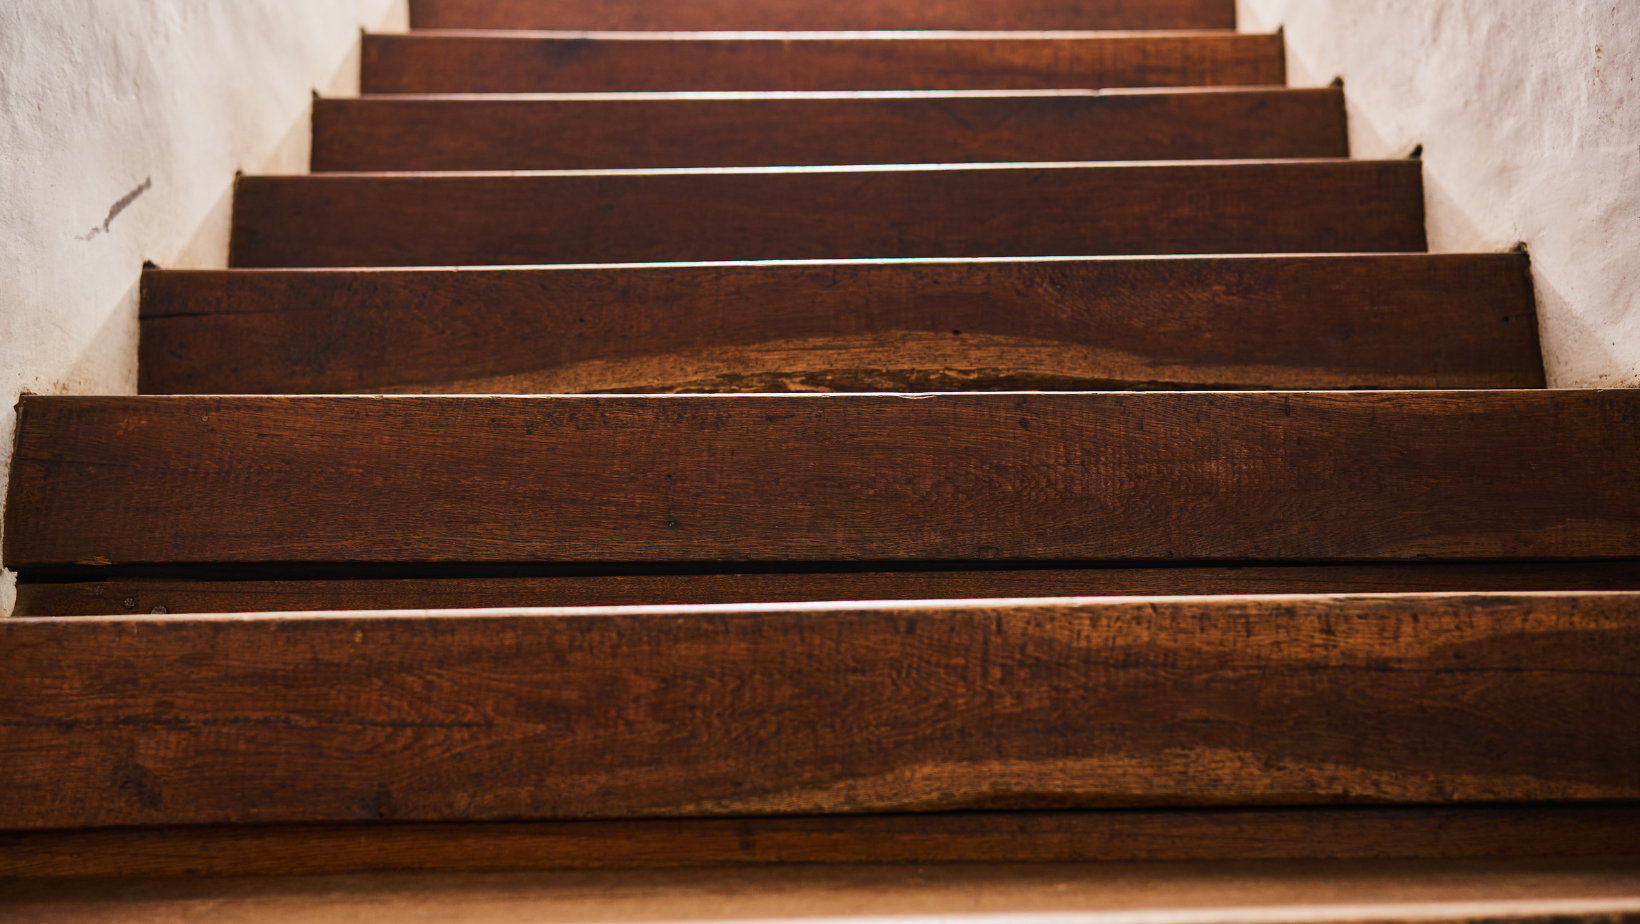
Step 7: Attach the Treads and Risers
Measure and cut your treads and risers to match the width and depth between your stringers.
Fasten each tread and riser in place with wood screws or nails.
Make sure everything is flush and tightly secured.
This is where your precision in previous steps pays off—properly cut and installed treads sit cleanly and don’t shift over time.
Understanding the Role of Stringers in Stair Construction
Stair stringers are the backbone of your staircase.
They carry the weight of the treads, risers, and everyone who uses the stairs.
Building them correctly is essential not just for visual appeal, but for safety and function.
Most stringers are made from 2x12 boards due to their strength and dimensional stability.
Proper spacing between stringers is just as critical—too far apart and the treads may flex or sag.
For most residential stairs, placing stringers no more than 16 inches apart is standard practice.
Essential Tools and Materials for Making Stair Stringers
Before beginning, gather these basic tools and materials:
-
Framing square with stair gauges
-
Circular saw and handsaw
-
Tape measure and level
-
Pencil or chalk line
-
2x12 boards (for stringers)
-
Screws or framing anchors
-
Carpenter’s square
-
Safety glasses and gloves
While advanced tools can help, stair stringers can be built using basic, accessible equipment. That’s what makes this a perfect DIY project for ambitious homeowners.
How Stair Stringers Support Other Stair Components
Stringers don’t work alone—they’re the framework that supports every other part of your staircase.
The risers attach vertically between the steps, and the treads span horizontally, creating the surface you step on.
Both of these elements rely on the stringer’s precise angles and cuts for a stable, balanced build.
If you plan to install high-end features like hardwood stair treads or carpet stair treads, solid stringers ensure they remain flush, quiet, and safe for long-term use.
Choosing Materials for Treads and Risers
Once your stringers are installed, selecting the right material for the treads and risers is the next major step.
Many homeowners opt for hardwoods like oak, maple, or walnut for a classic, upscale look.
Softwoods like pine are more budget-friendly and easier to work with but may dent over time.
If you want extra comfort, warmth, and slip resistance, this is where Oak Valley Designs carpet stair treads make a perfect match.
Whether you're building indoor basement stairs or a grand entryway staircase, the right material makes all the difference.
Tips for a Safe and Code-Compliant Staircase
As you build, keep safety in mind.
Here are a few quick tips to ensure your staircase meets typical residential building code:
-
Each riser should be no more than 7.75 inches high.
-
Treads should be at least 10 inches deep.
-
All risers and treads should be consistent—no variation greater than 3/8 inch.
-
Headroom above stairs should be a minimum of 6 feet 8 inches.
-
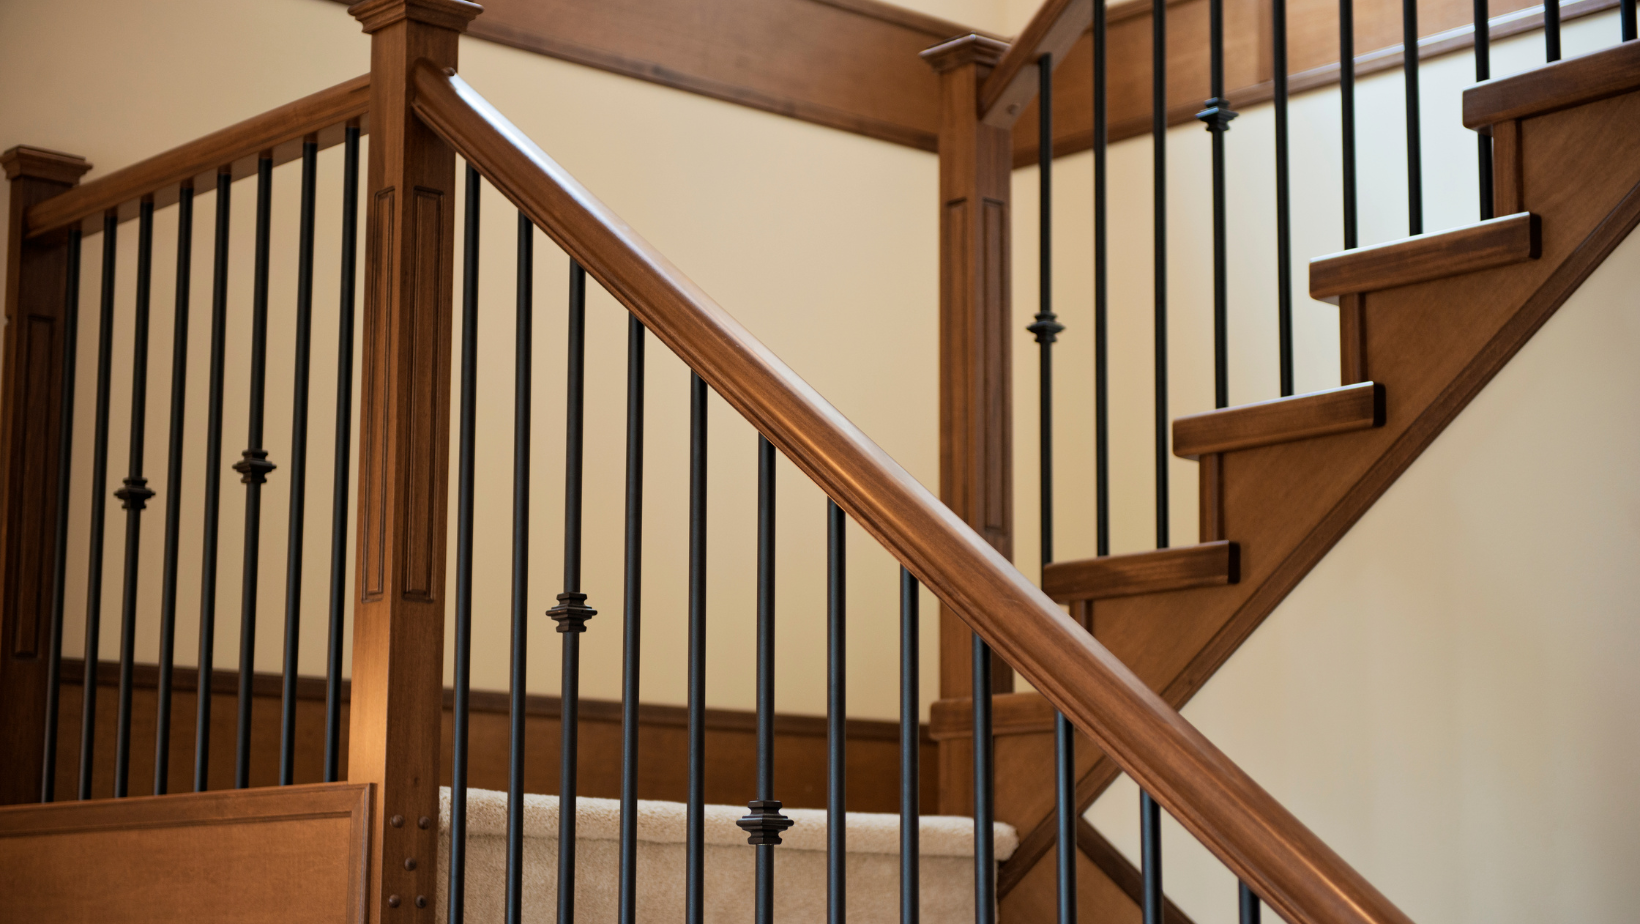
Handrails are required for stairs with four or more risers.
Following these standards helps ensure your staircase is not only functional but also safe for every family member and guest.
Can You Make Your Own Stair Treads?
Absolutely.
The question "can you make your own stair treads?" comes up often for DIYers looking to personalize their stairs beyond pre-fab kits.
With the right materials and tools, it’s a straightforward process.
First, select your wood based on the look and durability you want.
Then measure your tread spaces carefully and cut each board to the exact width and depth.
Sand the edges smooth, and finish with stain or paint to match your home’s interior.
Making your own treads ensures a perfect fit with your handmade stringers—and adds a unique personal touch.
How to Cut Stair Treads for a Clean Finish
The process of how to cut stair treads is all about accuracy.
Start by measuring the space between your stringers at every step.
Tread widths can vary slightly, so measure each one individually.
Use a circular saw or miter saw for straight, even cuts.
If your stairs are enclosed, don’t forget to notch out any edges that need to fit around trim or walls.
After cutting, sand each edge and corner to remove splinters and give your stairs a polished, professional look.
Carpet Stair Treads: The Final Touch
Once your stringers, risers, and treads are installed, it’s time to bring comfort and elegance to your staircase.
Installing carpet stair treads adds a layer of safety and quietness underfoot—especially important for families with pets or kids.
They also protect your treads from wear and tear while adding warmth and design continuity to your home.
Oak Valley Designs offers a wide range of luxury, customizable options that match perfectly with both traditional and modern interiors.
Steps To Success
Learning how to make your own stair stringers gives you full control over one of your home’s most visible and used features.
From the first measurement to the final tread, this hands-on project allows you to blend structure and style in a way that's all your own.
Along the way, you'll learn more than just math and measurements—you'll gain confidence and a deeper appreciation for craftsmanship.
Whether you're a weekend warrior or a seasoned DIYer, mastering this project creates a staircase that’s safer, more beautiful, and built to last.
Ready to Make the Leap?
Ready to elevate your staircase with luxury carpet stair treads?
Oak Valley Designs offers custom solutions that blend style, safety, and comfort.
-
Website: https://oakvalleydesigns.com/
-
Phone: 706.331.0315
-
Email: info@oakvalleydesigns.com
-
Address: 30 River Ct SW Bldg E Cartersville, Ga 30120