Tired of staring at worn-out stairs that drag down your home’s style?
Here’s how to install retrofit stair treads and risers: remove any old coverings, clean and prep the stairs, then secure your new treads and risers using adhesive and nails.
Whether you're working with hardwood or carpet stair treads, this upgrade is one of the simplest ways to enhance both safety and style.
In this guide, you’ll get clear, step-by-step instructions to handle the entire process yourself.
You’ll also learn how to choose the right materials, avoid common mistakes, and get a polished, professional finish.
Let’s walk through everything you need to give your staircase the makeover it deserves.
What Are Retrofit Stair Treads and Risers?
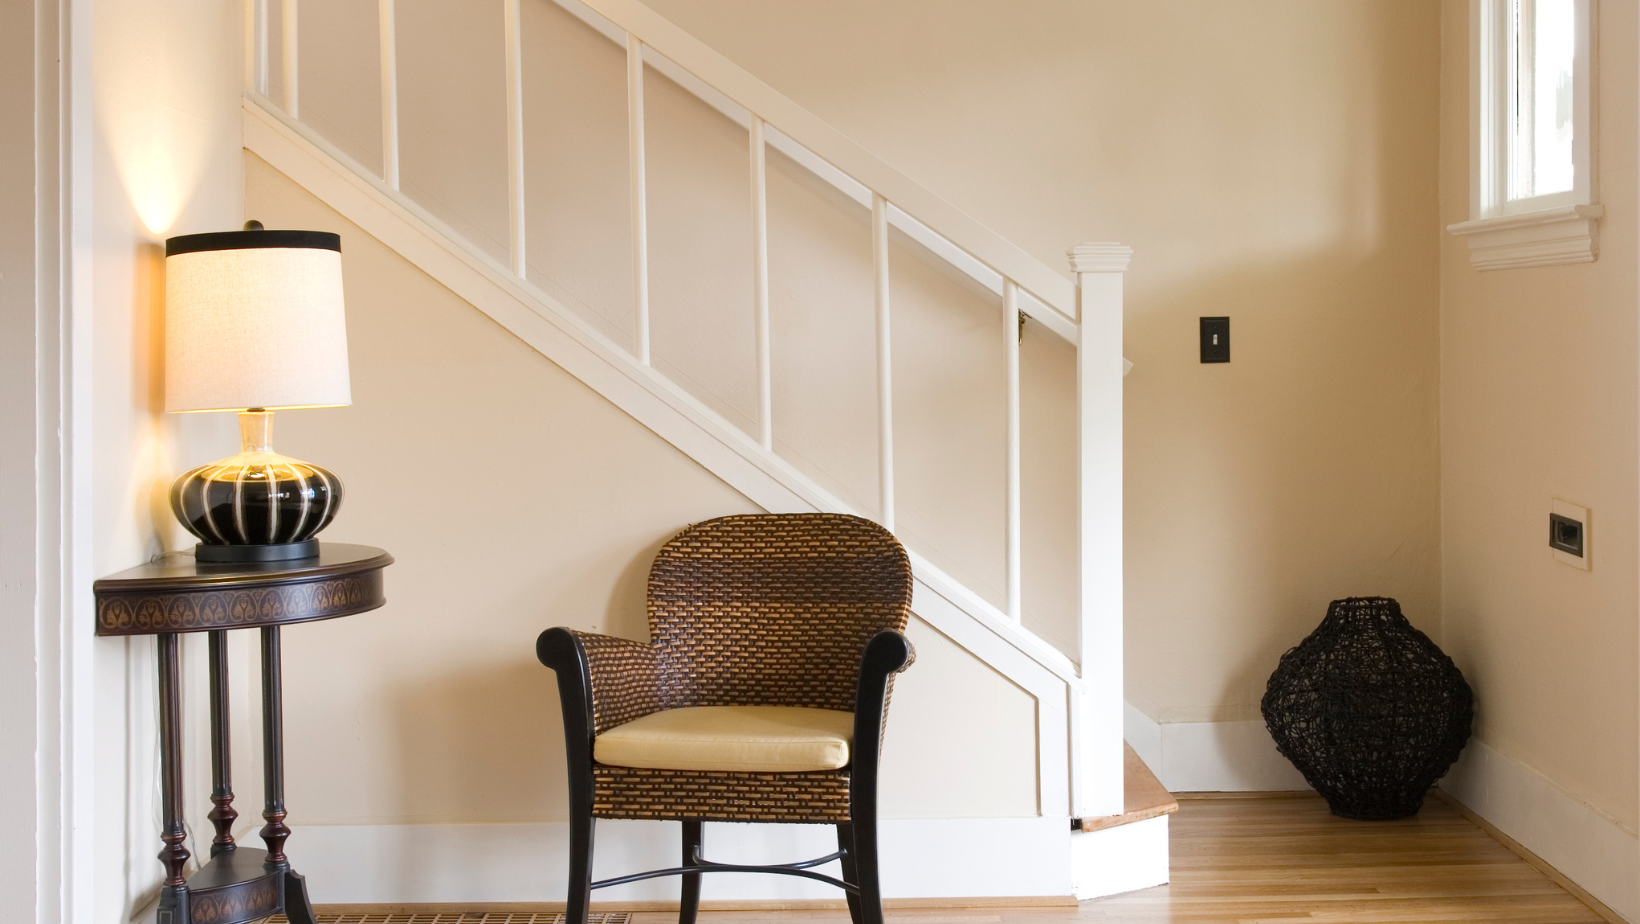
Think of retrofit stair treads and risers as a staircase makeover without demolition.
These are stair components—often prefinished and ready-to-install—that are designed to fit directly over your existing steps and risers.
The retrofit approach allows homeowners to skip the headaches of full stair replacement.
No tearing out old wood.
No complicated carpentry.
Instead, you install each component directly over the existing stair, making it one of the easiest ways to create a high-end look in just a weekend.
The Benefits of a Retrofit Stair Upgrade
When you’re weighing stair improvement options, retrofitting delivers major advantages.
-
Time-Saving: You can often complete the project in a day or two.
-
Damage-Free: No need to destroy your existing stairs.
-
DIY-Friendly: Even beginners can tackle this project with the right tools.
-
Custom Look: Options include both wood and carpet finishes.
-
Safe: Adds traction and consistency—perfect for homes with children or pets.
Many homeowners love the flexibility of being able to upgrade stairs without having to commit to something permanent or overly complicated.
This is especially true when choosing prefinished retrofit stair treads, which arrive ready for installation and take out much of the guesswork.
Choosing the Right Retrofit Treads and Risers for Your Space
The right style of retrofit treads and risers depends on your home’s aesthetic, your family’s lifestyle, and how much maintenance you’re willing to take on.
Let’s break it down:
Wood vs. Carpet Options
-
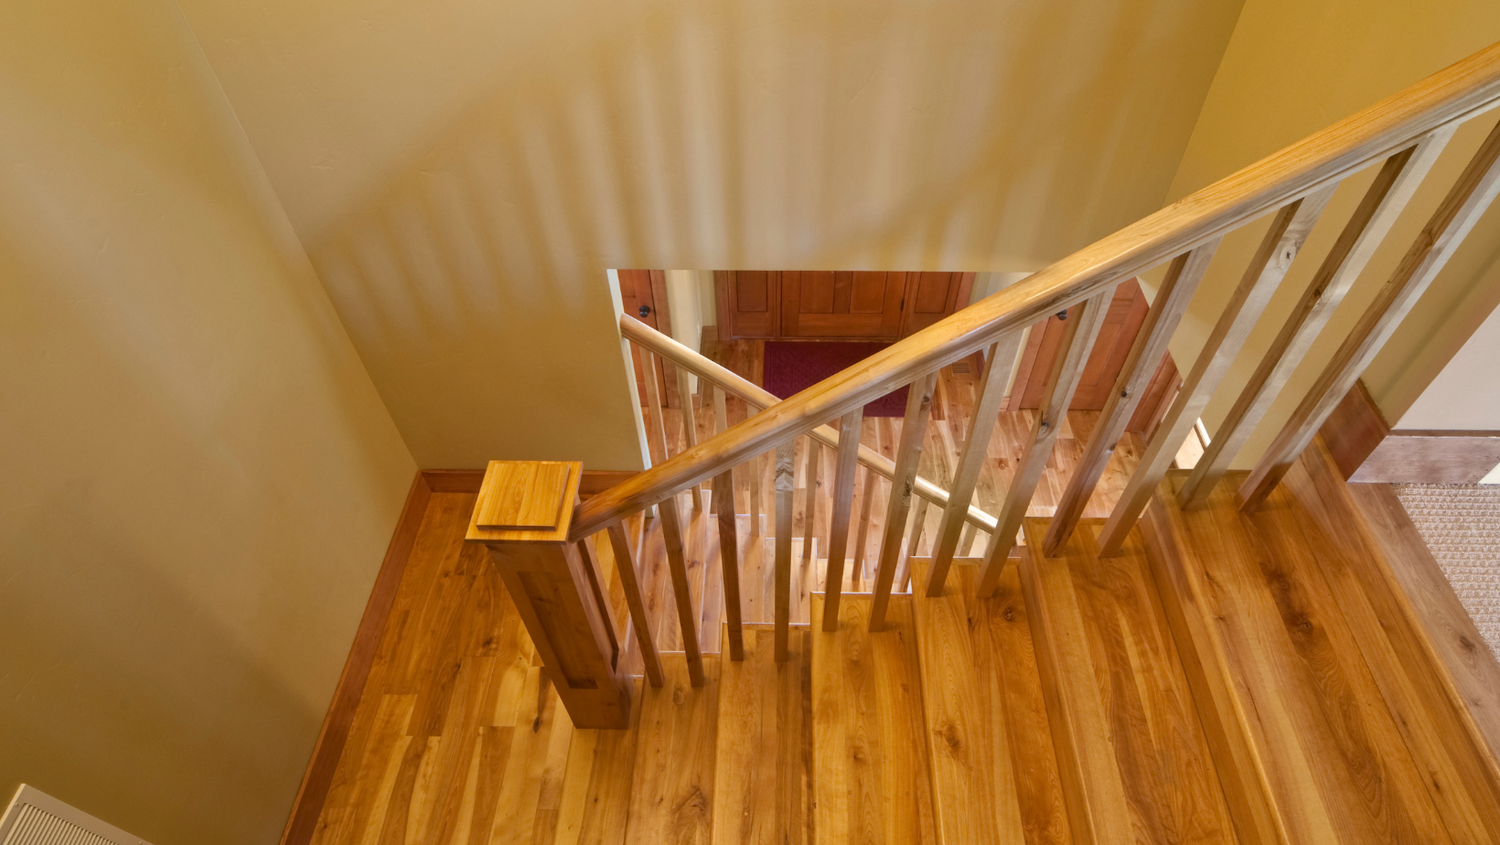
Wood: Ideal for a crisp, clean finish. Popular woods include oak, maple, and cherry. These suit both traditional and modern interiors.
-
Carpet: Softer underfoot, ideal for added safety. These work beautifully in homes with pets, children, or elderly family members.
Some staircases even combine both—using wood for the tread and a low-profile carpet runner for comfort and grip.
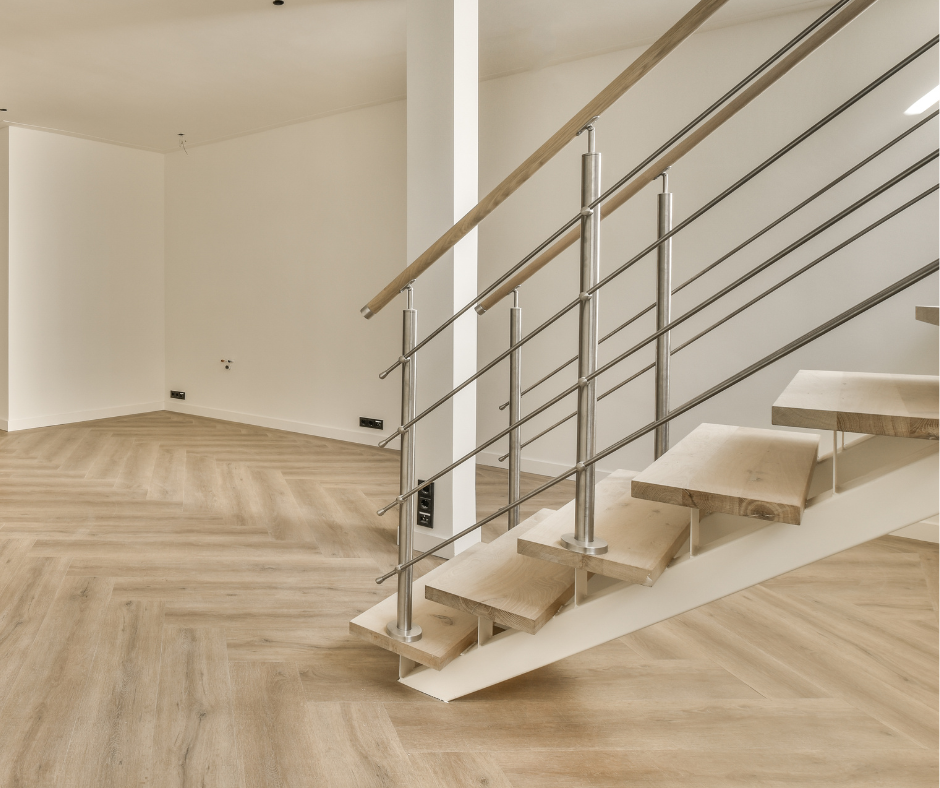
If you're leaning toward a minimal, design-forward space, modern retrofit stair treads in natural oak or maple create a light and airy feel.
This finish pairs beautifully with white risers or sleek black accents.
Considerations Before Installation
There’s more to selecting retrofit stair treads than just looks.
Here are some practical things to think about:
-
Durability: High-traffic staircases need sturdy materials like hardwood or dense carpet.
-
Maintenance: Wood is easy to clean but may require refinishing later. Carpet hides wear but may stain more easily.
-
Budget: Wood is usually more expensive than carpet but also adds more resale value.
-
Existing Stairs: The condition and size of your current staircase can affect which retrofit options will fit best.
One of the best time-saving upgrades is to opt for prefinished retrofit stair treads, which save you the extra steps of staining, sanding, or sealing.
These come ready to install—ideal for homeowners who want a clean finish without added work.
Tools and Materials Needed
Here’s what you’ll want to have on hand before you start:
Tools:
-
Measuring tape
-
Pencil
-
Circular saw (or miter saw)
-
Nail gun or finish nails
-
Construction adhesive
-
Level
-
Utility knife (if using carpet)
-
Rubber mallet (optional)
Materials:
-
Retrofit stair treads
-
Retrofit risers (if needed)
-
Wood glue or adhesive
-
Finish nails or screws
-
Wood filler (for clean-up)
-
Caulk or trim paint for edges
Preparing for the Retrofit Installation
Before you begin installation, you’ll want to properly prepare the stairs.
Step 1: Remove Old Carpet or Finishes
Use pliers and a utility knife to strip away old carpeting, nails, and staples.
Be careful to avoid gouging the wood underneath.
Step 2: Clean and Repair
Vacuum and clean the surface thoroughly.
If there are squeaks or loose boards, secure them before continuing. Fill in any divots or cracks with wood filler.
Step 3: Dry Fit
It’s a good idea to place the new treads on top of your stairs without adhesive to make sure everything fits before committing.
Step-by-Step Guide to Installing Retrofit Stair Treads and Risers
Now let’s walk through the actual process:
Step 1: Measure Each Step
Every stair might be slightly different in size.
Measure the width, depth, and height of each stair and riser using a tape measure.
Record these carefully—precision here saves frustration later.
Step 2: Cut Treads and Risers
Use a circular or miter saw to trim each tread and riser to the proper size.
For risers, always cut height first, then width.
Step 3: Apply Adhesive
Apply a zigzag of construction adhesive to the back of the riser and press it into place.
Do the same for the tread, pressing down firmly to ensure full contact.
You can tap lightly with a rubber mallet to help the piece seat evenly.
Step 4: Secure With Nails or Screws
Use a nail gun or finish nails at the back edge of each tread for added security.
Avoid placing nails where they’ll be visible or uncomfortable to walk on.
Step 5: Check Level and Adjust
Use your level to make sure each tread is sitting flush.
Small adjustments now prevent uneven steps later.
Step 6: Repeat Up the Staircase
Move step by step from the bottom to the top.
Take your time—accuracy is more important than speed.
Finishing Touches That Matter
Once your retrofit treads and risers are in place, it’s time to complete the look.
-
Use caulk or trim paint around the edges for a seamless finish.
-
Add stair nose molding if needed for exposed sides.
-
Clean up any adhesive spills immediately before they dry.
You may choose to install a stair runner or even add soft padding for older pets.
If you’re working with modern retrofit stair treads, leave them exposed for a clean, Scandinavian-inspired look.
Mistakes to Avoid
Even a DIY-friendly job like this can go off track if you don’t plan properly.
Here are some common pitfalls—and how to avoid them:
-
Skipping the prep work (cleaning, measuring, inspecting)
-
Using too much adhesive (can cause uneven bonding)
-
Rushing the cutting process (leads to poor alignment)
-
Not accounting for trim (edges may look unfinished)
-
Installing out of order (always work bottom-up)
Measure carefully. Work slowly. Your future self will thank you.
When to Use Prefinished Options
If you’re short on time—or simply want the smoothest path to beautiful stairs—prefinished retrofit stair treads are your best bet.
They eliminate the need for sanding or staining, and they arrive ready to install straight from the box.
It’s one of the easiest ways to get pro-level results with minimal DIY effort.
Perfect for anyone who wants a stress-free weekend project without sacrificing quality or style.
How This Upgrade Impacts Your Home’s Value
Installing retrofit treads might seem like a small change—but it can make a big impression.
Here’s why:
-
Boosts First Impressions: Staircases are often the first thing guests (or buyers) see.
-
Improves Safety: Especially in homes with kids, pets, or aging adults.
-
Adds Character: A beautiful staircase creates personality and charm.
-
Increases Comfort: Especially if you’re upgrading from cold tile or squeaky boards.
-
Elevates Resale Potential: Buyers notice clean, modern stairs—and love that they don’t have to replace them.
Whether you’re planning to stay or getting ready to sell, this upgrade delivers value in every step.
Stepping It Up
Your staircase tells the story of your home. It’s where first steps are taken, laughter echoes from floor to floor, and daily life flows.
By learning how to install retrofit stair treads and risers, you’re not just upgrading wood and nails—you’re creating a safer, more beautiful space for the people you love most.
And with Oak Valley Designs, that transformation is easier than ever.
Explore our handcrafted selection of prefinished retrofit stair treads—designed to last, styled to impress, and simple enough for anyone to install.
-
Website: https://oakvalleydesigns.com/
-
Phone: 706.331.0315
-
Email: info@oakvalleydesigns.com
-
Address: 30 River Ct SW Bldg E Cartersville, Ga 30120