Thinking about upgrading your stairs for both style and safety?
Learning how to install laminate stair nosing is a simple process: measure, cut, apply adhesive, and secure the nosing with fasteners to create a clean, durable edge.
This will guide you through each step to ensure a smooth installation that looks professional and lasts.
You'll also discover how this process differs from installing carpet stair treads, so you can make the best choice for your home.
We’ll cover tools, prep, fitting techniques, and how to handle unique situations like curved stairs or exterior applications.
Whether you're a DIY beginner or looking to refine your skills, this guide delivers exactly what you need.
Why Use Laminate Stair Nosing?
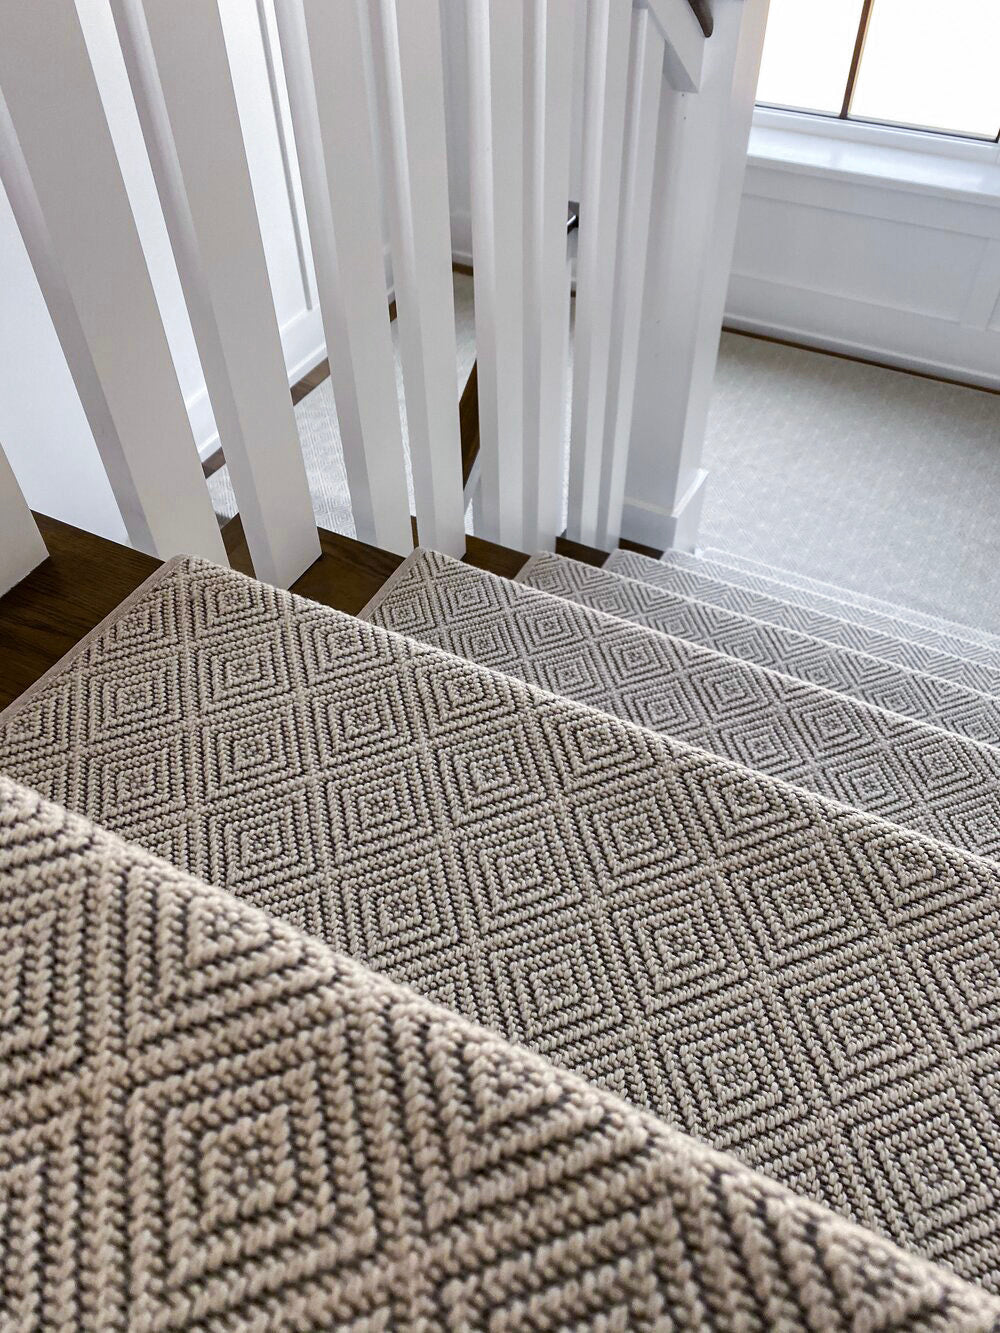
Laminate stair nosing protects the most vulnerable part of your stairs—the edges.
These areas take a lot of wear and tear.
Over time, they can chip, warp, or become hazardous.
Laminate nosing acts like a protective bumper while also creating a cleaner transition between the stair tread and flooring.
It also enhances safety. Laminate stair nosing offers better grip compared to a bare edge.
That can help reduce slips and falls—especially for kids, pets, or anyone with mobility issues.
From an aesthetic standpoint, it ties the stairs into the rest of the flooring, giving the entire staircase a polished, cohesive look.
Tools and Materials Needed
Before you start, gather the following:
-
Laminate stair nosing (choose pieces that match your floor)
-
Construction adhesive (suitable for laminate)
-
Nails or screws
-
Drill and drill bits
-
Measuring tape
-
Miter saw or handsaw
-
Sandpaper
-
Cleaning cloths or vacuum
-
Matching filler (for gaps or seams)
Having the right tools upfront will save you time and help ensure a cleaner finish.
Step 1: Measure and Cut the Nosing
Start by measuring the width of each stair.
Laminate stair nosing comes in standard lengths, so you’ll need to cut each one to size.
Use a miter saw for clean, precise edges.
If your stairs are uneven or slightly curved, measure each tread individually.
Once cut, dry-fit each piece to make sure it fits snugly with no overhang or gaps.
Sand the cut edges if needed.
Step 2: Clean the Stair Surface
Before installing stair nosing, make sure the stair edge is clean, dry, and level.
Use a vacuum or a damp cloth to remove dirt, dust, or debris.
Adhesive won’t bond properly to a dirty surface.
If your stairs were previously carpeted, remove all residual glue or tacking.
If the surface is rough or uneven, consider lightly sanding the edge to give the adhesive a smoother surface to grip.
Step 3: Apply Construction Adhesive
Flip the nosing over and apply construction adhesive to the back side.
Spread the glue evenly along the entire length using a caulking gun.
Avoid globs or uneven layers.
The adhesive is the first line of defense in securing the nosing, so make sure you’re using a brand compatible with both the laminate and the stair surface material.
Step 4: Position and Press the Nosing
Align the laminate stair nosing with the stair edge and press it firmly into place.
Take your time here—make sure it's perfectly lined up with no tilt or overlap.
Hold the piece down for at least 30 seconds to allow the adhesive to begin curing.
You can also use clamps if needed, especially if you’re working with curved or awkward angles.
Step 5: Drill and Fasten
To make the nosing more secure, drill small pilot holes through the top of the nosing.
This prevents the laminate from cracking or splitting.
Once drilled, insert your screws or nails and space them evenly across the length of the nosing.
Make sure the fasteners are flush or slightly countersunk.
Avoid overtightening, which can distort the nosing or damage the stair edge.
Step 6: Clean Up and Let It Set
Use a damp cloth to clean off any excess glue that squeezes out.
Let the adhesive fully cure before walking on the stairs—follow the instructions on your adhesive, which typically recommend 24 hours.
Securing Laminate Stair Nosing the Right Way
Securing the nosing is one of the most critical parts of the process.
Relying on glue alone won’t cut it, especially in high-traffic areas.
That’s why combining construction adhesive with mechanical fasteners creates a long-lasting, stable installation.
This is true not just for laminate but for any kind of nosing material.
Whether you're installing stair nosing in a basement, hallway, or loft staircase, a dual-bond approach gives you the best results.
If you’re covering a set of stairs that flex or shift with weight (such as wooden or older subfloors), screws are preferable over nails since they resist pulling out over time.
Is Installing Laminate Stair Nosing Different from Carpet Treads?
Yes. Installing laminate stair nosing requires a different approach compared to carpet treads.
Carpet treads are often applied using double-sided tape or tack strips.
That allows for easier removal or replacement.
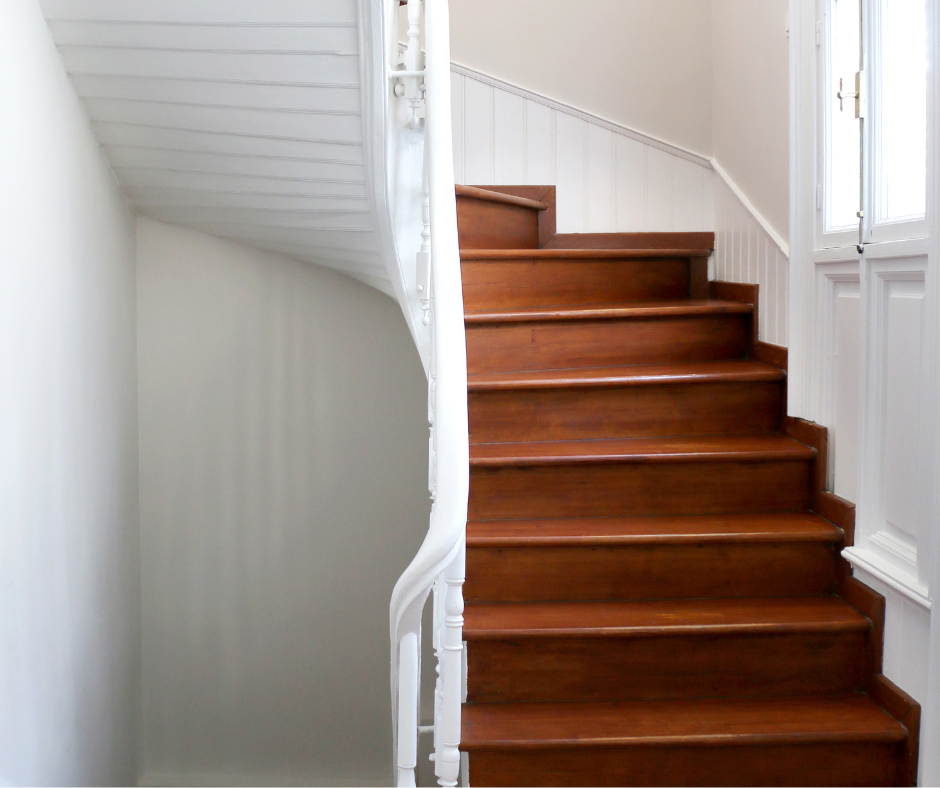
Laminate nosing, on the other hand, is more of a permanent upgrade.
It needs to be bonded securely and matched to your flooring for both aesthetics and safety.
This means better materials, more precise cuts, and more durable bonding methods.
Troubleshooting Common Problems
What if my stair edges are uneven?
You may need to sand down high spots or use a leveling compound.
The nosing should sit flush to avoid lifting or cracking later.
What if the adhesive isn’t holding?
Make sure your stair surface is clean, dry, and warm.
Adhesive won’t stick well to a damp or dusty surface.
You can also switch to a stronger adhesive rated for stair materials.
What if gaps appear between the nosing and tread?
Use a color-matched laminate filler or caulk to close small gaps.
Larger gaps may indicate a miscut and may require re-cutting the piece.
Tips for Installing on Curved or Angled Stairs
Curved or angled stairs add complexity.
Instead of cutting one long piece, cut multiple short sections and fit them like a puzzle.
Measure each section precisely and label each one so you know where it goes.
If your stairs are custom-built or have decorative overhangs, you may need a jigsaw or coping saw to create notched edges in your nosing pieces.
Always dry-fit before you glue or fasten anything.
For tight curves, gently warming the laminate can help it flex slightly without cracking—but be careful not to overheat.
Is Exterior Stair Nosing Installed the Same Way?
Not exactly.
Exterior stair nosing is designed to withstand weather, temperature swings, and heavier foot traffic.
You’ll typically find it made from durable materials like aluminum, vinyl, or rubber.
When you're installing stair nosing for outdoor steps, be sure to use outdoor-rated adhesive and corrosion-resistant screws.
Exterior stair nosing usually has a textured or slip-resistant surface as well, which is key for safety in rain or snow.
Installation follows the same general method—measure, cut, clean, glue, and secure—but materials must be rated for exterior use.
You should also ensure a slight slope away from the house to prevent water pooling under the nosing.
If you're installing stair nosing on concrete exterior steps, a masonry bit will be required to drill pilot holes for fasteners.
Maintaining Laminate Stair Nosing
Once installed, laminate stair nosing is relatively low-maintenance.
Here’s how to keep it in great shape:
-
Wipe it clean with a damp cloth regularly.
-
Avoid harsh chemicals that can damage the finish.
-
Check the fasteners every few months—tighten or replace any that loosen over time.
-
If you notice lifting or damage, remove and re-install that section promptly.
Proper care ensures your nosing stays safe, secure, and visually appealing for years to come.
When to Replace Stair Nosing
Sometimes, stair nosing may need to be replaced entirely:
-
If it becomes cracked or chipped
-
If it pulls away from the stair edge
-
If water damage causes warping
-
If the fasteners rust or loosen permanently
In these cases, follow the same steps you used for installation.
Carefully remove the old nosing, clean the surface thoroughly, and start fresh with new materials.
Steps To Success
Installing laminate stair nosing is one of the smartest upgrades you can make for your stairs.
It protects high-traffic edges, reduces slip risks, and gives your staircase a clean, finished look.
With a little preparation and the right approach, you can handle the entire project yourself—no professional help needed.
Just follow the steps, take your time, and don’t rush the details.
Want expert help choosing the right nosing for your stairs—laminate or otherwise?
Contact Us Today!
Oak Valley Designs offers premium stair solutions that combine safety, beauty, and ease of installation.
Whether you’re renovating a classic interior staircase or working on exterior stair nosing for your front porch, we’re here to guide you every step of the way.
-
Website: https://oakvalleydesigns.com/
-
Phone: 706.331.0315
-
Email: info@oakvalleydesigns.com
-
Address: 30 River Ct SW Bldg E Cartersville, Ga 30120