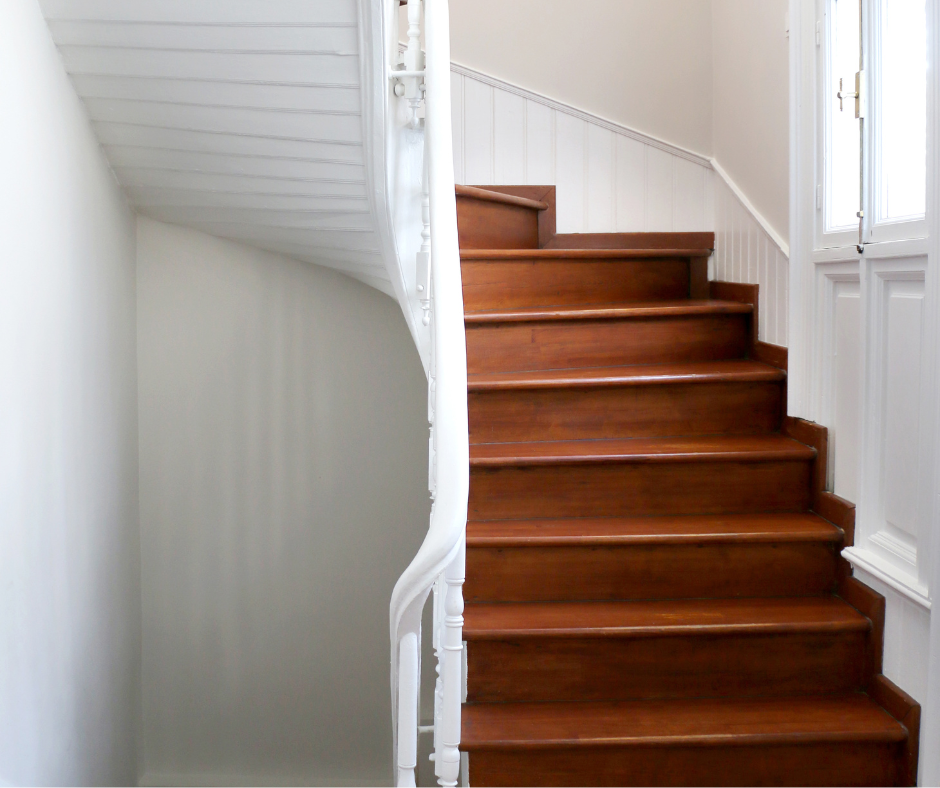
Slips on stairs can happen in an instant—but the right upgrade can make all the difference.
Installing stair nosing is a quick and effective way to improve stair safety, protect step edges, and give your staircase a clean, finished look.
With the right tools and approach, it’s a straightforward project that adds lasting value.
This guide walks you through every step of installing stair nosing, including how to work with different materials like carpet stair treads.
You’ll learn proper techniques, safety guidelines, and best practices to ensure a secure and polished result.
Whether you're updating old stairs or finishing new ones, this guide has everything you need to get it done right.
Why Install Stair Nosing?
There are a few practical reasons people choose to install stair nosing.
These include:
Improved Safety
The extra grip provided by stair nosing can significantly reduce the risk of slipping—especially on wood, tile, or laminate stairs.
It’s particularly useful for children, older adults, and pets who need extra stability.
Increased Durability
The front edge of each stair takes the most wear over time.
With stair nosing in place, that edge is protected from chipping, scuffing, and splitting.
It helps extend the life of your stairs.
Enhanced Visual Appeal
Stair nosing gives your stairs a clean, finished look.
It adds depth and detail to the edges, making them stand out without overwhelming your design.
Added Value
For homeowners, stair nosing is a cost-effective upgrade that contributes to long-term value.
It not only makes your stairs safer and longer lasting—it also improves the look of your home.
Planning Before Installation
Before you start installing stair nosing, it’s important to plan the job.
Choose the right type of nosing for your stair material, measure accurately, and prepare all necessary tools.
Common Materials Used for Stair Nosing
Stair nosing comes in a range of materials, each with its benefits:
-
Wood: Ideal for hardwood stairs. Offers a natural, seamless look when stained or painted to match.
-
Aluminum or Metal: Best for commercial or industrial spaces. Known for durability and slip resistance.
-
Rubber or Vinyl: Often used in schools or public areas. Provides cushion and traction at a lower cost.
-
Laminate: Perfect for matching laminate stairs. Easy to install and available in various finishes.
-
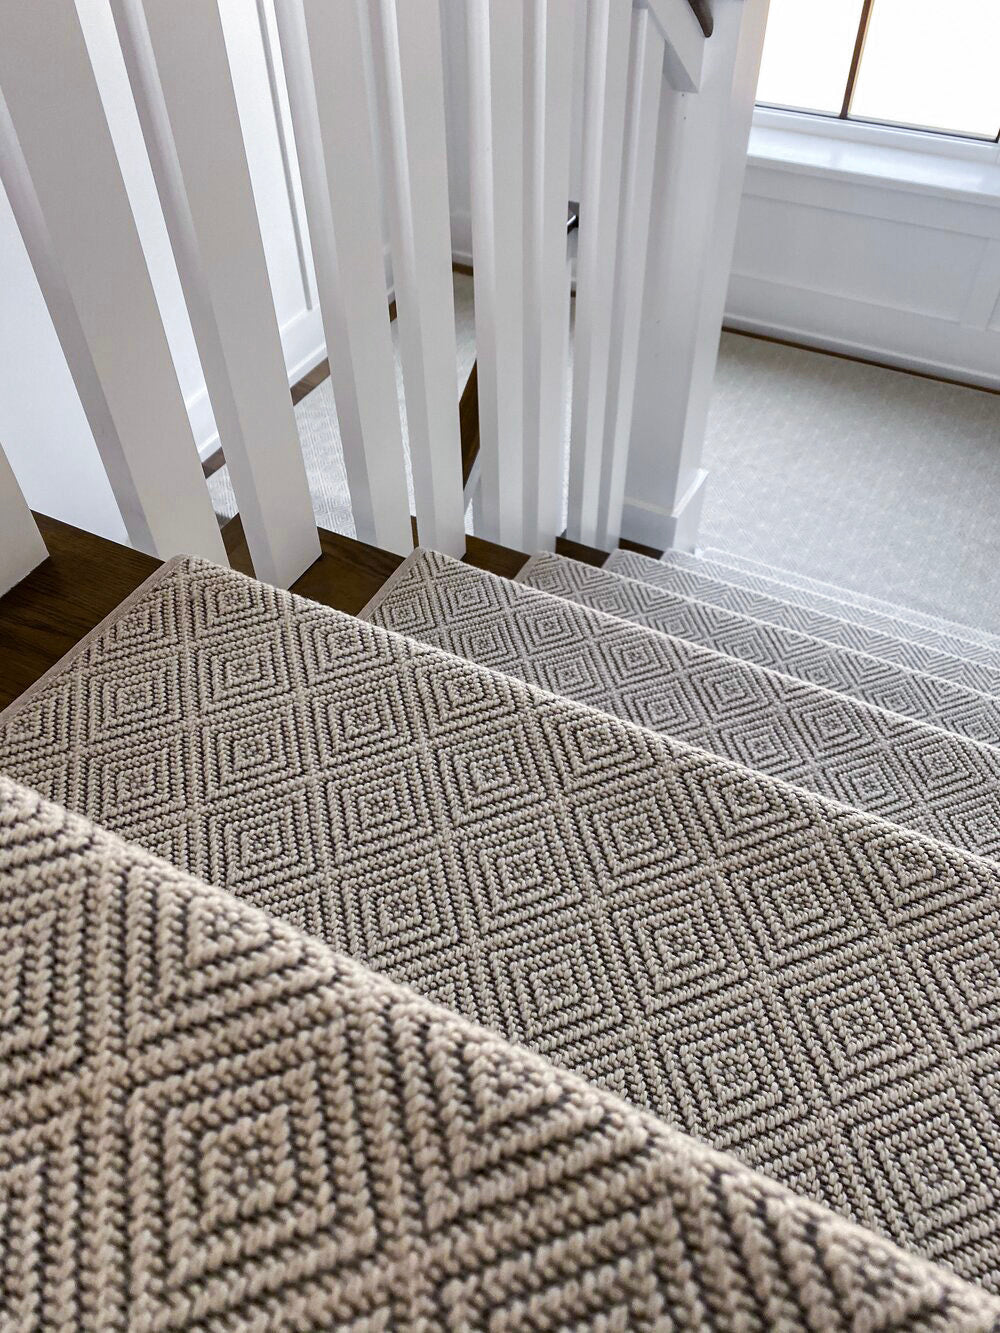
Carpet with Built-In Nosing: Carpet stair treads often come with a finished front edge. This makes them one of the easiest ways to add stair nosing without extra material.
How Do You Install Stair Nosing on Stairs?
Installing stair nosing doesn't require advanced carpentry skills.
Here’s how to do it right.
Step 1: Clean the Surface
Start by cleaning each step thoroughly.
Any dust or grime can weaken the adhesive bond, making the nosing less secure over time.
Step 2: Measure and Cut
Measure each stair edge.
Cut your stair nosing to size using a fine-tooth saw for clean edges.
Take your time to ensure precision.
Step 3: Dry Fit the Pieces
Place the stair nosing on each step before gluing.
This allows you to test for fit and make final adjustments without wasting adhesive.
Step 4: Apply Adhesive
Use a high-strength construction adhesive rated for flooring materials.
Apply a line of glue along the entire back of the nosing.
Step 5: Position and Press
Place the stair nosing against the stair edge and press down firmly.
Hold for a few seconds to allow the adhesive to bond.
Step 6: Add Screws (If Needed)
For added security—especially on high-traffic stairs—insert small screws through pre-drilled holes.
This ensures the nosing stays in place long term.
Step 7: Let It Dry
Check the adhesive instructions for drying time.
Don’t use the stairs until the nosing is completely set.
Different Types of Stair Nosing and Their Benefits
Understanding the types of stair nosing helps you make a better decision for your space.
Square Nosing
This design has a sharp, clean line that works well with modern interiors.
It's flat across the edge and easy to install.
Round Nosing
Round nosing has a softer edge, ideal for comfort and a traditional look.
It’s a common choice for homes with children or pets.
Bullnose Nosing
Bullnose is a fully rounded front edge that provides extra curve and safety.
It’s a classic profile for carpet and wood stairs.
Flush Nosing
Flush nosing is installed so the nosing and the tread surface are level.
It creates a sleek, seamless look—popular with hardwood floors.
Carpet Stair Treads and Built-In Nosing
An easy way to incorporate stair nosing without buying separate materials is to install carpet stair treads with built-in nosing.
These treads come with finished front edges that naturally hug the stair and offer the same safety benefits.
They’re also easier to install and remove—perfect for anyone who wants a soft, non-permanent solution.
Installing Carpet Stair Treads Over Different Nosing Profiles
When applying carpet stair treads, you’ll want to account for the shape of your stair nosing.
Step 1: Measure and Cut the Carpet
Lay out the stair treads and trim them to match the shape of your stair step and nosing.
Leave a little extra material to wrap around the edge.
Step 2: Fit Around the Nosing
Carefully shape the carpet to follow the nosing’s contour.
A clean fit improves both look and hold.
Step 3: Secure the Carpet Treads
Use adhesive or double-sided carpet tape to attach the tread.
Smooth out wrinkles or bubbles, and press down firmly.
For added security, a few staples near the back edge can help.
Following Safety Guidelines When Installing Stair Nosing
Stair nosing isn’t just for looks—it’s also a safety feature.
Keep these safety rules in mind when installing:
Slip Resistance
Always select stair nosing with non-slip surfaces or textures.
This improves traction and reduces slipping, especially on smooth stairs.
Visibility
Pick a nosing color or finish that contrasts slightly with the stair surface.
This improves step visibility, especially in dim lighting.
Edge Protection
Make sure the nosing fully covers the stair edge.
An exposed edge is more likely to chip or become uneven over time.
Consistent Overhang
Aim for the same nosing projection on every step.
Inconsistent overhangs can cause tripping and disrupt your stair's flow.
Smooth, Flush Installation
A smooth transition from tread to nosing prevents catches, trips, or uneven foot placement.
What Is the Minimum Overhang for Stair Nosing?
The recommended minimum overhang for stair nosing is between ¾ inch and 1¼ inches.
This measurement provides grip, edge protection, and aesthetic balance without being intrusive.
Anything less may reduce safety, while anything more can become a tripping hazard.
Understanding How to Install Laminate Stair Nosing
If you're using laminate flooring on your stairs, you'll need a specific approach.
Many homeowners wonder how to install laminate stair nosing while keeping it secure and aligned with the rest of the tread.
Here’s how it’s done.
Step 1: Select the Right Nosing
Make sure you purchase stair nosing designed for laminate flooring.
These are usually shaped to match the thickness and edge profile of the laminate.
Step 2: Measure Carefully
Laminate nosing must fit precisely.
Measure both the width of the stair and the depth of the nosing profile.
Step 3: Use Compatible Adhesive
Choose an adhesive made for laminate surfaces.
Some brands even offer adhesive strips or click-lock nosing, which makes the job easier.
Step 4: Secure With Screws (If Needed)
Even with adhesive, you may want to use finishing screws for a firmer hold.
Just make sure to drill small pilot holes first to avoid cracking the laminate.
Step 5: Clean the Surface
Wipe away excess glue right away.
Laminate can show dried adhesive more than other materials, so work neatly.
Understanding how to install laminate stair nosing gives you a safe, polished stair design that complements your existing flooring.
Tips for a Professional-Looking Finish
Whether you're using wood, laminate, or carpet, a few small details can elevate your results.
Start with Quality Materials
Low-cost stair nosing may wear out or loosen over time.
Invest in products that offer solid construction and good grip.
Check the Fit Twice
Dry fitting helps prevent mistakes.
Even a slight mismatch can be noticeable once installed.
Choose the Right Adhesive
Use products designed for flooring installations.
This ensures the bond can withstand daily foot traffic.
Work Step-by-Step
Take your time with each stair.
Rushing through the process often leads to crooked edges or poor bonding.
Stepping It Up
Installing stair nosing is a simple, affordable way to improve both the look and function of your staircase.
Whether you're upgrading a single flight or doing a full-home remodel, this small detail brings big benefits.
It keeps your stairs safer.
It protects your investment.
And it delivers a clean, professional look that makes a lasting impression.
Contact Us Today!
If you're ready to take the next step, explore carpet stair treads with pre-finished nosing from Oak Valley Designs.
Every product is made with safety, quality, and comfort in mind—perfect for homes that want more than just good looks.
-
Website: https://oakvalleydesigns.com/
-
Phone: 706.331.0315
-
Email: info@oakvalleydesigns.com
-
Address: 30 River Ct SW Bldg E Cartersville, Ga 30120


