Thinking about giving your staircase a fresh look?
Before you grab your tools, there’s one key question you need to answer: do you install stair treads or risers first?
The quick answer is—you should install the risers first.
This method provides a cleaner finish, better structural support, and a smoother fit for your treads.
In this guide, you’ll learn why this order matters for any stair renovation project, from installing carpet stair treads to refinishing hardwood, how it impacts the durability of your stairs, and step-by-step tips to achieve a professional result.
Understanding Stair Components
Before we get into the steps, let’s define the parts of the stairs.
-
Stair treads are the flat, horizontal parts where you step.
-
Risers are the vertical boards between each tread. The order you install them can change depending on the materials you’re using. For example, carpet needs a specific method to make sure everything lines up nicely. Treads are designed to handle the weight and pressure of foot traffic, so choosing the right material is essential for safety. Risers, while not weight-bearing, contribute to the overall structural stability of the staircase. Understanding these roles helps you plan your project effectively and avoid costly mistakes.
How to Install Risers and Treads
The traditional way is to install risers first.
This lets the treads cover the top edge of the risers, creating a cleaner look.
It also makes the stairs feel sturdier, which is great for materials like carpet that need to sit flat.
When risers are installed first, it minimizes visible gaps where dirt can accumulate over time.
Additionally, this approach allows for easier adjustments if the substructure isn’t perfectly level.
This small detail can significantly improve both the look and lifespan of your staircase.
Step-by-Step Guide to Installing Risers First
-
Measure and Cut: Carefully measure the height and width of each step. Cut your risers to fit those exact measurements. Double-check your measurements to avoid costly errors, especially if working with expensive materials. Using a straight edge or level ensures your cuts are precise, preventing gaps during installation. Remember, even small inaccuracies can throw off the entire staircase alignment.
-
Secure the Risers: Attach the risers to the stair frame with finishing nails or a nail gun. Make sure they’re firmly in place. Applying construction adhesive before nailing adds extra strength, reducing squeaks over time. Space your nails evenly to distribute pressure and avoid warping the riser. A snug fit also prevents moisture from seeping behind the risers, which can cause long-term damage.
-
Check Alignment: Before adding the treads, double-check that the risers are straight and even. This will help your treads fit perfectly on top. Use a level both vertically and horizontally to catch any misalignments early. Even a slight tilt can cause uneven gaps, making the stairs unsafe. Taking this extra step ensures the entire staircase maintains its professional look and structural integrity.
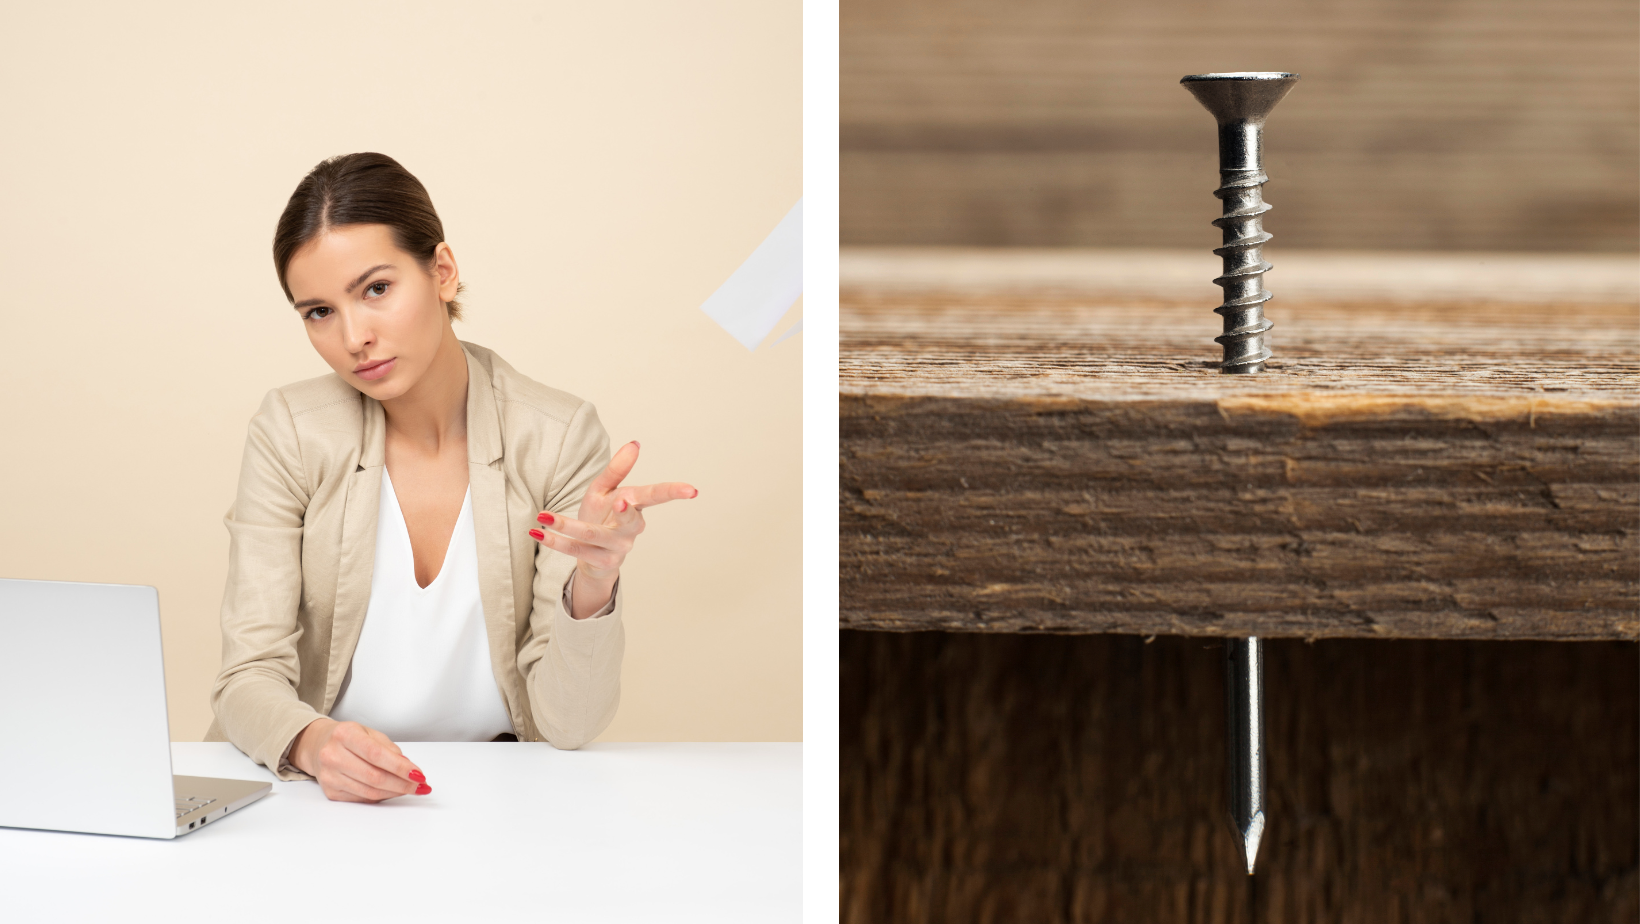
Should You Nail or Screw Stair Treads?
When it’s time to attach the stair treads, you might wonder if you should use nails or screws.
The choice depends on the material of the treads and how much foot traffic the stairs will get.
For example, hardwood treads in a busy household might benefit from the added security of screws.
In contrast, decorative staircases with lighter materials may only require nails for a cleaner finish.
Considering your long-term needs will help you make the right choice.
Benefits of Nailing
-
Faster Installation: Nailing is quicker than screwing, which is helpful for big projects. This method is ideal when time is limited, such as during large renovations or commercial projects. Nails also allow for a more seamless appearance since they can be easily countersunk and filled. Additionally, they are less likely to split delicate wood if used correctly.
-
Classic Look: Nails can be hidden easily, giving the stairs a clean, traditional appearance. They blend well with natural wood grains, maintaining an authentic, handcrafted aesthetic. This method is especially popular in historical homes where preserving original details is important. If you're staining the wood, nails won’t distract from the natural beauty of the material.
Benefits of Screwing
-
Stronger Hold: Screws grip better, making them ideal for stairs that get a lot of use. They are less likely to loosen over time, which is important in high-traffic areas like family homes or commercial spaces. Screws also reduce creaking because they pull the materials tightly together. Their durability makes them a smart investment for long-term projects.
-
Easy to Remove: If you need to replace a tread later, screws are simpler to take out than nails. This flexibility is helpful if you anticipate future remodeling or repairs. Unlike nails, screws don’t damage the surrounding wood as much during removal. Having this option can save both time and money when updates are needed.
Deciding whether to nail or screw comes down to the look you want and how durable you need the stairs to be.
Consider factors like the type of wood, expected foot traffic, and whether you might need to remove the treads in the future.
A combination of both nails and screws is also an option for added security.
What is the Difference Between a Stair Tread and a Riser?
-
A stair tread is the part you step on. It’s made to handle foot traffic and keep you stable as you go up or down the stairs. Treads often come with slip-resistant surfaces for added safety, especially in homes with kids or elderly residents. They can also be customized with finishes, stains, or coverings like carpet to match your home’s style.
-
A stair riser is the upright part between each tread. Risers help support the stairs and make them safer by closing the gap between steps. They can be plain or decorative, depending on your design preferences. In some cases, open risers are used for a modern look, though closed risers offer more stability. Choosing the right riser style can dramatically affect the overall appearance of your staircase.
While treads focus on strength and grip, risers add both structure and style to your staircase.
Together, they create a balanced, functional, and visually appealing staircase.
Understanding the role of each component helps you make better design and material choices for your project.
Can You Put New Stair Treads Over Old Ones?
Yes, you can install new treads over old ones.
This is a great way to update your stairs without a full renovation.
But there are a few things to consider: This method saves time and reduces waste since you don’t have to remove the old treads.
It’s also cost-effective because it requires fewer materials and less labor.
However, proper preparation is key to ensure the new treads are secure and level.
-
Thickness: Make sure the new treads aren’t too thick, which could make the steps uneven and cause tripping. Building codes often have specific requirements for tread height to prevent safety hazards. Too much thickness can disrupt the natural flow of the staircase, leading to uncomfortable steps. Always measure carefully to stay within safe limits.
-
Preparation: Check that the old treads are flat and secure before adding new ones. Any loose or damaged boards should be fixed to provide a stable base. Sanding the surface helps adhesives stick better if you're not using screws. This extra prep ensures the new treads lay smoothly without squeaks or movement.
-
How to Attach: For materials like carpet, strong adhesives or double-sided tape might work. For wood or heavier materials, screws can help keep them in place. If using glue, choose a high-quality construction adhesive designed for stair treads to ensure a long-lasting bond. For added durability, combining adhesive with screws provides extra strength, especially on high-traffic stairs.
Steps to Success
Choosing whether to install stair treads or risers first depends on your project and materials.
For most projects, especially with carpet, it’s best to install risers first to get a smooth, professional look.
Knowing the role of each part and how to install them properly will help you create stairs that are both safe and stylish.
Taking the time to plan and measure accurately can prevent common issues like uneven steps or gaps.
With the right approach, your staircase will not only look great but also stand the test of time.
Remember, attention to detail makes all the difference in DIY projects like this.
Ready to Transform Your Staircase?
At Oak Valley Designs, we’re here to help you create a staircase that’s not just functional but a standout feature in your home. Whether you’re dealing with worn-out steps, looking to add warmth with carpet stair treads, or want to make a bold statement with stylish landings and hallway runners, we’ve got the solutions you need.
Our products are designed to make your DIY projects simple, effective, and beautiful.
No guesswork, no hassle—just quality materials that help you achieve a professional look with ease.
Let’s get started on your staircase transformation today. Reach out to us:
-
Website: https://oakvalleydesigns.com/
-
Phone: 706.331.0315
-
Email: info@oakvalleydesigns.com
-
Address: 30 River Ct SW, Bldg E, Cartersville, GA 30120
We’re here to help you turn your vision into reality.