
How To Install Prefinished RetroFit Stair Treads from Stair-Treads.com
Video by stairtreads · 2 moments used in Oak Valley Designs's DIY guides · 6:07 long
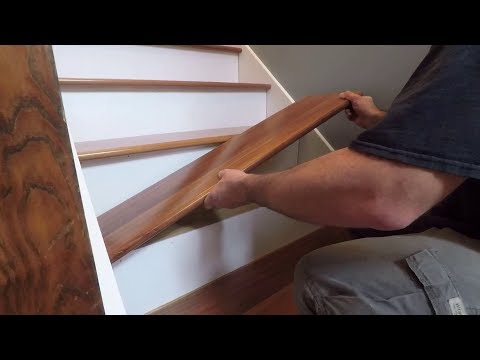
Moments in this video
- 2:49–3:19 Install Retro Risers
From How to Get a Hardwood Look on Carpeted Stairs, Step 6: Install Hardwood Risers
To install the new retro risers, first apply a generous, serpentine-patterned bead of construction adhesive, specifically PL Premium from Loctite (as it is the recommended adhesive), to the back surface of the cut riser board. Carefully lift the riser into its designated position, pressing it firmly against the old riser and ensuring the top edge meets the underside of the subtread's front edge. Once accurately positioned, secure the riser with several finish nails, spaced evenly along the top and bottom edges, using a Porter Cable finish nail gun. This procedure is then repeated for all remaining risers on the staircase, creating a solid and visually appealing vertical surface for each step.
- 5:31–6:06 Apply Finish & Clean Up
From How to Install Treads on Stairs with a Mid-Stair Landing, Step 8: Fill Screw Holes and Finish
After all the retro treads, risers, and cove moldings are successfully installed, the final step involves addressing any visible imperfections to achieve a polished look. Use pre-finished touch-up sticks, selected to match the color and grain of your new treads, to fill any small nail holes and minor chips. Gently rub the stick over the imperfection, then carefully wipe away any excess with a soft cloth or a finger to blend it seamlessly into the surface. Additionally, any remaining small gaps where the new elements meet the skirt boards or other adjacent surfaces can be filled with caulk and painted as necessary. The pre-finished nature of the treads ensures they are ready to be walked on immediately upon installation, offering a durable and long-lasting finish designed to withstand years of use.
Guides that use this video
More from the Oak Valley Designs DIY Hub
Read the guide Browse all guides
Planning this project? Shop Oak Valley Designs.

Subscribe for exclusive updates
Be the first to know about promotions, new products, and sales.