
Fixing your loose handrail! #youtubeshorts #shorts #diy #tips #howto #tutorial
Video by Royce Renovations · 2 moments used in Oak Valley Designs's DIY guides · 0:14 long
Moments in this video
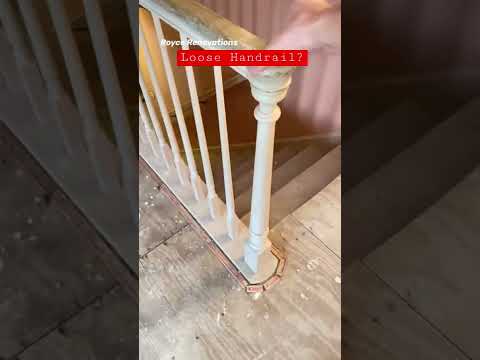
- 0:12–0:13 Verify Stability of the Handrail
From Newel Post and Banister Tightening, Step 2: Inspect Banister Looseness
After performing the 'attitude adjustment' with the rubber mallet, test the newel post to ensure it is no longer loose. Gently push and pull on the newel post and the connected handrail. The handrail should feel firm and stable, indicating that the anchoring rod has successfully re-engaged with its bracket, and the looseness has been resolved. The video demonstrates the now-secure newel post after the fix.
- 0:12–0:13 Verify Stability of the Handrail
From Newel Post and Banister Tightening, Step 8: Test for Stability
After performing the 'attitude adjustment' with the rubber mallet, test the newel post to ensure it is no longer loose. Gently push and pull on the newel post and the connected handrail. The handrail should feel firm and stable, indicating that the anchoring rod has successfully re-engaged with its bracket, and the looseness has been resolved. The video demonstrates the now-secure newel post after the fix.
The guide that use this video
More from the Oak Valley Designs DIY Hub
Read the guide Browse all guides
Planning this project? Shop Oak Valley Designs.

Subscribe for exclusive updates
Be the first to know about promotions, new products, and sales.