
DIY Stair Railing Transformation on Front Porch! (Cable Railing) #diy #construction #howto
Video by Andrew Thron Improvements · 1 moment used in Oak Valley Designs's DIY guides · 1:00 long
Moments in this video
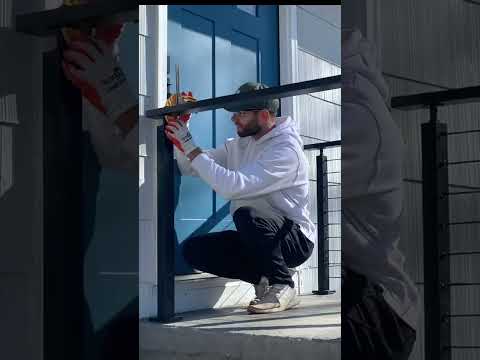
- 0:44–0:51 Install and Tension Cable Strands
From Cable Railing Installation, Step 9: Install Tensioners and Tension Cables
Measure the distance between the posts for each cable run. Using specialized cable cutters, cut the stainless steel cable strands to the required lengths, adding extra for the tensioning hardware. Thread one end of a cable through the pre-drilled holes in the posts and install the appropriate tensioning hardware (e.g., a fixed end fitting with a washer and nut). Then, thread the other end of the cable through the remaining holes and attach the tensioning mechanism (e.g., a turnbuckle or a tension receiver). Gradually tighten the tensioning hardware using a wrench or a specialized tensioning tool until each cable is taut and firm, ensuring proper sag minimalization while adhering to local building codes for cable spacing and tension.
The guide that use this video
More from the Oak Valley Designs DIY Hub
Read the guide Browse all guides
Planning this project? Shop Oak Valley Designs.

Subscribe for exclusive updates
Be the first to know about promotions, new products, and sales.