
Plan Layout on the Floor
From Gallery Wall · Step 3 of 8 · Video by HEY MOM
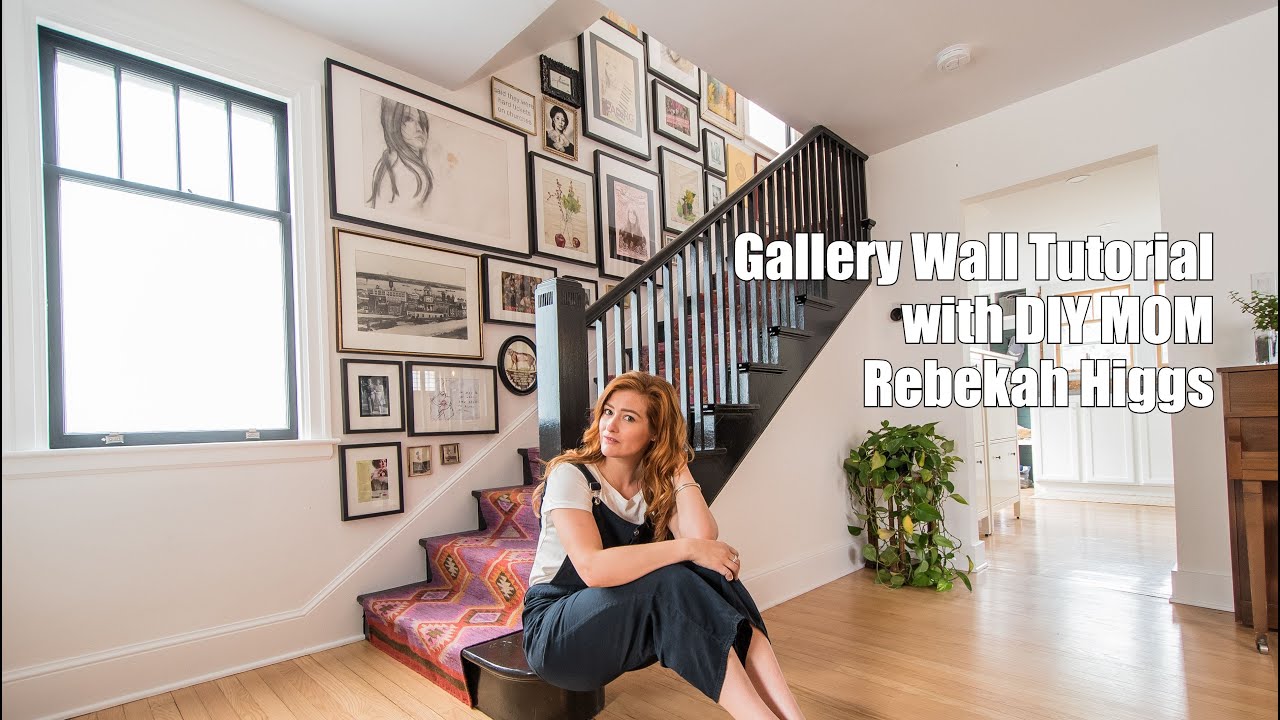
Showing 3:08–3:27 of the source video.
What happens in this clip
Perform a 'dry lay' of the gallery wall on the floor using the paper templates. Arrange all the cut-out templates in your desired configuration. For a wall that follows an architectural feature, like a staircase, use painter's tape to mark the angle on the floor to help visualize the actual wall space. Begin by placing the largest templates first, as these will anchor the overall design, and then fill in the gaps with smaller templates. This allows for easy repositioning and experimentation before moving to the wall.
What's used
Tools
- Painter's Tape
- Paper Templates
About the full video
This video demonstrates a precise method for planning and hanging a gallery wall using paper templates. By creating and arranging templates on the floor, then transferring them to the wall, individuals can visualize the layout and mark exact drill/nail holes for perfect placement of various framed artworks, photos, and memorabilia.
Step 3 of 8: Plan Gallery Wall Layout
Using the wall measurements, plan the arrangement of your artwork. Consider the angle of the staircase and how the eye will travel up or down the wall. You can sketch this out on paper, use a digital tool, or lay the pieces out on the floor first.
Other videos for this step
Gallery Wall
Plan and install a collection of framed artwork or photos on the wall along a staircase to create a visually appealing display. This involves selecting artwork, planning the layout, choosing appropriate hanging hardware, and executing the installation while considering the angled space.
Read the full guide Browse all guides
Planning this project? Shop Oak Valley Designs.

Subscribe for exclusive updates
Be the first to know about promotions, new products, and sales.